How to Make Pour-Over Coffee
A detailed pour-over coffee guide that includes tips to get started, equipment recommendations, and step-by-step instructions. This pour-over method encourages using a Hario V60, but modifications are provided, making this guide inclusive to people at any level.
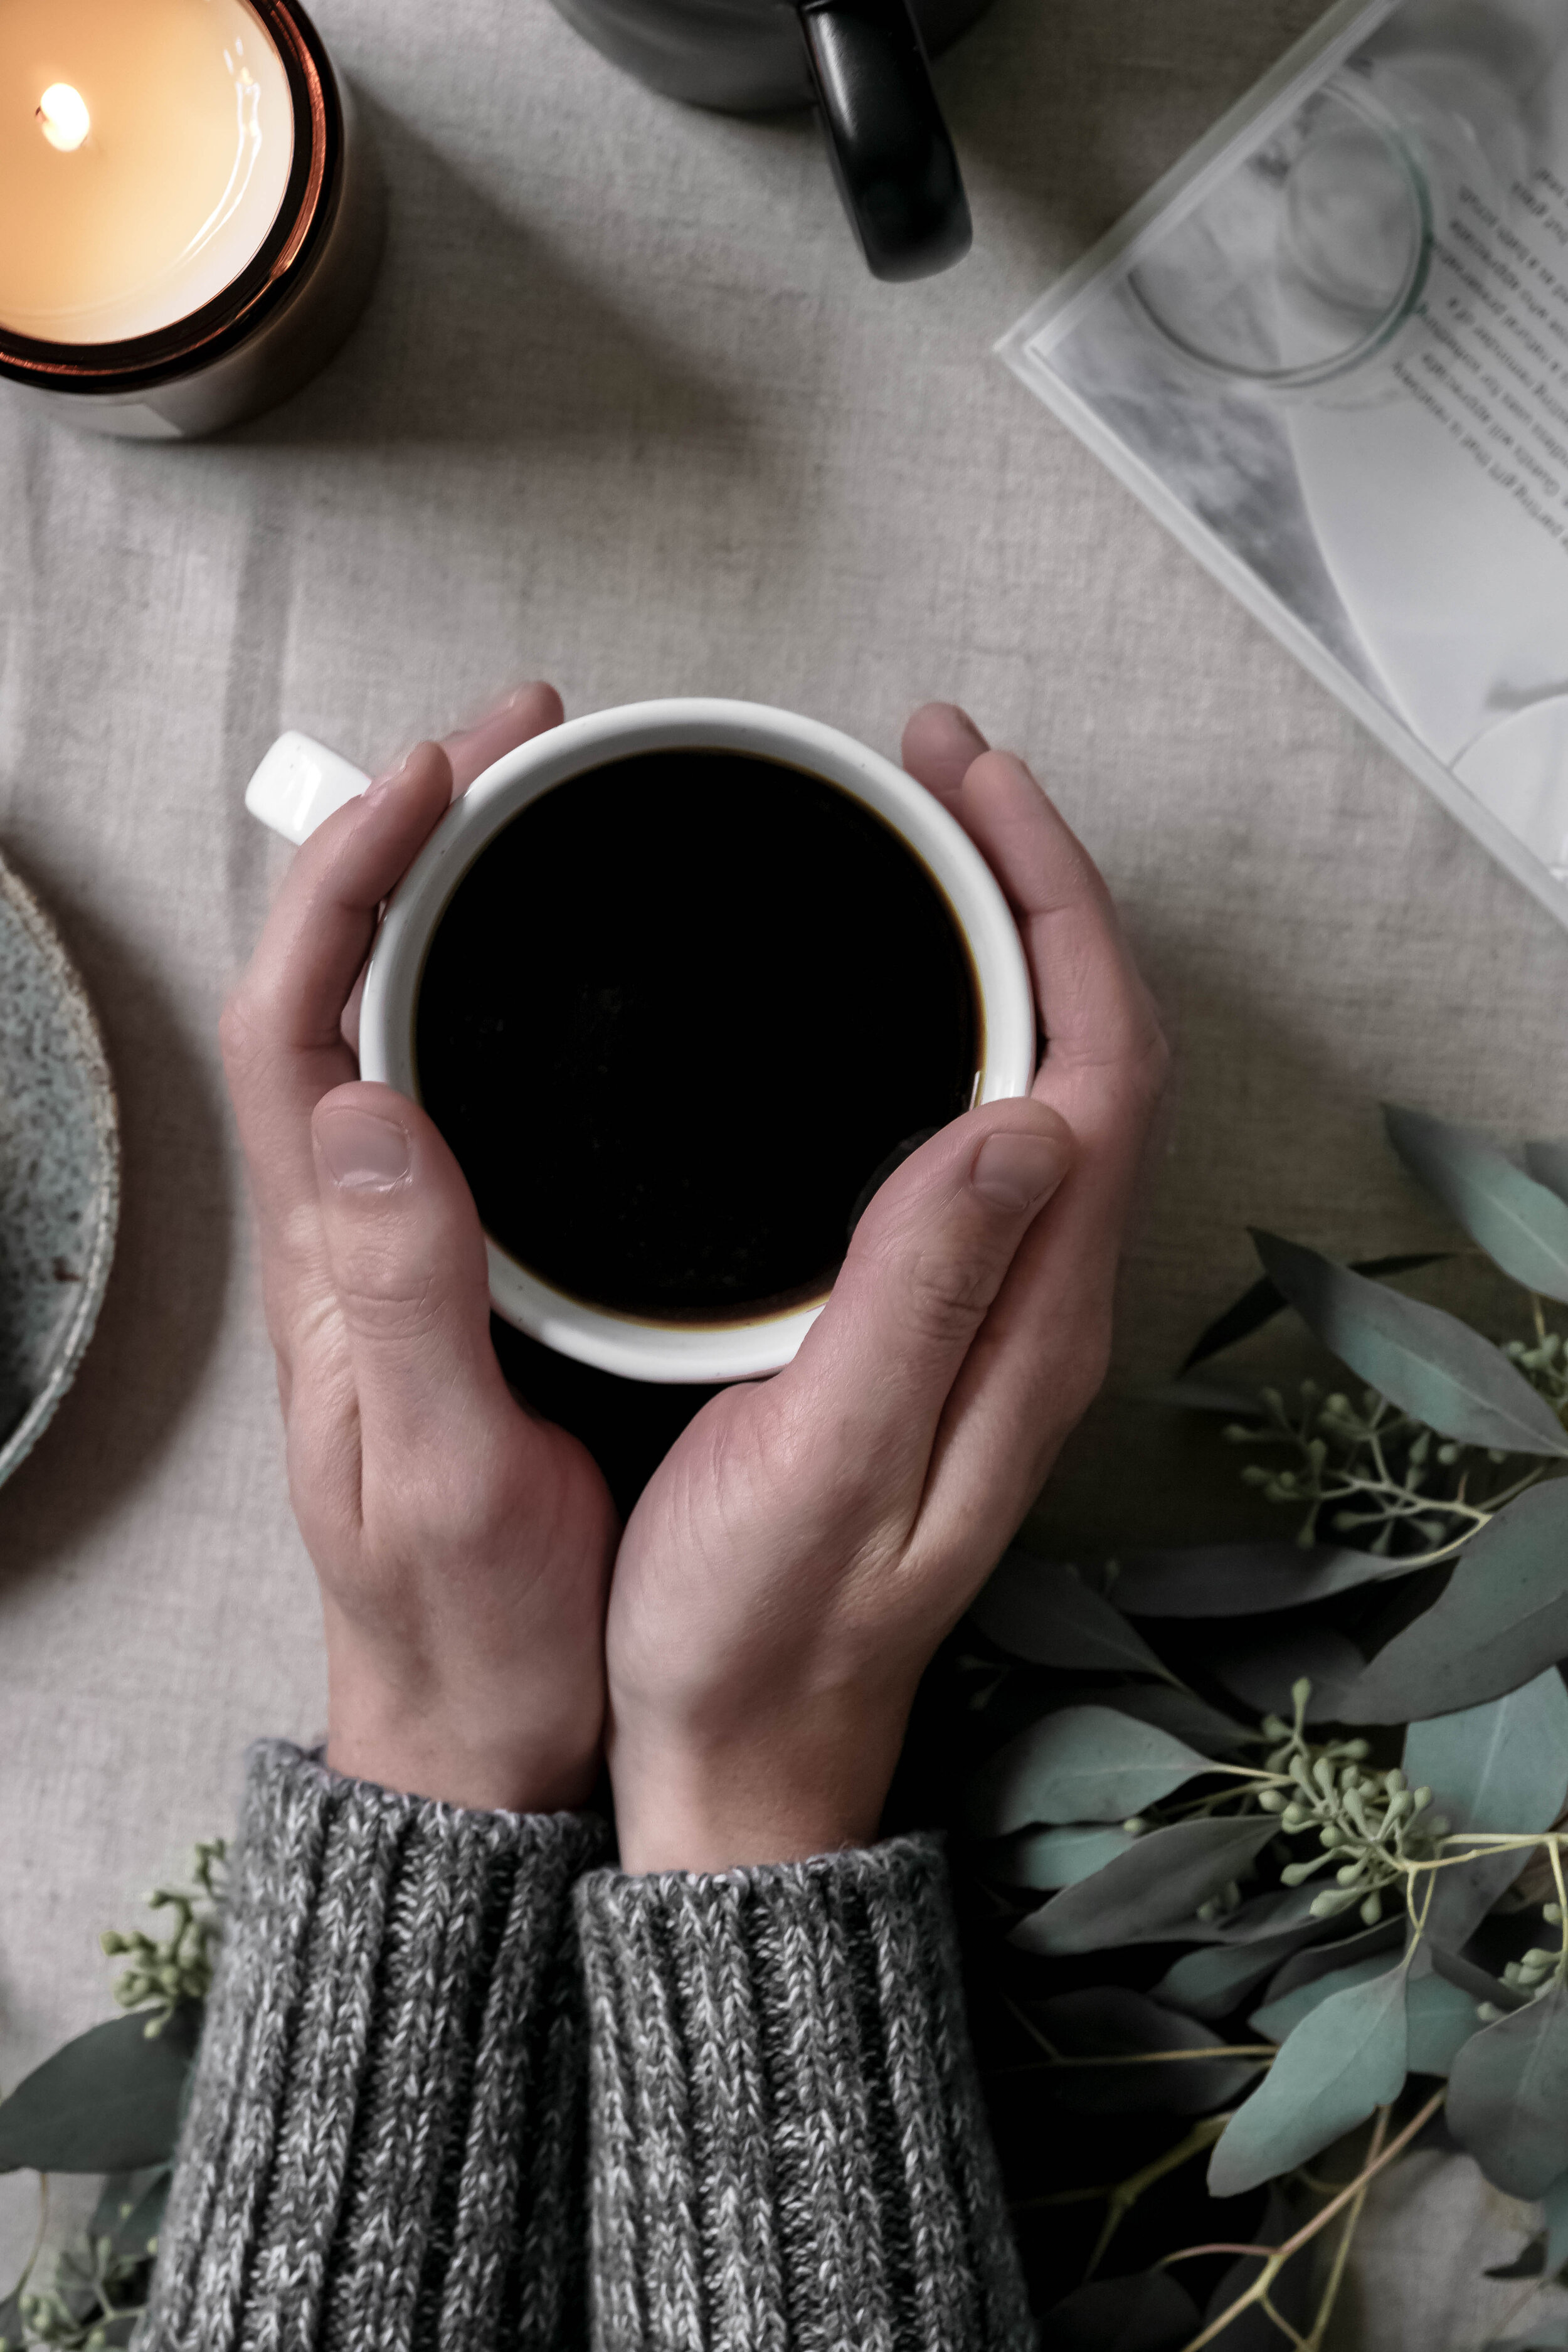
Homebrewing coffee comes in many forms. People perceive the pour-over method to be for the professionals only. Let us show you that you can make this style of coffee in the comfort of your own home without all the bells and whistles. Learning the fundamentals of pour-over coffee is the key to improving the quality of your homebrew. However, fancy equipment and high-end coffee is not the purpose of knowing the method. Those things might up your coffee game and the amount that you ultimately enjoy your end product, but don’t let those standards hold you back. In the end, making a pour-over for yourself or friends is about the ceremony. Giving yourself a second to breathe and be mindful is what brings purpose to this process.
After years of making stale, abusive pour-overs, I was finally given the proper training course. The coffee industry is saturated with misinformation and different styles. I went through years of growth and trial by error before someone took the time to teach me the ins and outs of everything coffee. Embracing these simple facts and ideas helped me understand that it isn’t all so complicated. Making pour-over coffee is just specific. Practice, patience, and the room to grow brought me to where I am today. To communicate this guideline is my passing of the torch to the next generation of professional coffee makers and homebrewers alike. So, whether you are a seasoned coffee professional who wants a new pour-over method or a coffee addicted amateur who just realized the sludge in your Keurig is slowing you down, this process is both universal and flexible for your needs.
-Gabrielle
guide to caring for your beans
How to find high-quality coffee beans
Support local roasting and coffee businesses
Look for companies who supply their operation with seasonal, fair/direct trade, and single-origin coffee beans. The price tag sometimes seems steep, but don’t let that get you down. Knowing where your coffee comes from is crucial in figuring out the quality of your coffee. A 12oz. bag of single-origin coffee can be anywhere from $14 to $25 on average and can sometimes come with incentives or reward points. No tip is required for whole bean purchases.
Avoid buying your beans from the grocery store if you can. That coffee is often old beans with a preservative gas added to the container. You have no idea what some brands are selling you! Pesticides, fillers, and low-quality coffee are just a few examples. Locally roasted coffee should be purchased directly from local suppliers. If you do not have access to this, small scale, high-quality beans can be shipped to you directly. Check out: Sweet Bloom, Parlor, Intelligentsia, Sump, and Blue Print.
Always use fresh coffee
When purchasing, find coffee with a roast date no more than 8 days old, and for the best flavor, consume within 14 days after roasting. Coffee beans should be stored at room temperature in a dry, dark place. Three-week-old coffee should be discarded/composted or used for another purpose, such as baking.
Grind as you go if possible
The best way to make coffee is by using freshly ground beans. Pre-dosing your whole beans can help make this a quick and painless process. Personally, we have all of it ground at the professional shops where we purchase our coffee. They have the highest-end grinder on the market, which gives me the particle size I desire for my home brewing. Note that if you grind all at once, purchase small amounts of coffee to have the freshest product on hand (ex. 12oz or less). Coffee degrades as soon as it is ground. So, keep it sealed, and don’t expect five-day-old, ground coffee to taste as good as fresh ground.
Pour-over coffee Brewing equipment
Invest in equipment as you go, and remember, it’s not all so serious.
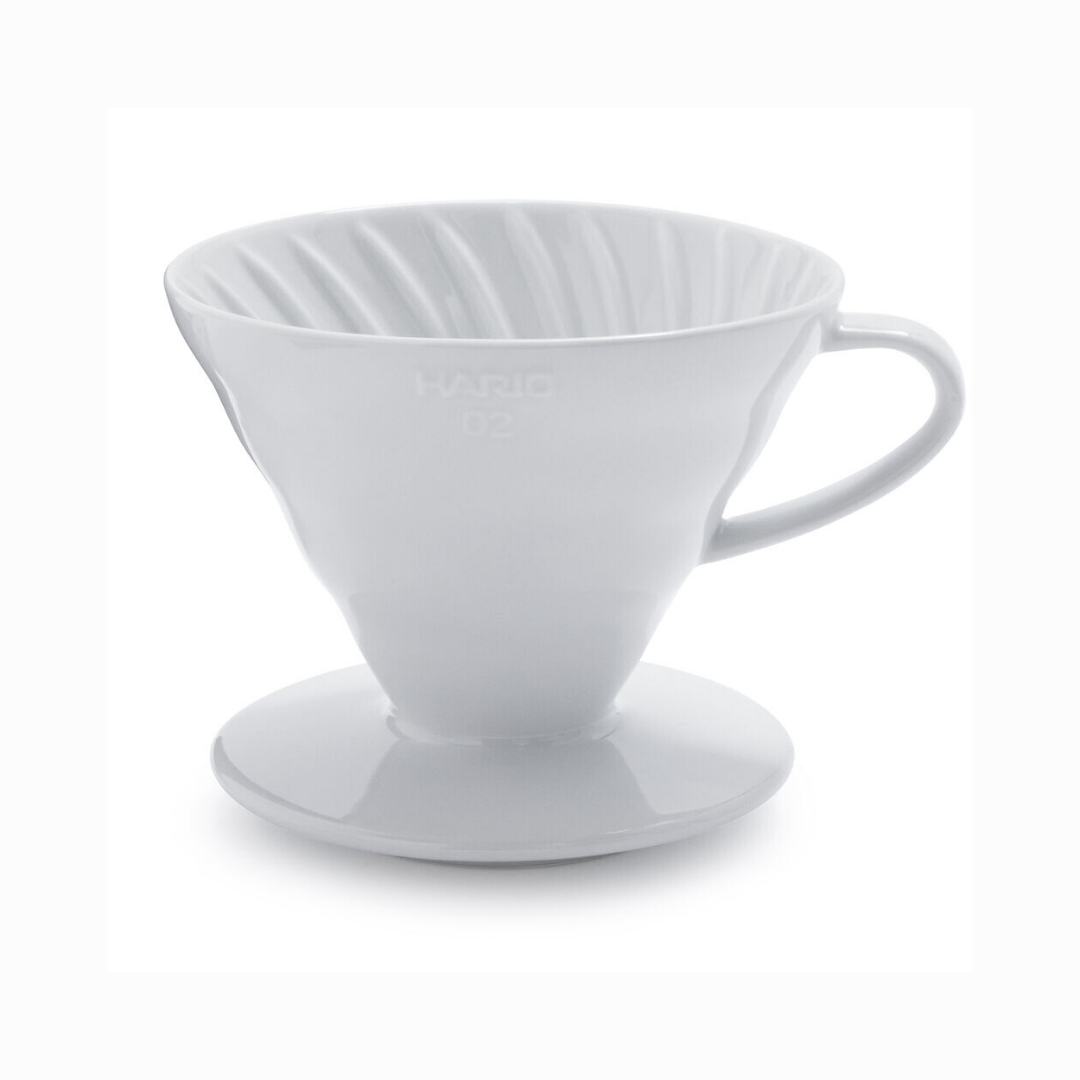
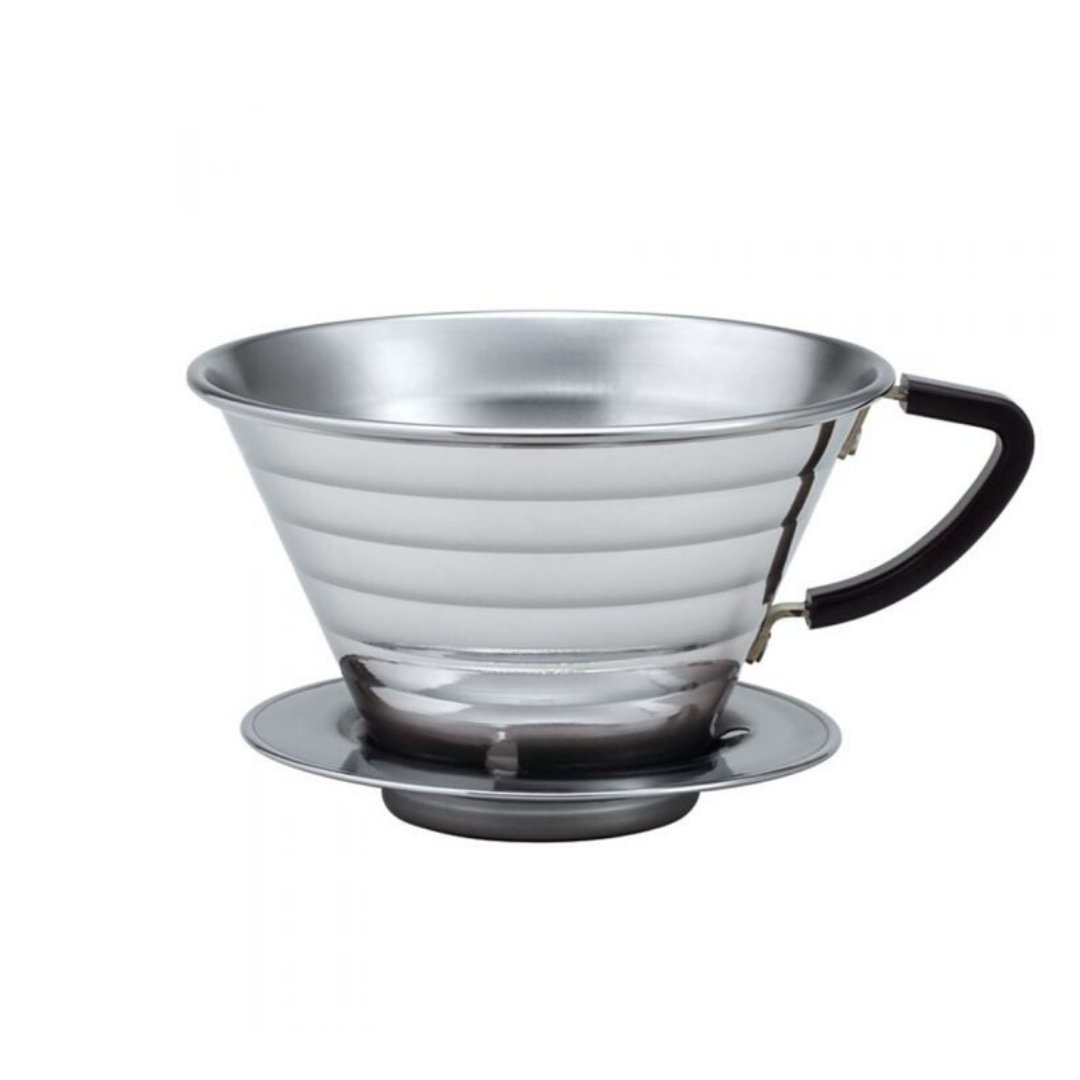
Brew Basket
An essential piece of pour-over equipment
Brew baskets have a wide range of prices, but don’t be afraid to rig up an old auto-drip basket if you are in dire need.
You will also need filters to fit the brew basket. Wrong size or fit? Fold to your needs and hope for the best. Trust me; I’ve been in some unusual situations where I’ve made it work with little to no hope.
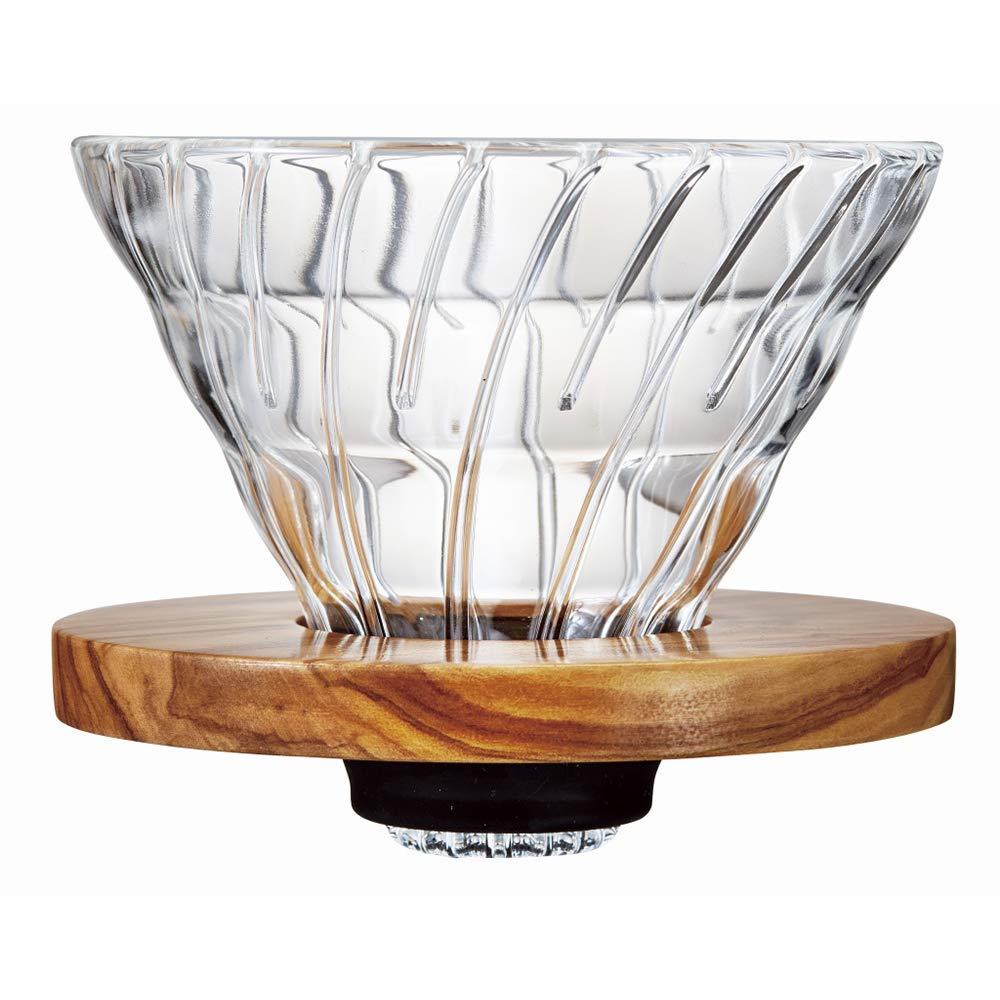
This outline will focus on our home brewing ritual using a Hario V60-02 model. These come in plastic, glass, ceramic, and metal and are paired with the proper size of Hario V60-02 paper filter.
*Note that different brew baskets come with specific filters and varying brew methods.
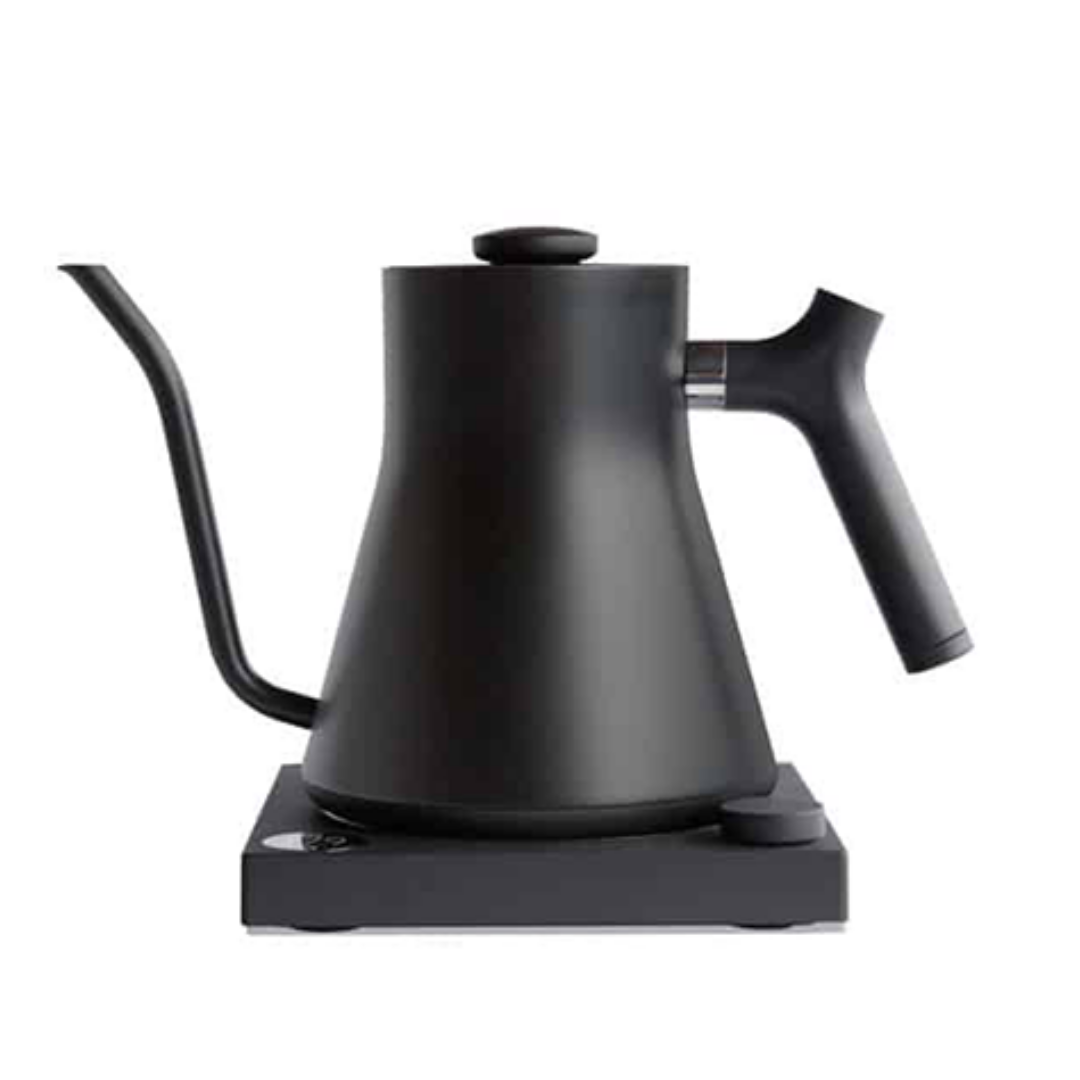
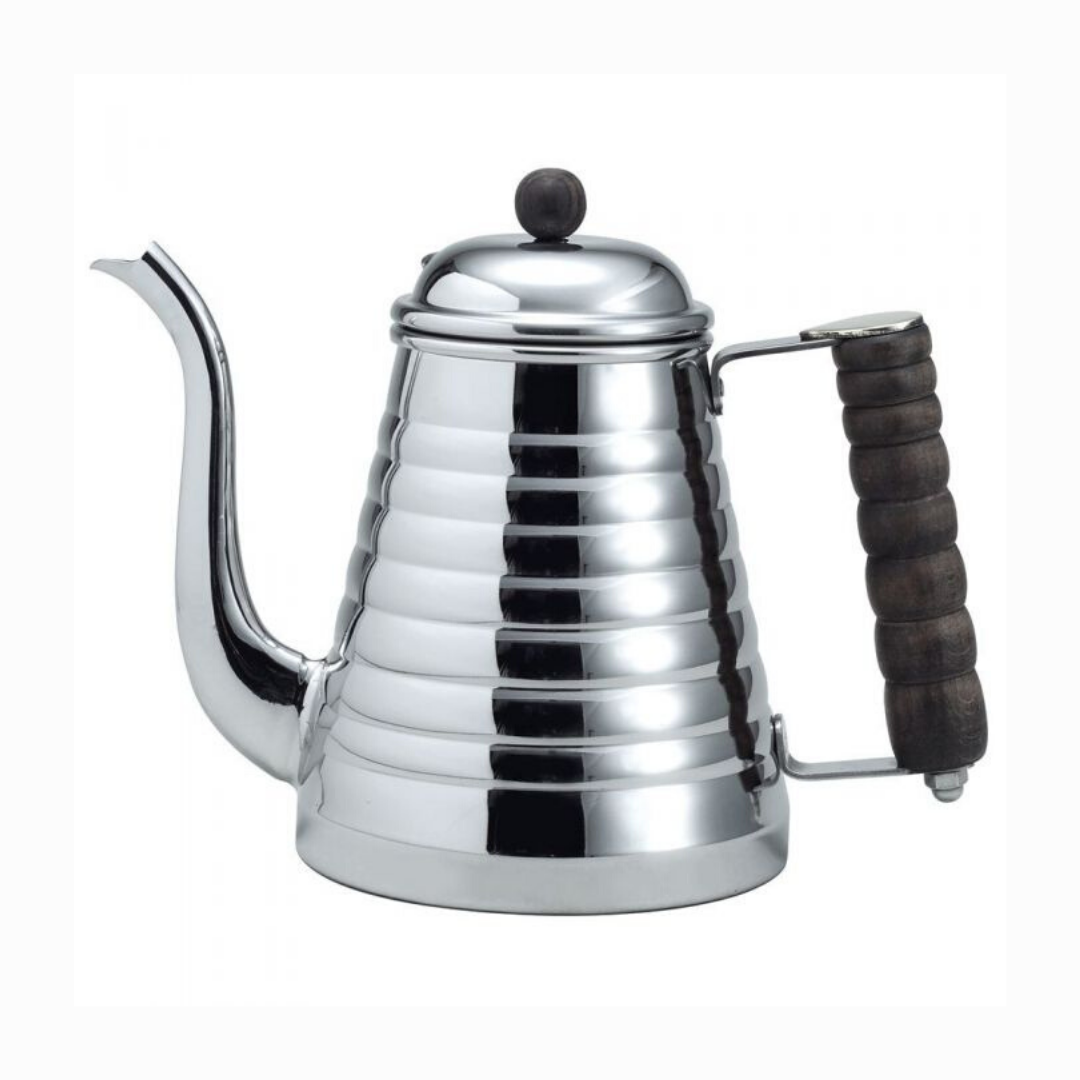
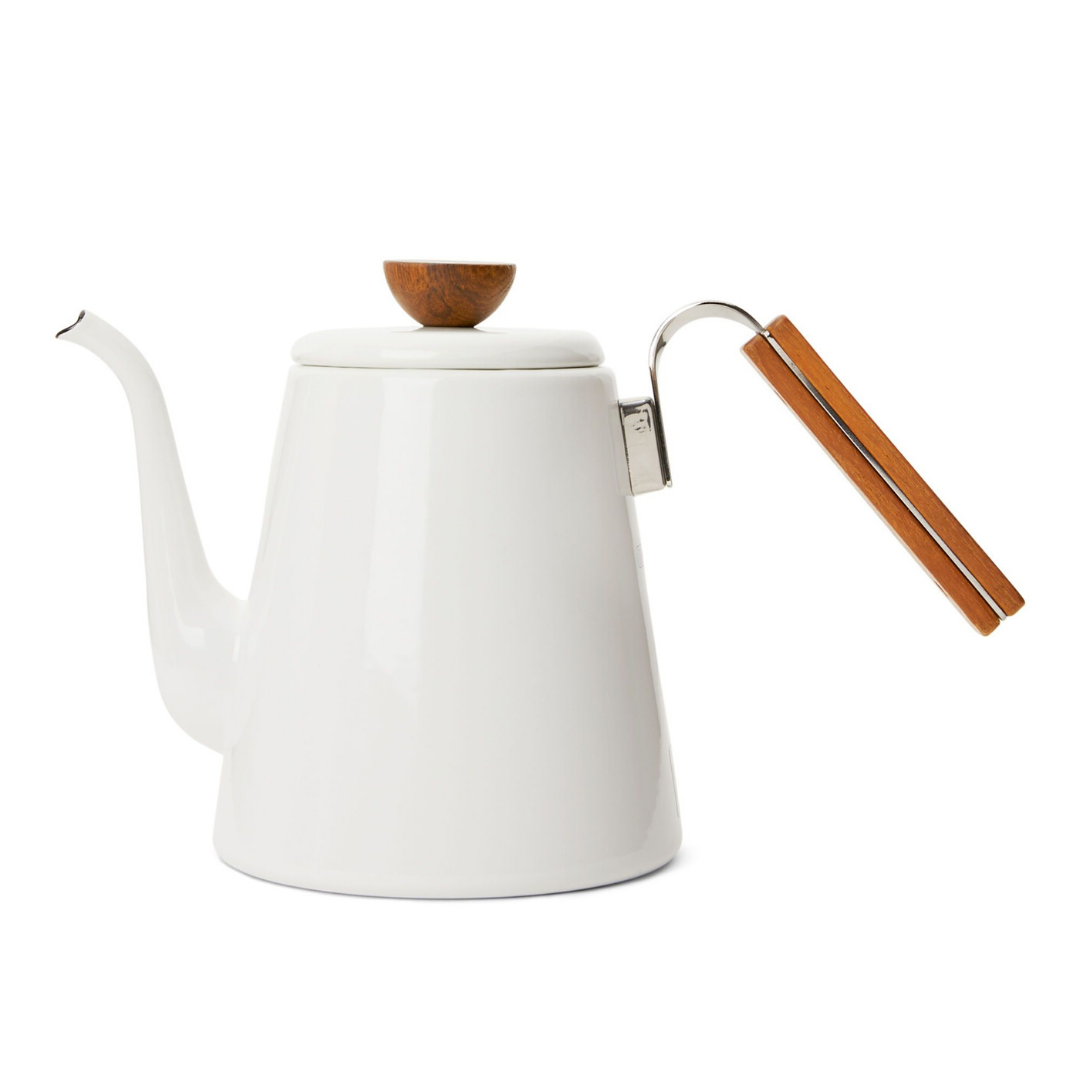
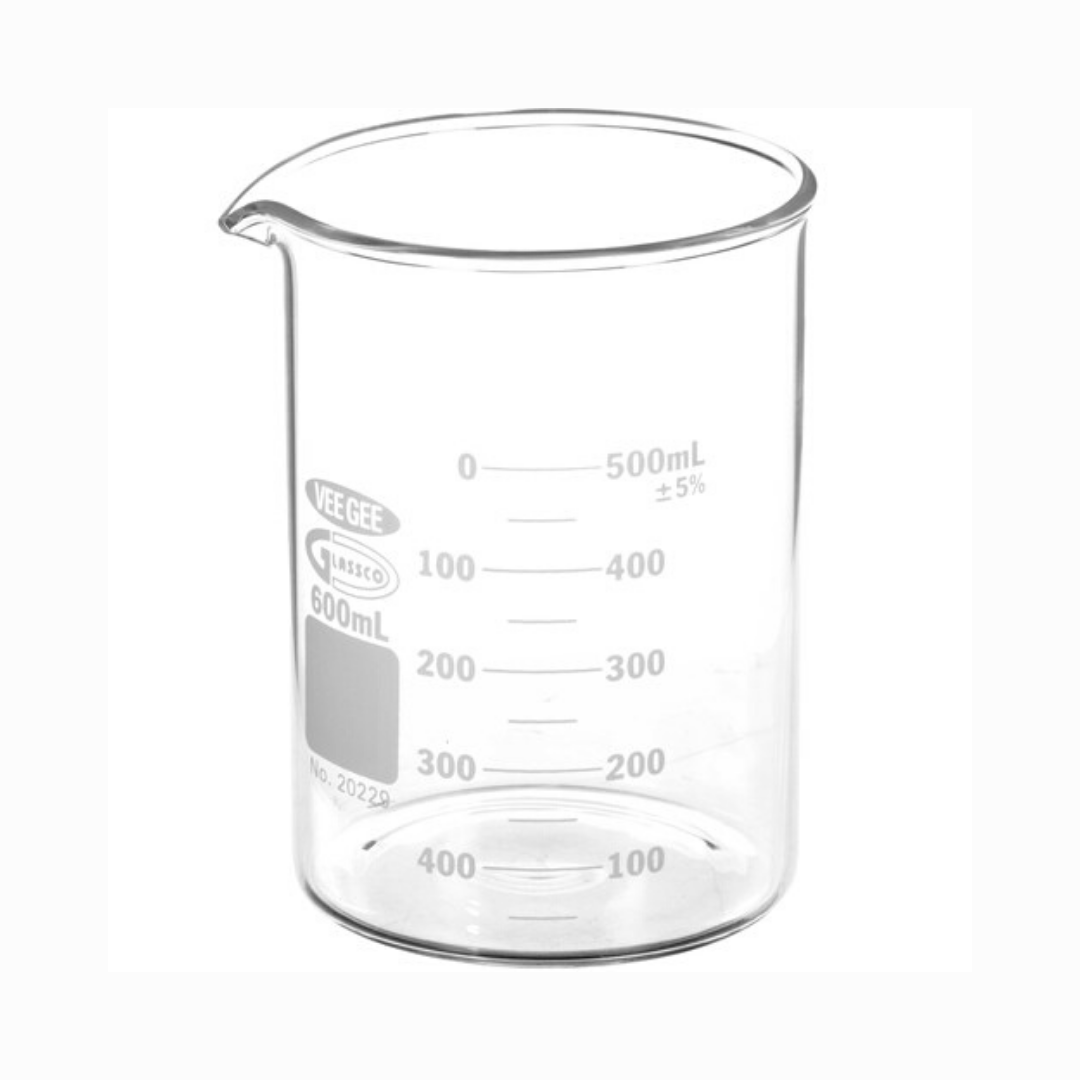
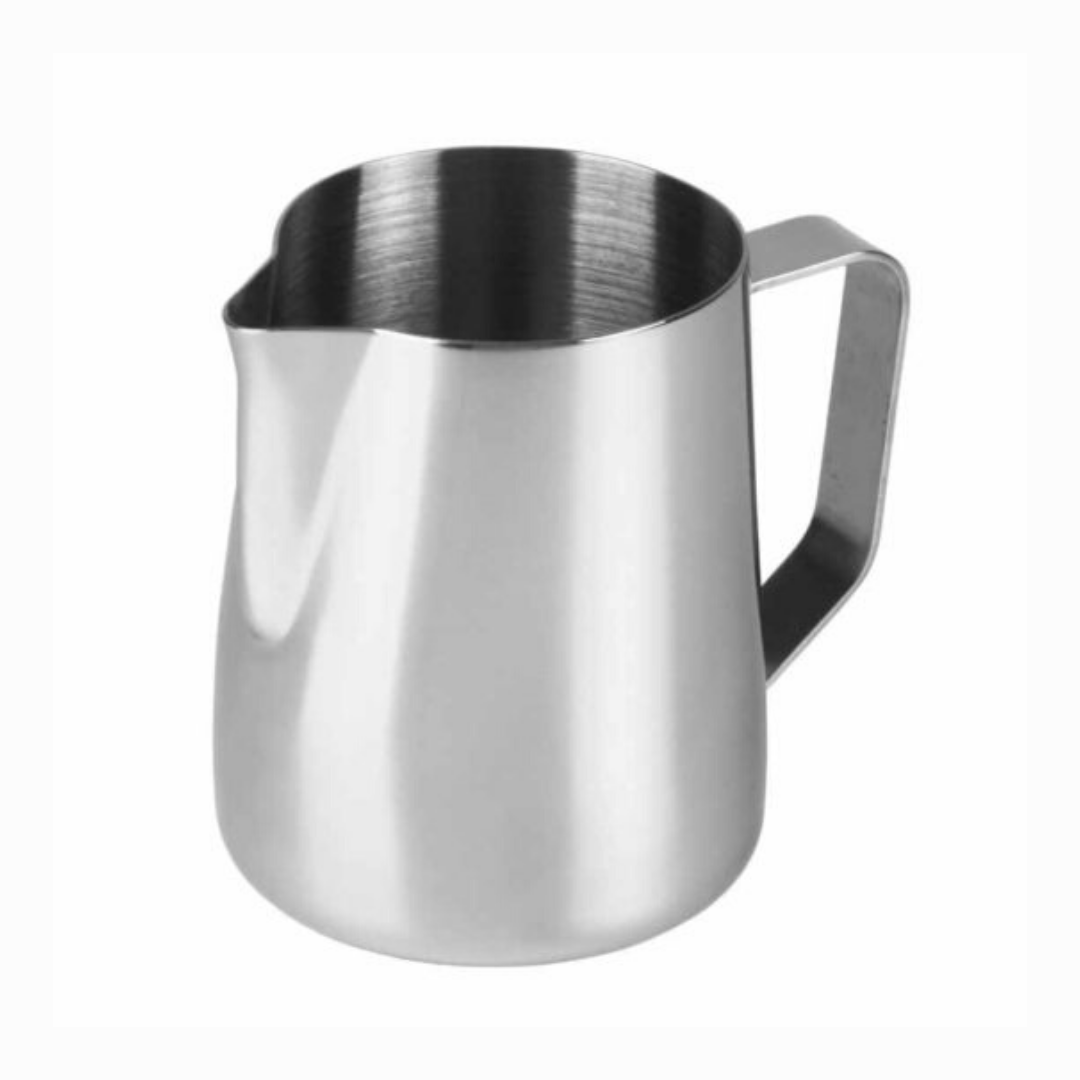
Brew Kettle
These are diverse in ability and performance
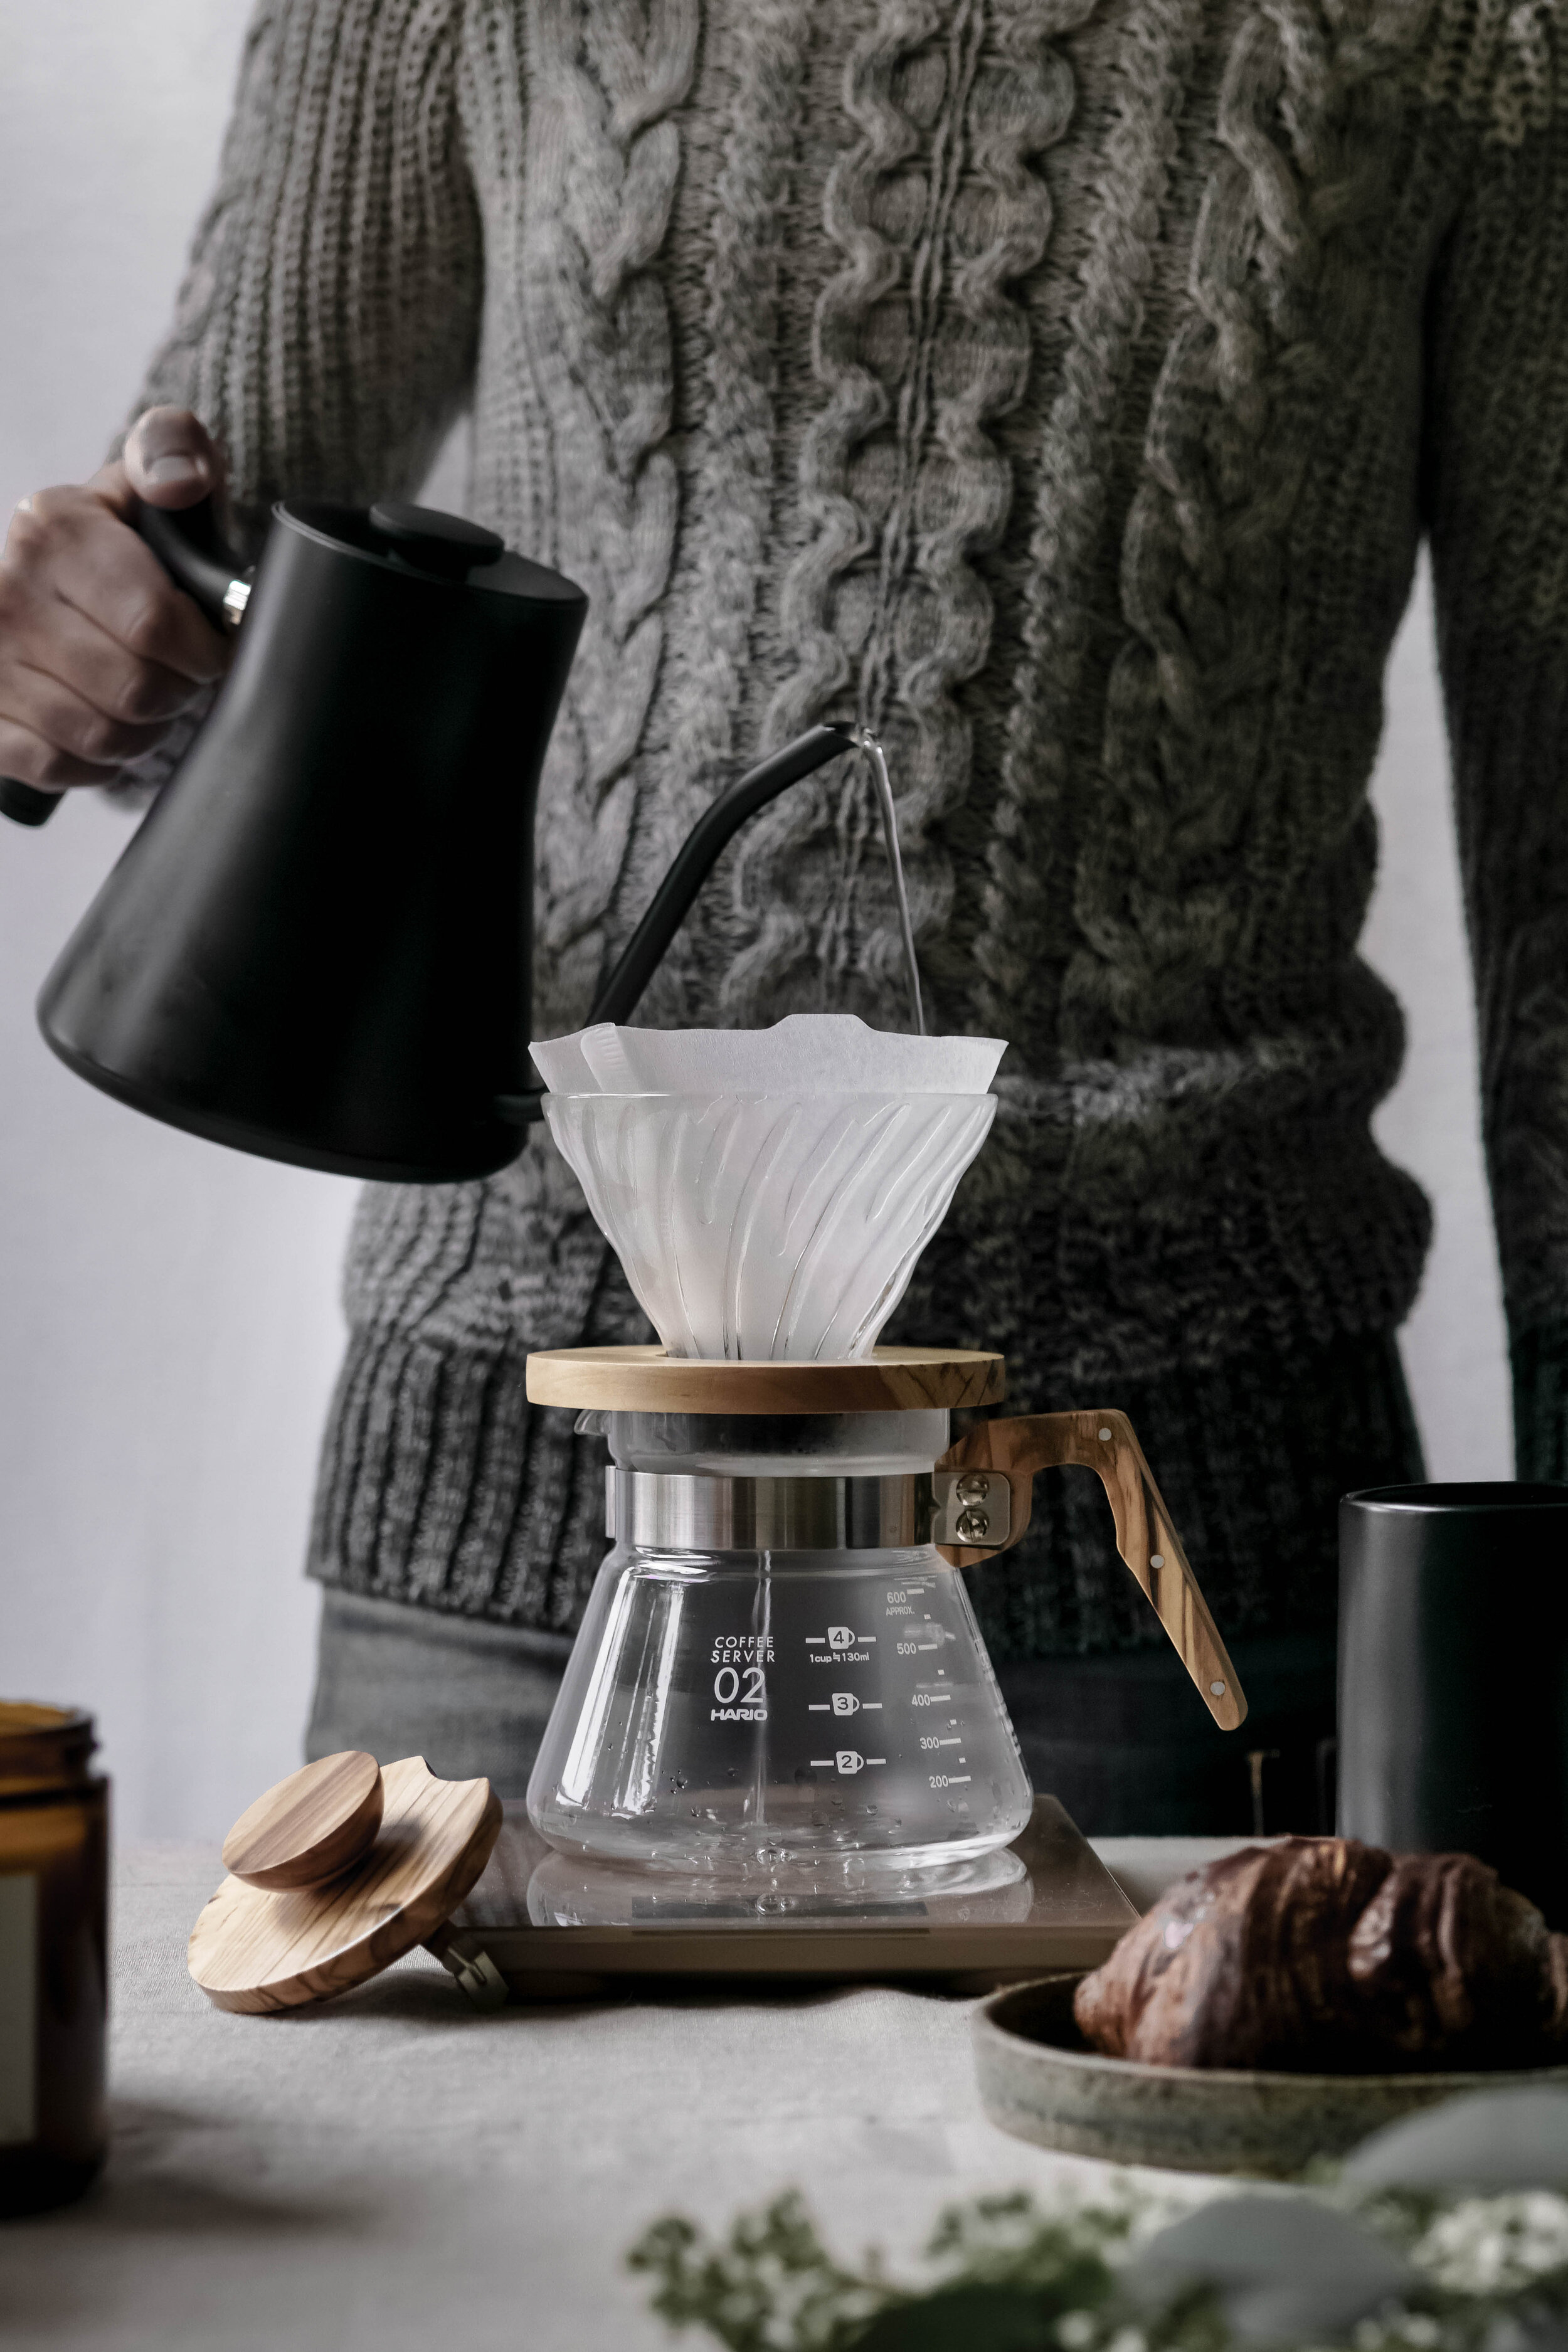
Gooseneck kettles are the best option for pour-over style brewing.
They control the flow rate of the water and give better accuracy to target the grounds evenly.
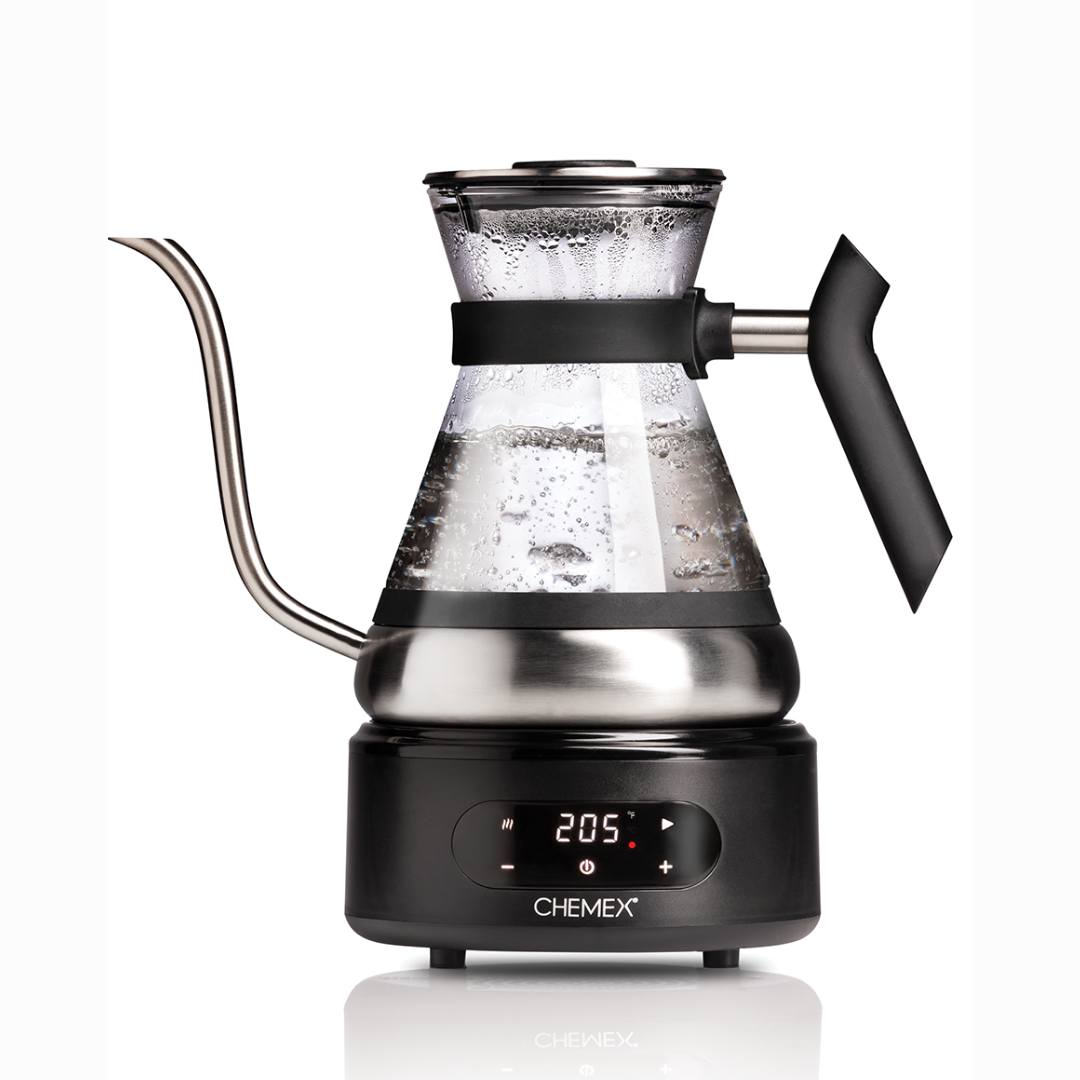
Both stovetop friendly and electric versions are available. We use a [Stagg EKG] Fellow electric kettle with digital temperature readout and built-in timer. True love is the only way to describe our feelings for this device.
Go old school with a tea kettle or a pan over a fire.
We used a tea kettle and a measuring cup for a long time before investing.
Glass measuring cups can help regulate water levels and brewing temperature.
When camping, use what you can to boil water and hope for the best.
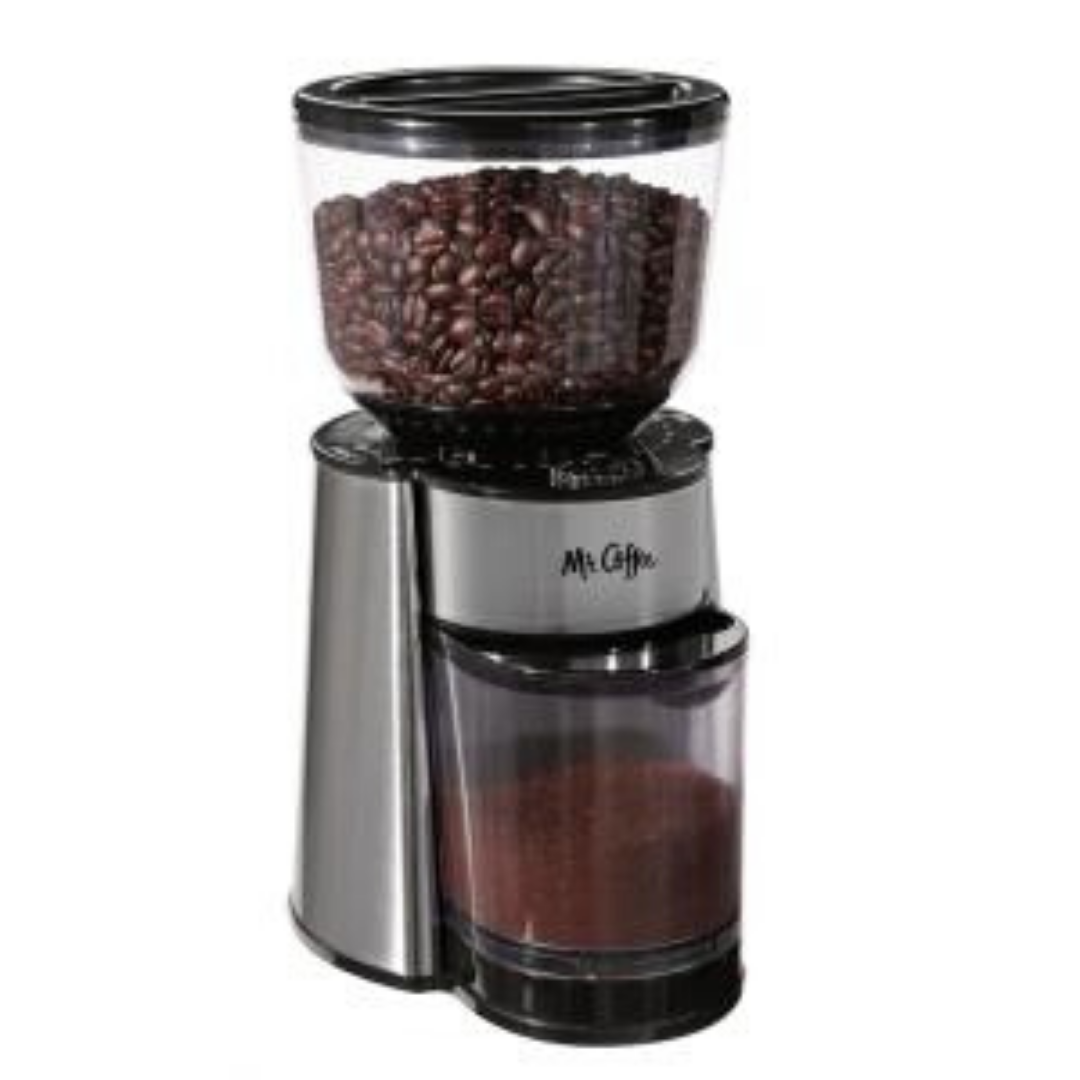
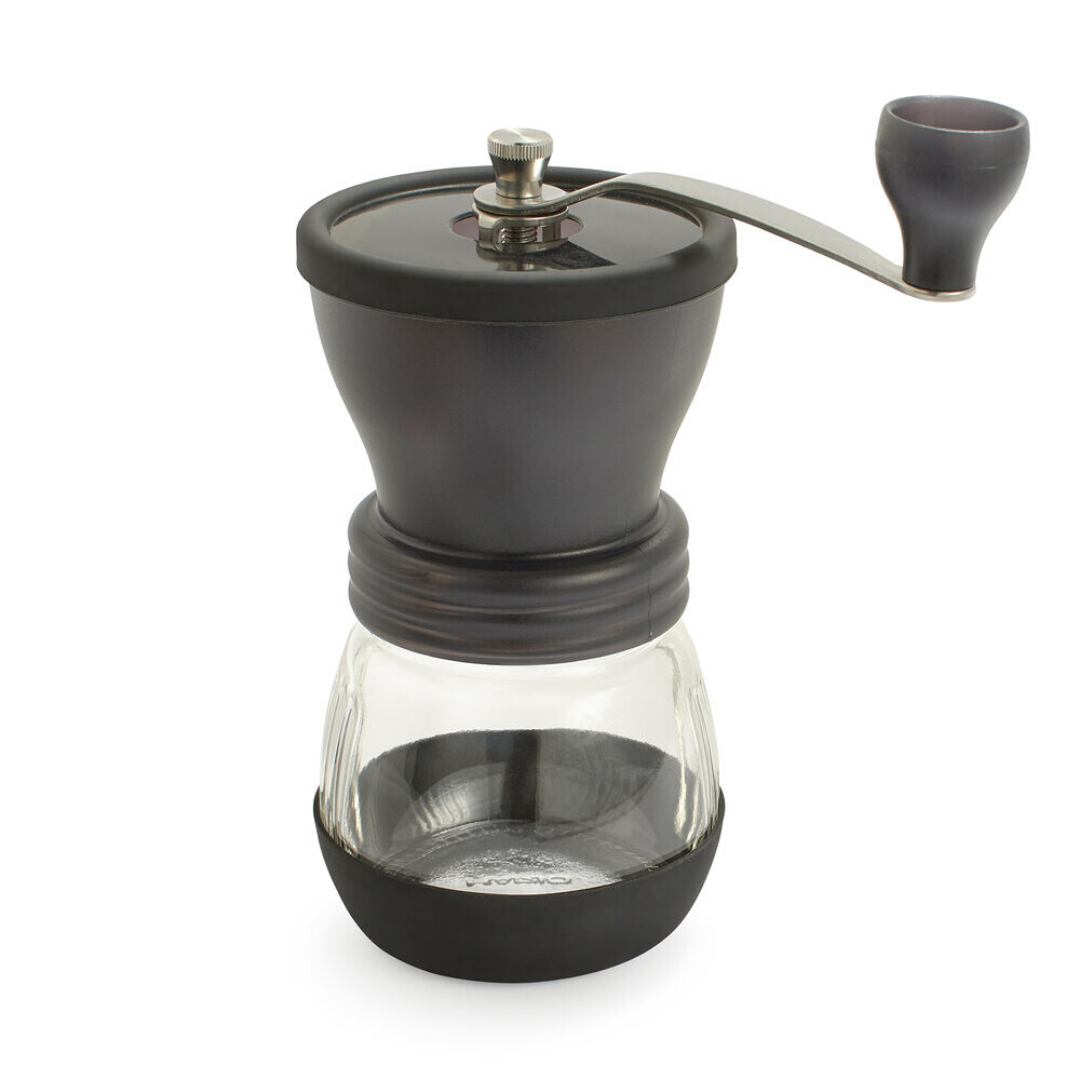
Coffee Grinder
Types of grinders:
Burr grinders are the best for the job.
These come in hand crank (they are great and portable but take forever) and countertop, electric versions.
This type of grinder keeps the particle sizes more uniform and consistent
Blade grinders will make coffee into smaller bits, but the particle size will be extremely inconsistent and can cause clogging during the brewing process.
Off flavors and over-extraction are always culprits of blade grinders.
Grind Size
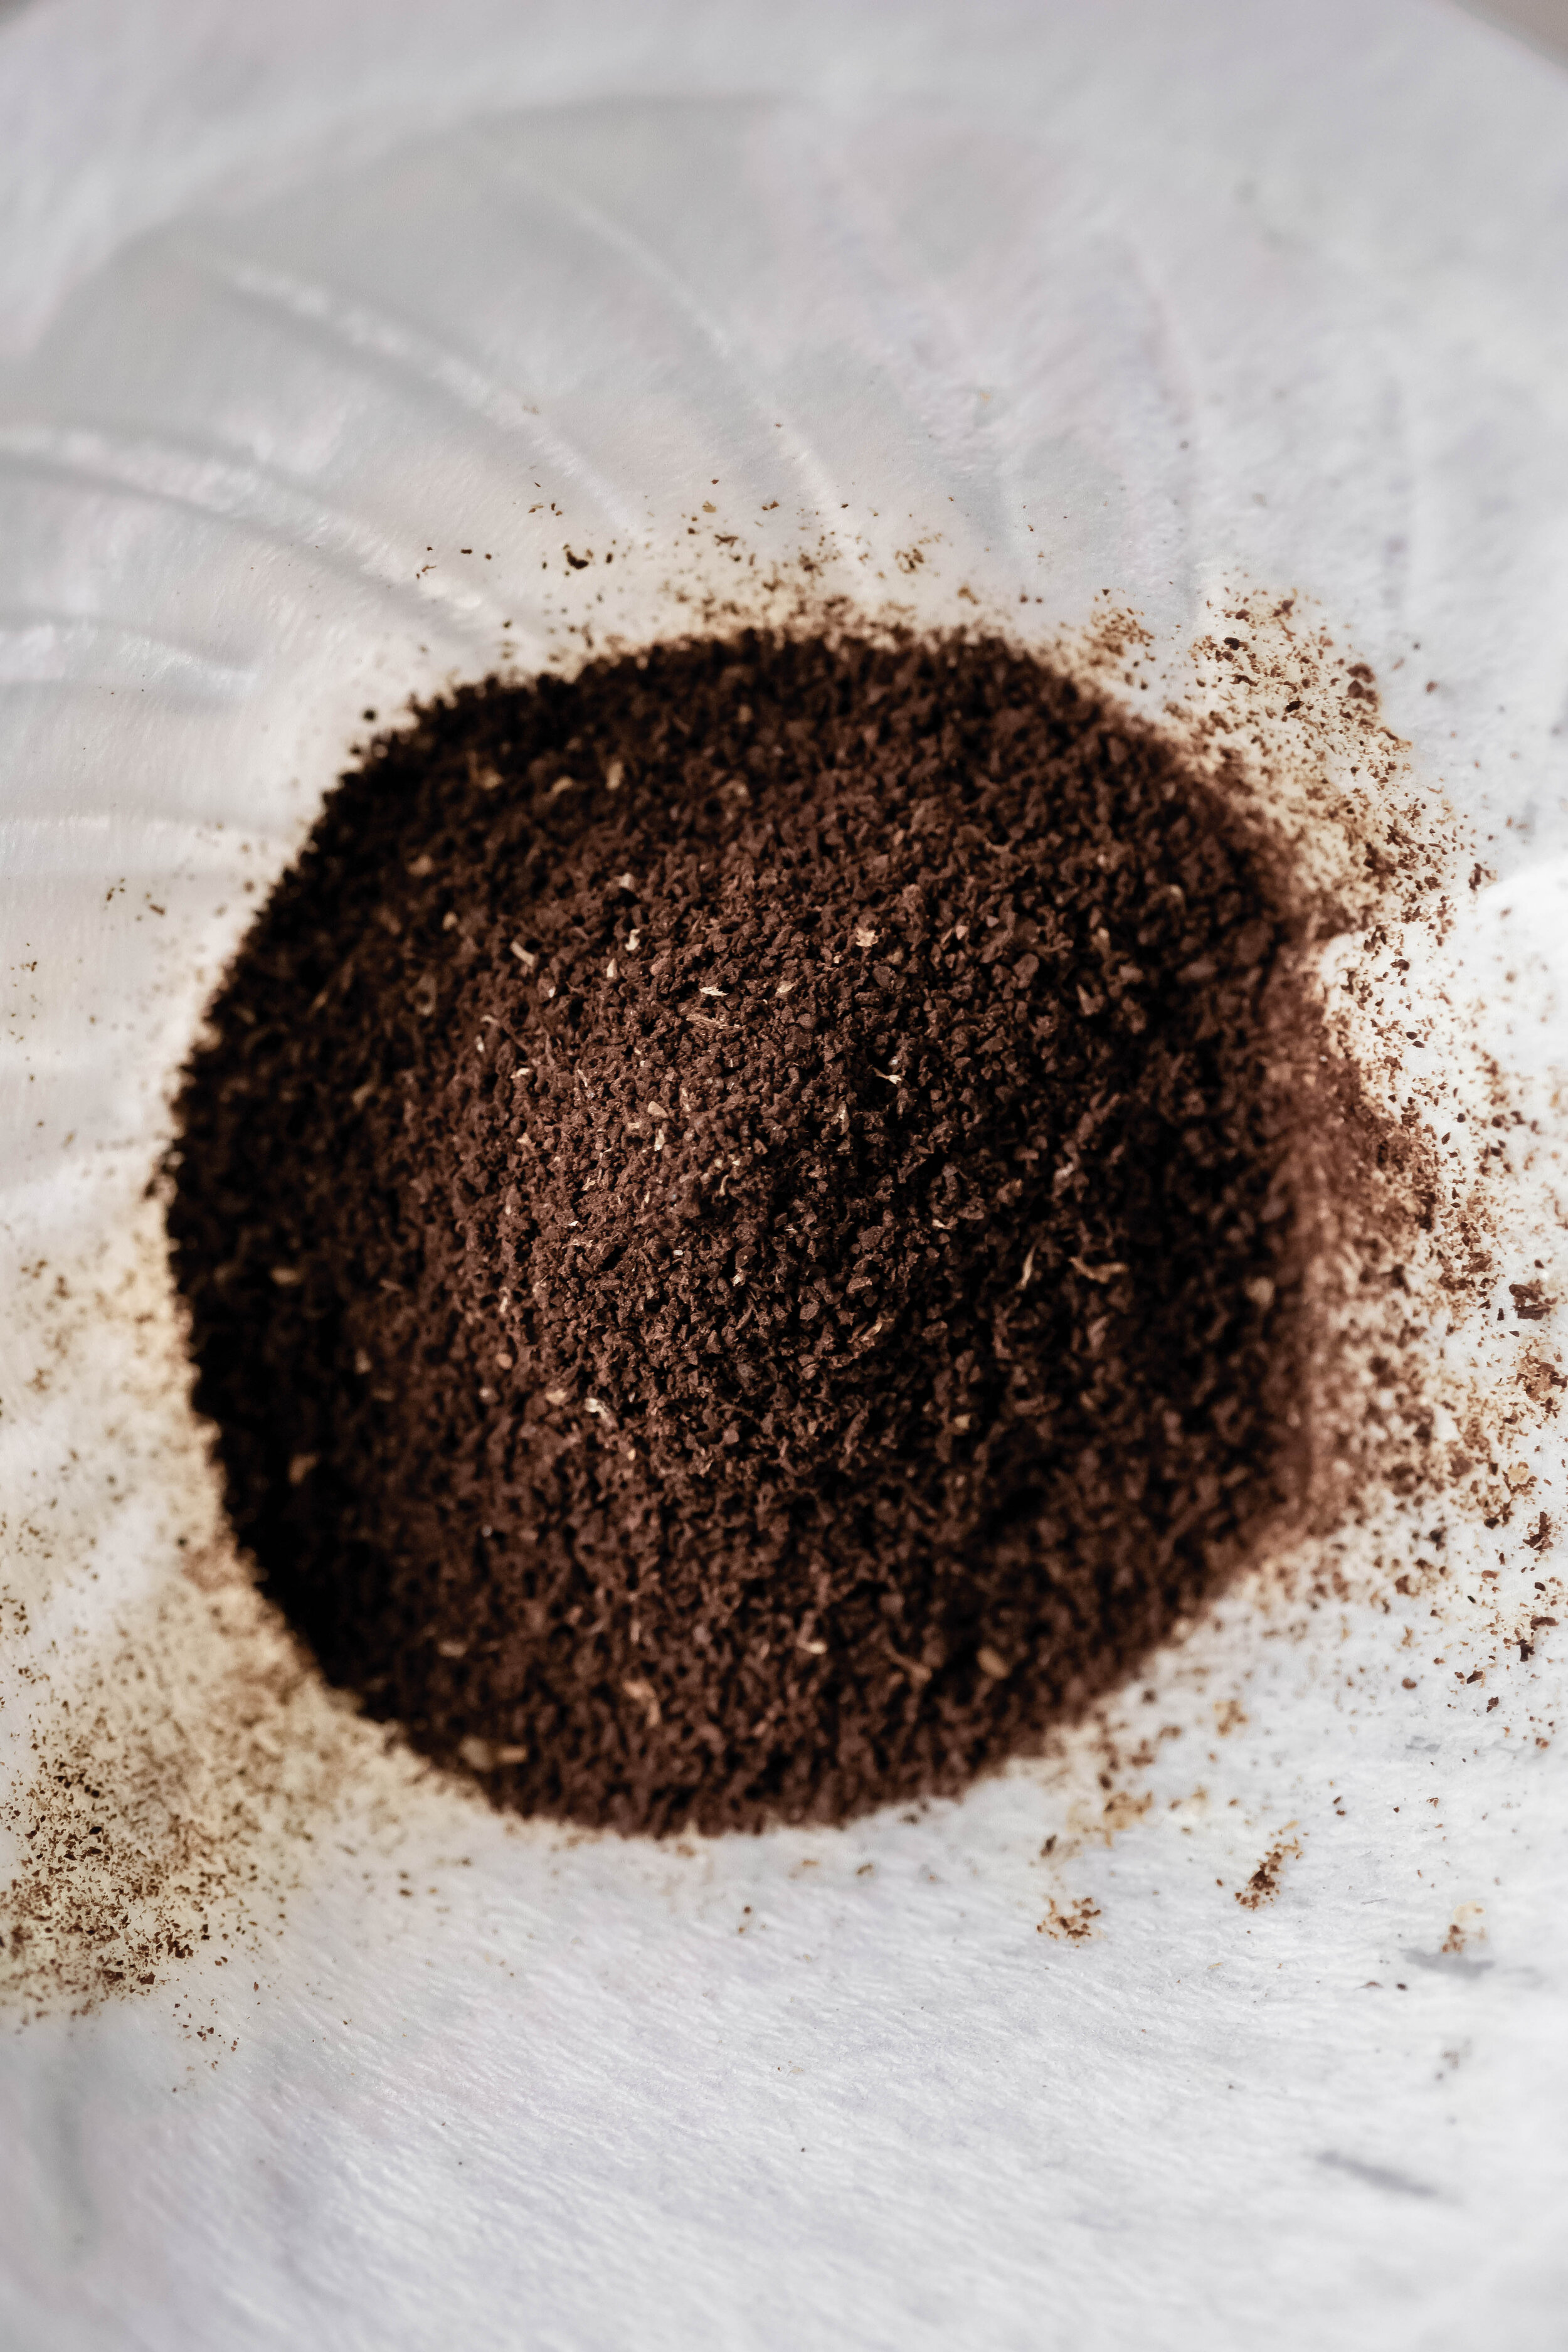
For most pour-over systems (especially the V60), you will want a uniform particle size close to kosher salt.
Roll some ground coffee around in your fingers to get the feeling of your average course grind somewhere between a french press (really course) and espresso grind (on the finer side)
Adjust your grind as you go to tweak your flavor profile and brew time.
Different coffees will require different grind sizes based on bean density, roast level, and overall quality of the coffee crop.
Different grind sizes of the same coffee will alter the flavor of the end product.
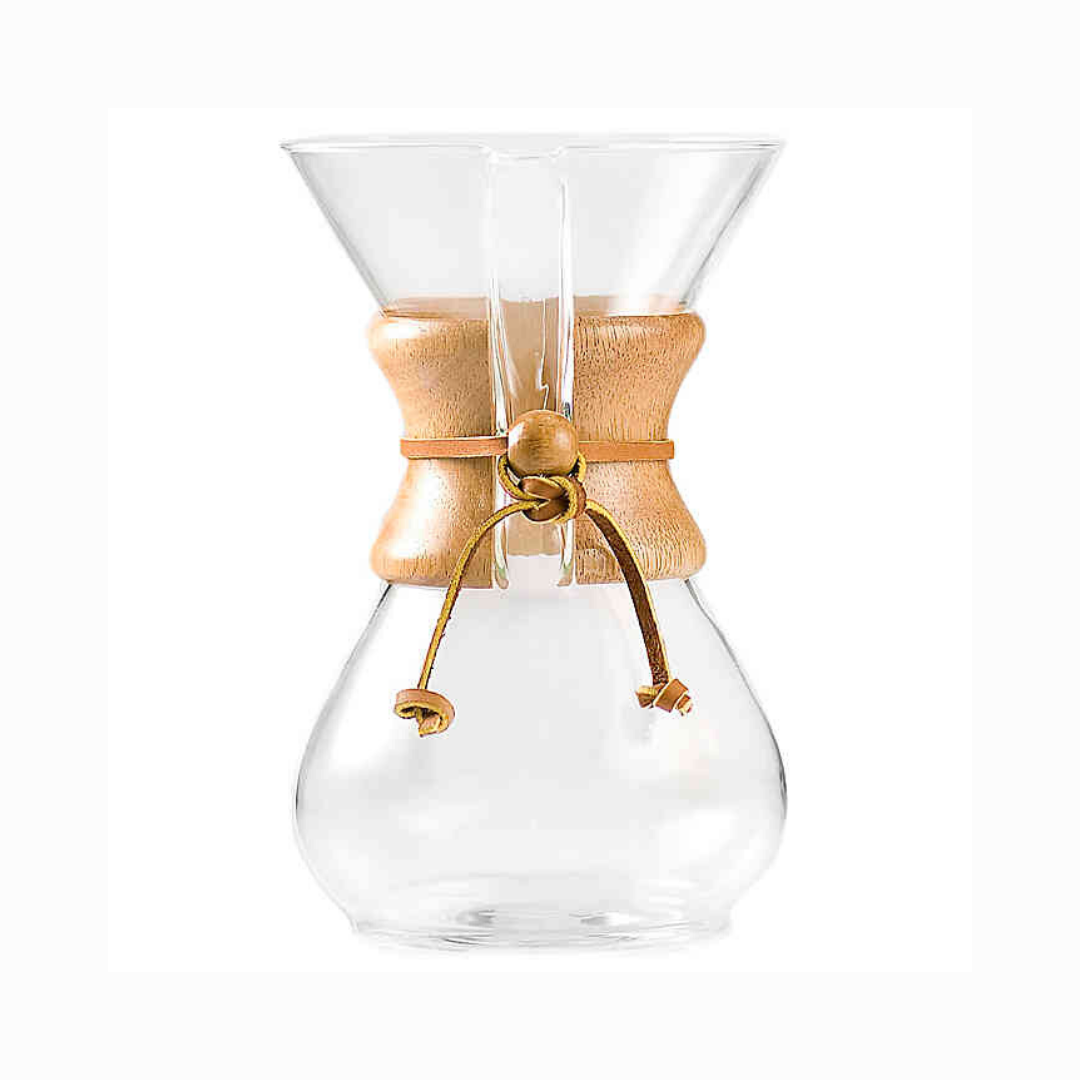
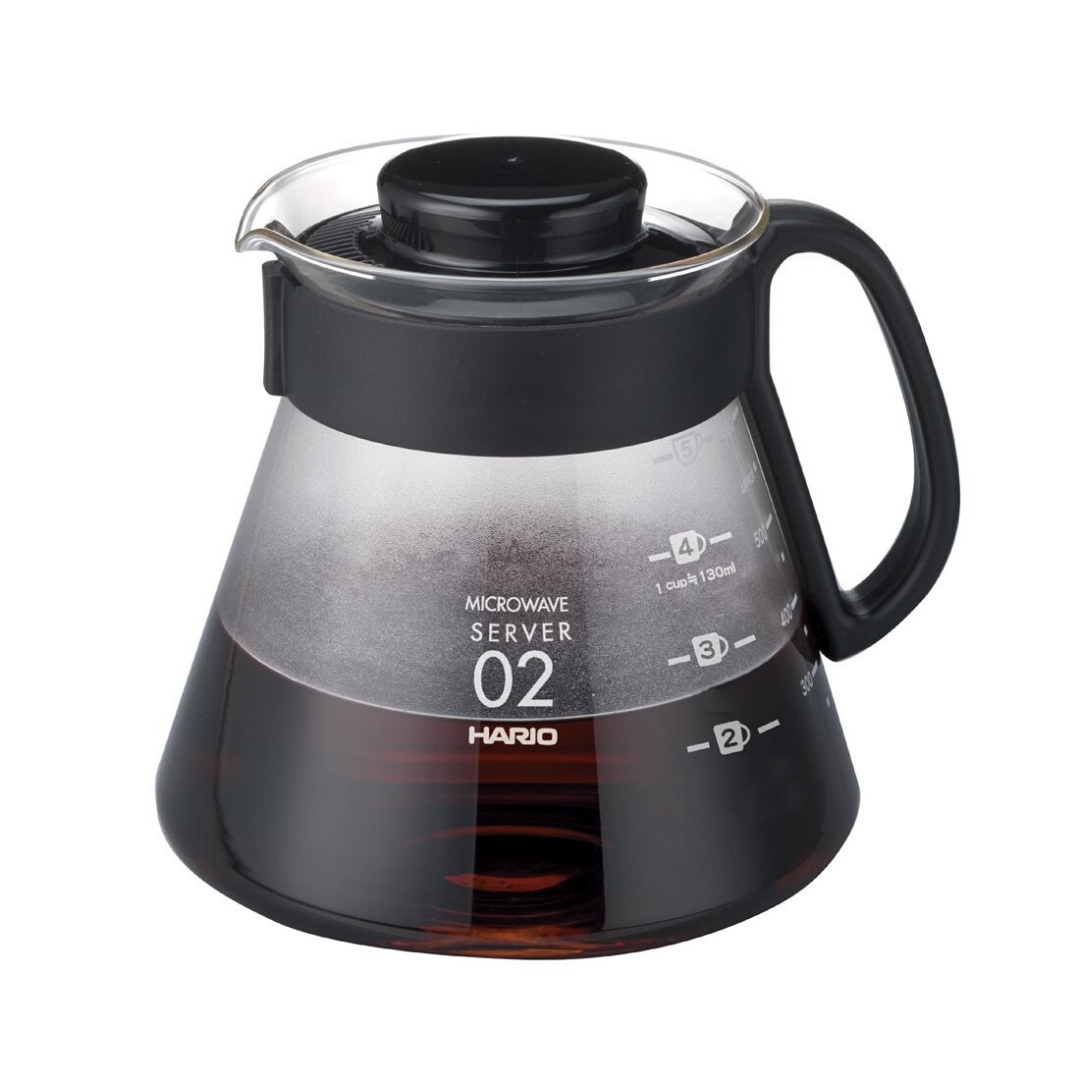
Serving Device
Coffee will need to fall into something, and what better than a serving device
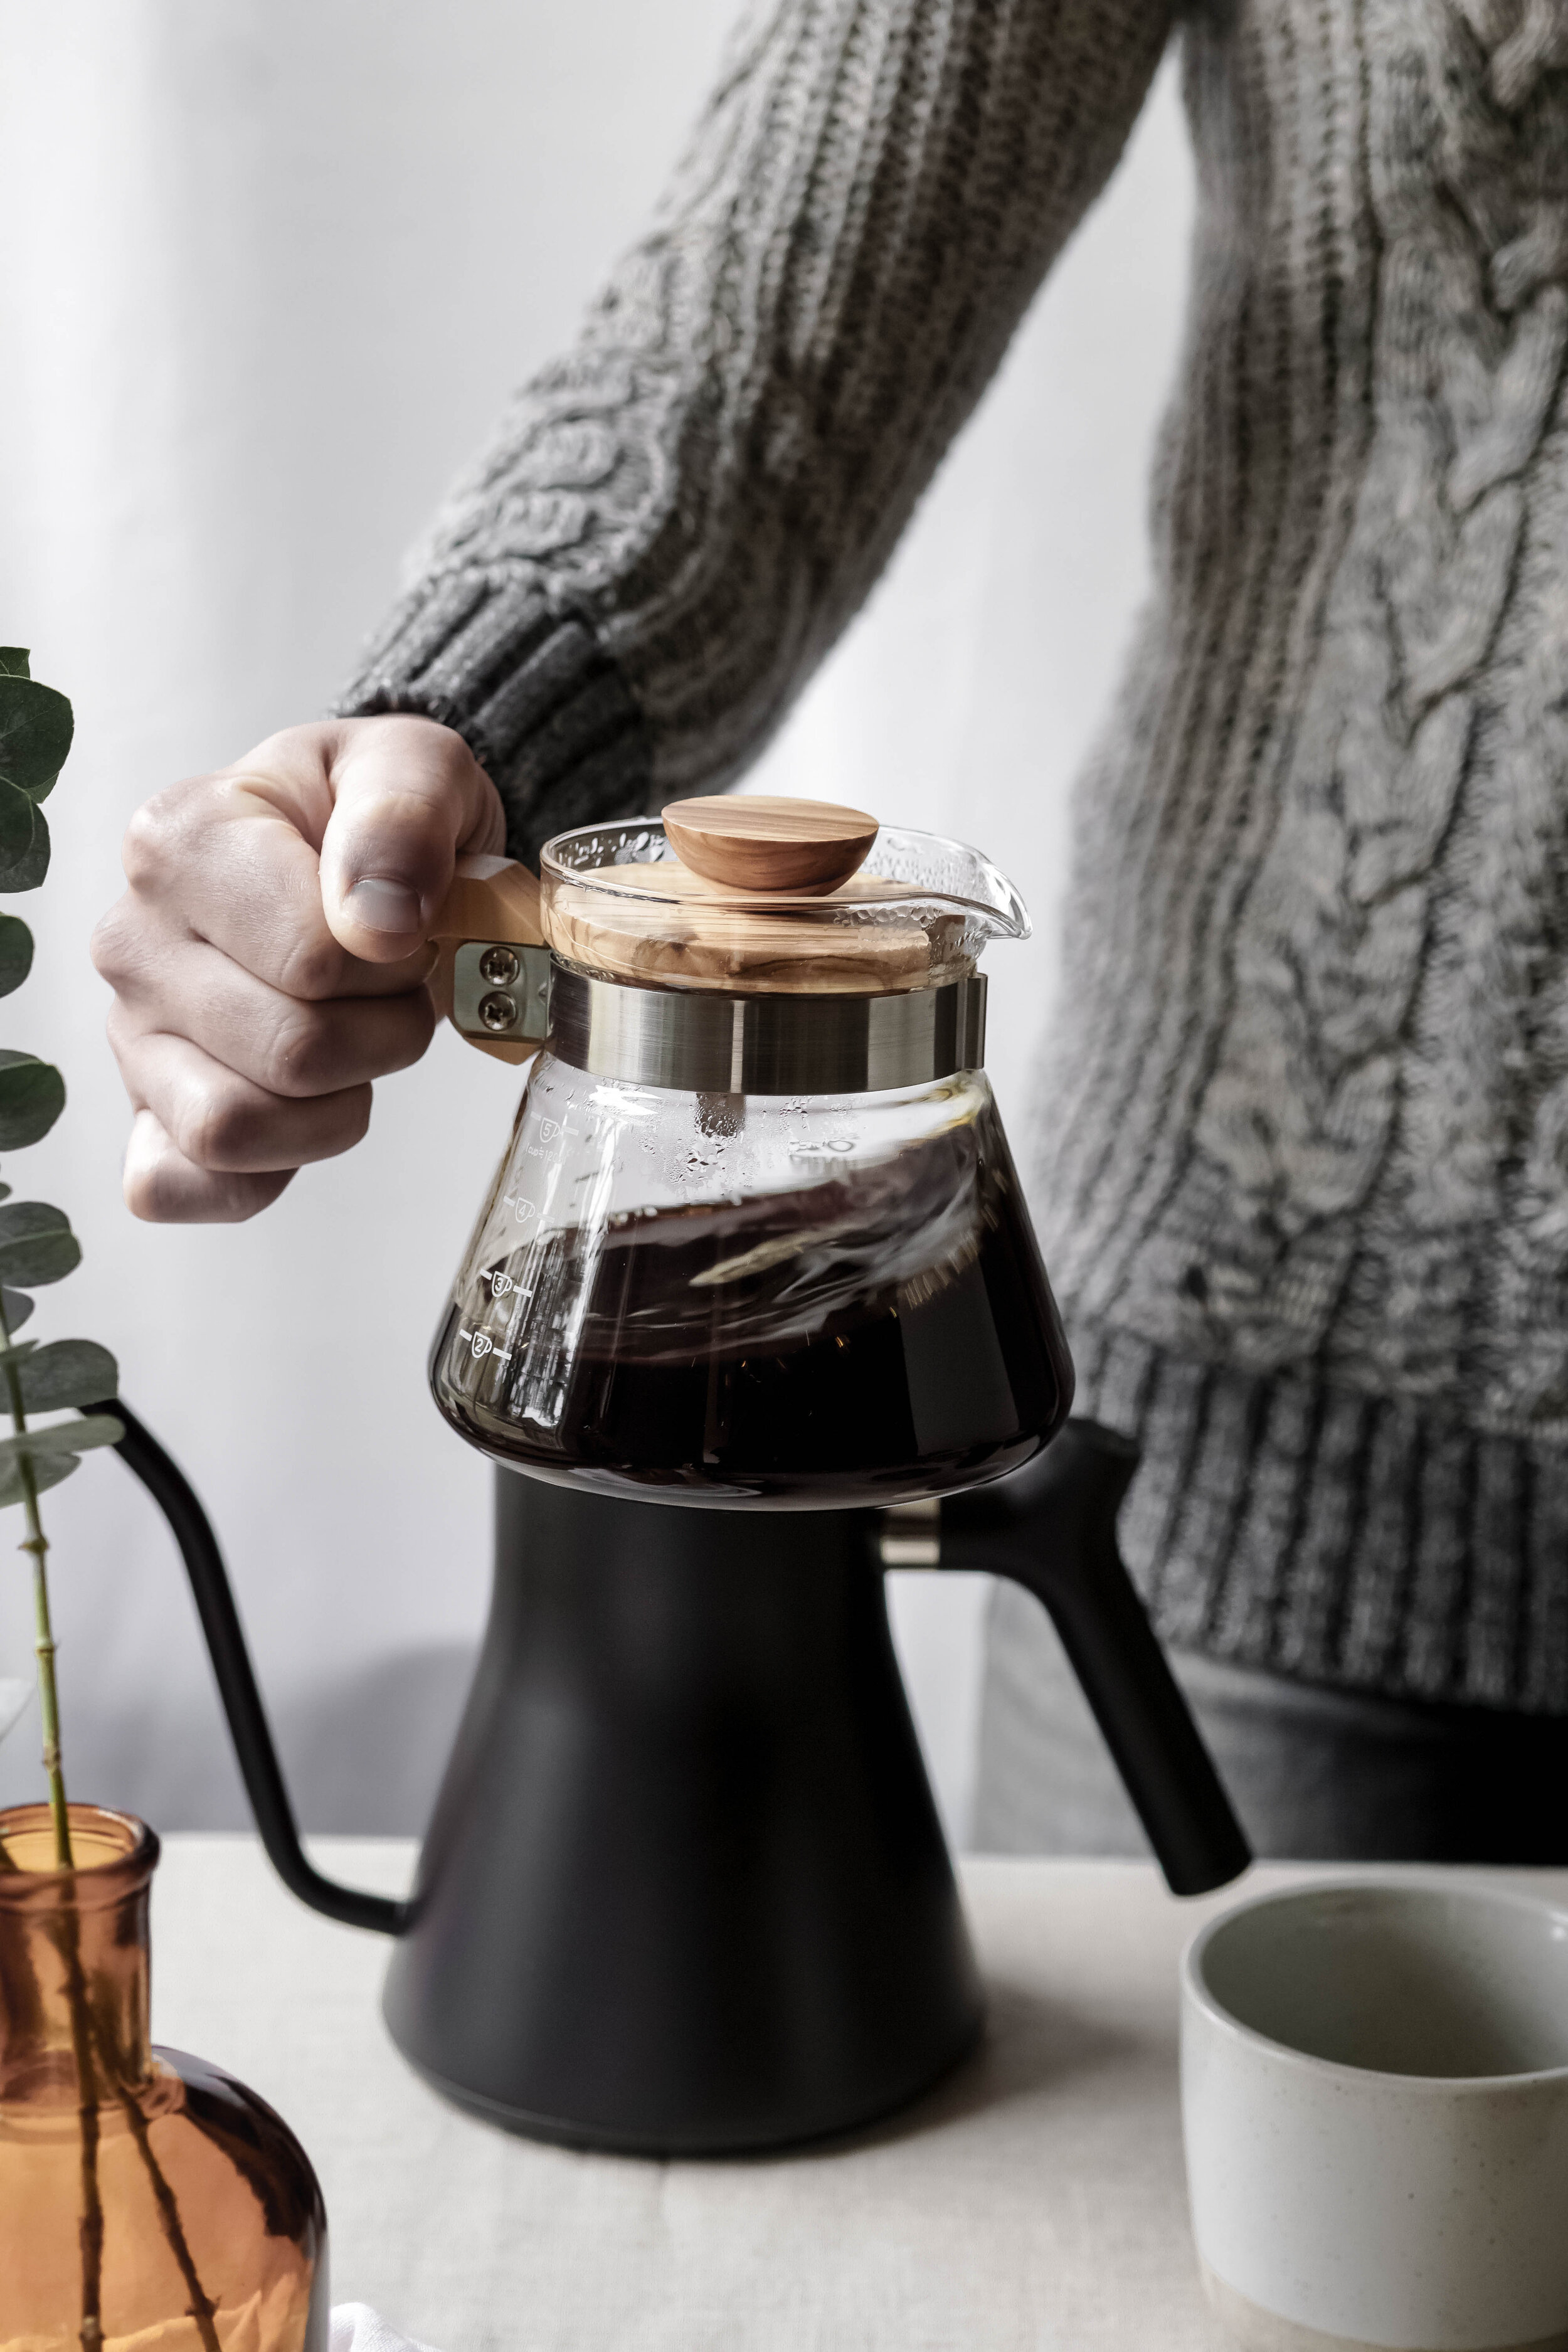
We use a Mason Jar for casual use and a Hario Coffee Server 02 when we want to impress the guest.
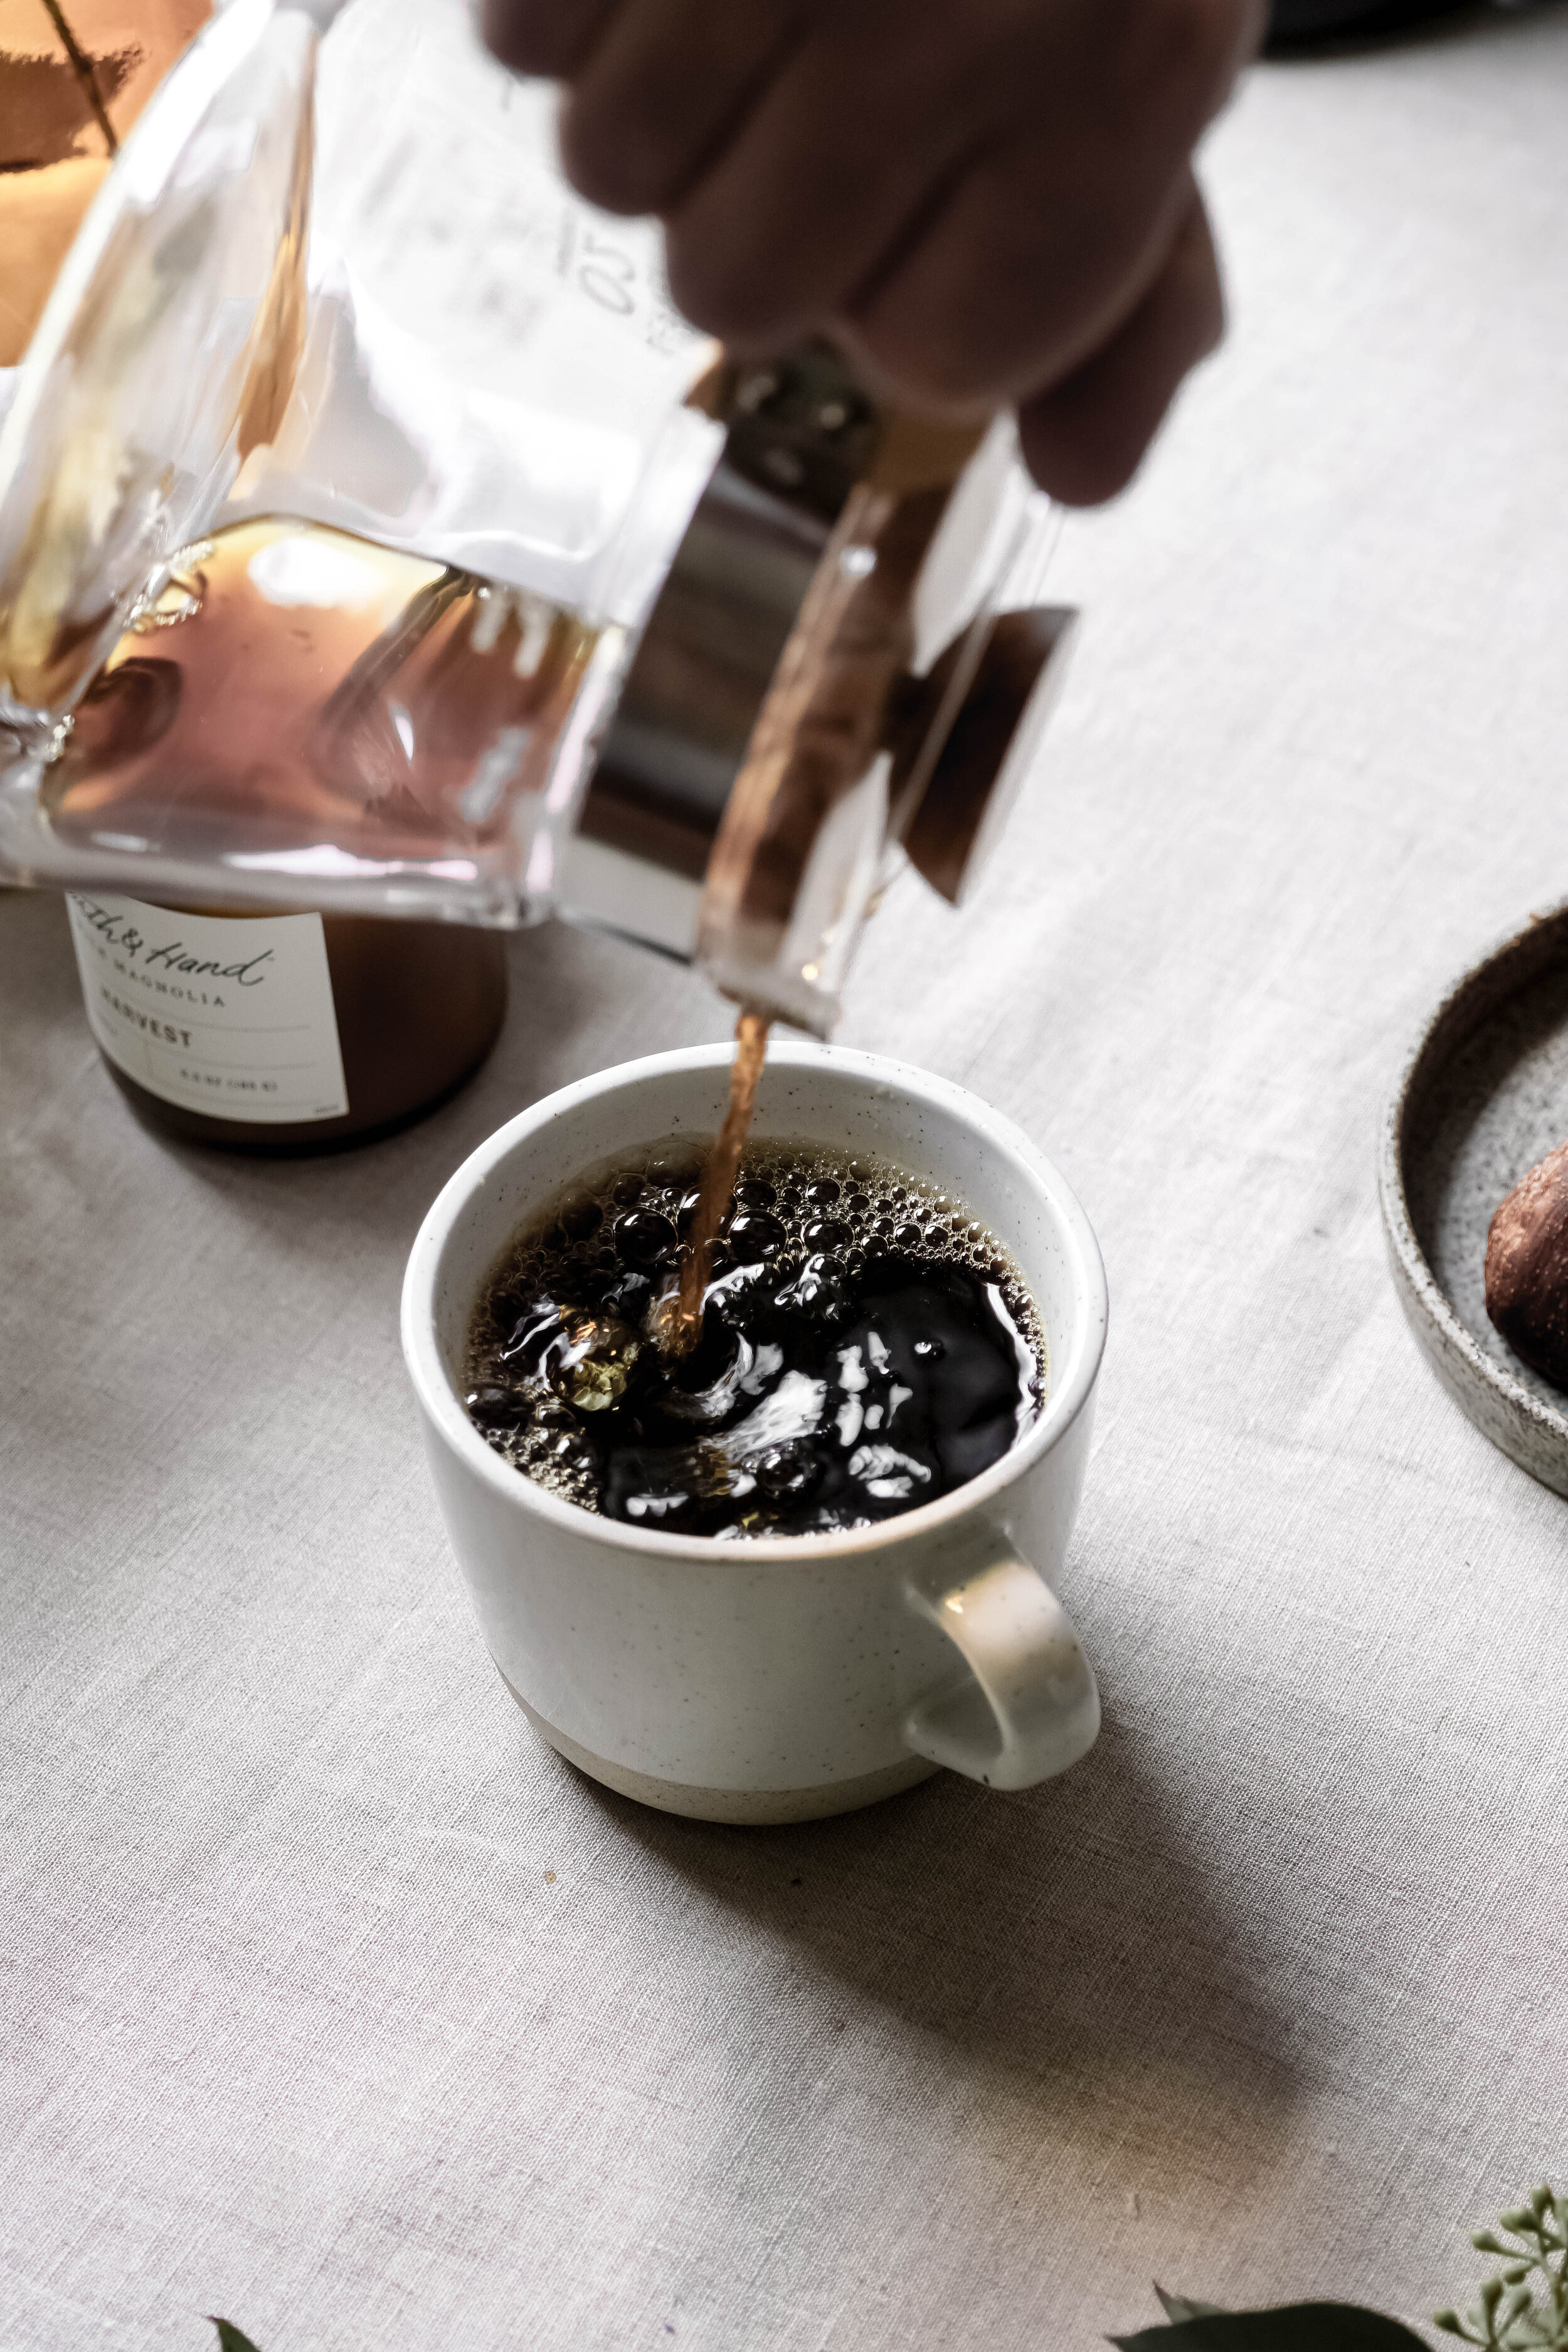
You can always go straight to the cup, but the best results come from a well-mixed brew.
Brew bars or frames can always accompany your coffee setup.

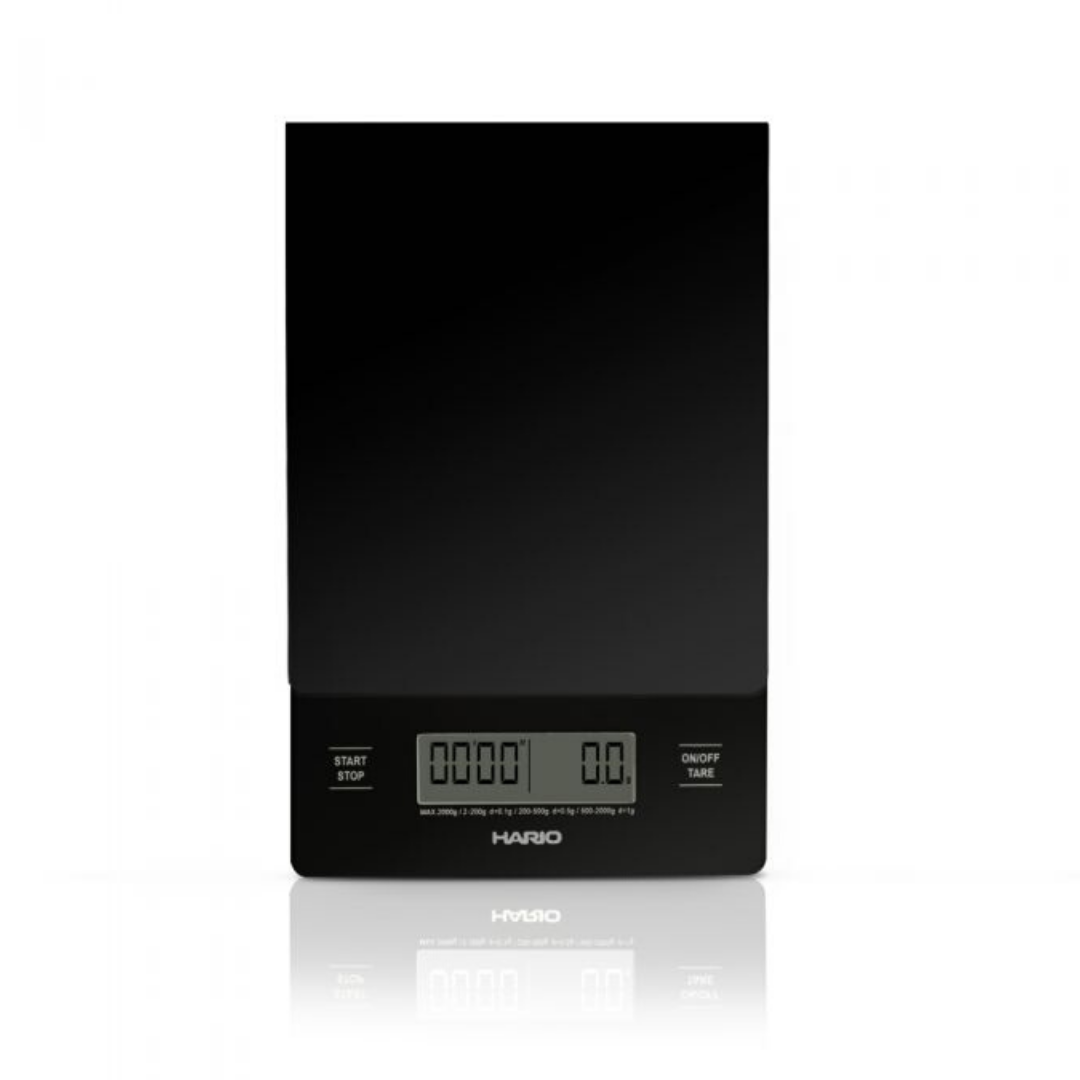
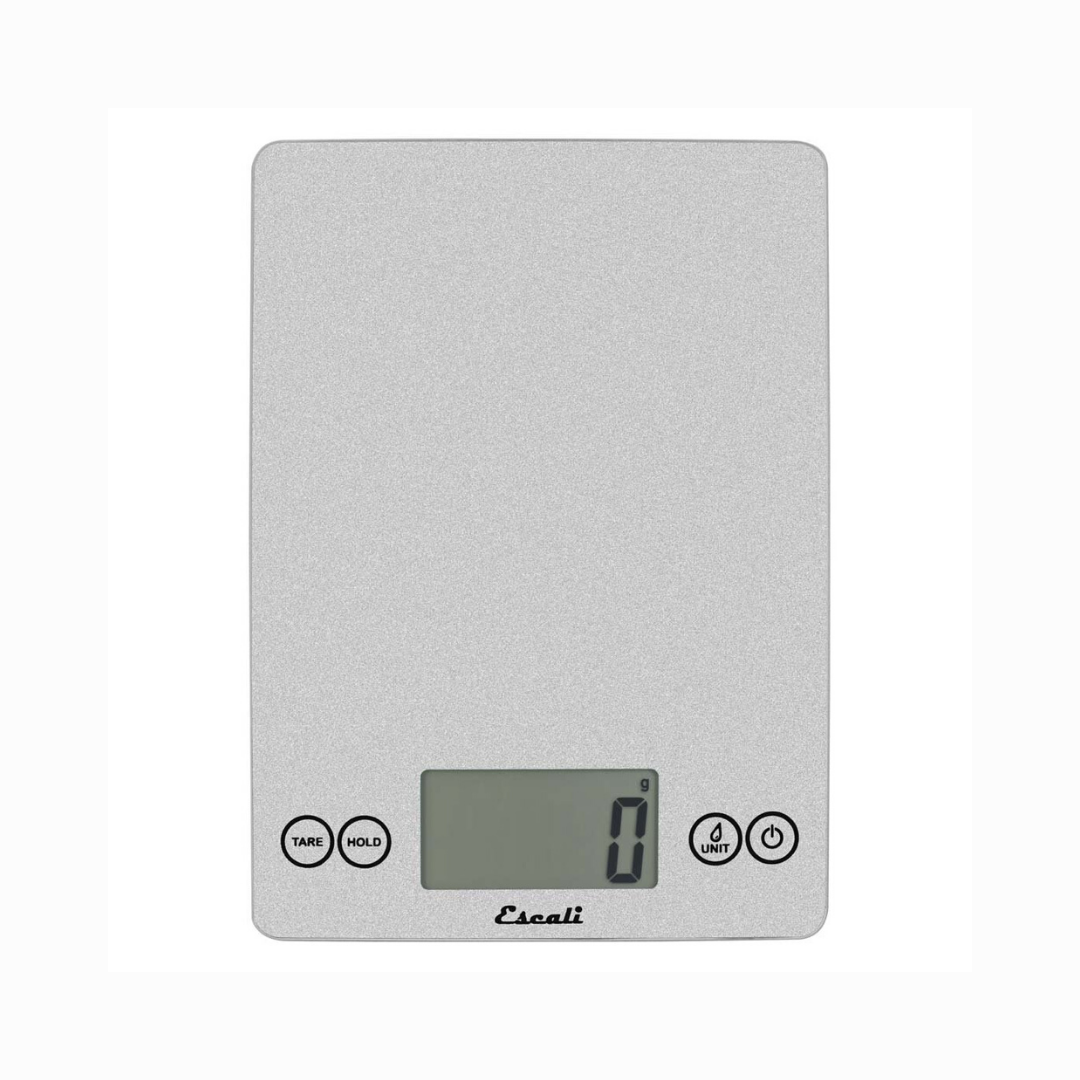
Scales
A great addition to your collection
You will save coffee, increase the consistency of your end product, and allow you to play with your control factors such as weight, water levels, and pour speed.
These range from cheaper digital kitchen scales to professional-grade, precision scales that you can weigh to at least .1g if you like to get specific.
Timers
Any timer will do as long as it works and is easy to use.
This helps with pre-infusion and brew end-time.
** Some scales and brew kettles include a timer if you don’t want to bother with more gadgets.
Coffee Ratios and Pour-Over Parameters
Learning the fundamentals of pour-over coffee is the key to improving the quality of your homebrew.
Bean Quality
For this brewing procedure, we will focus on the idea that we are using lighter roasted coffee with an average density for what you will find in the modern market. All of the parameters within the procedure can be changed based on grind/particle size, roast level, and quality of bean before and after roasting. Coffee is a naturally grown product with many varying factors.
Coffee to Water Ratio
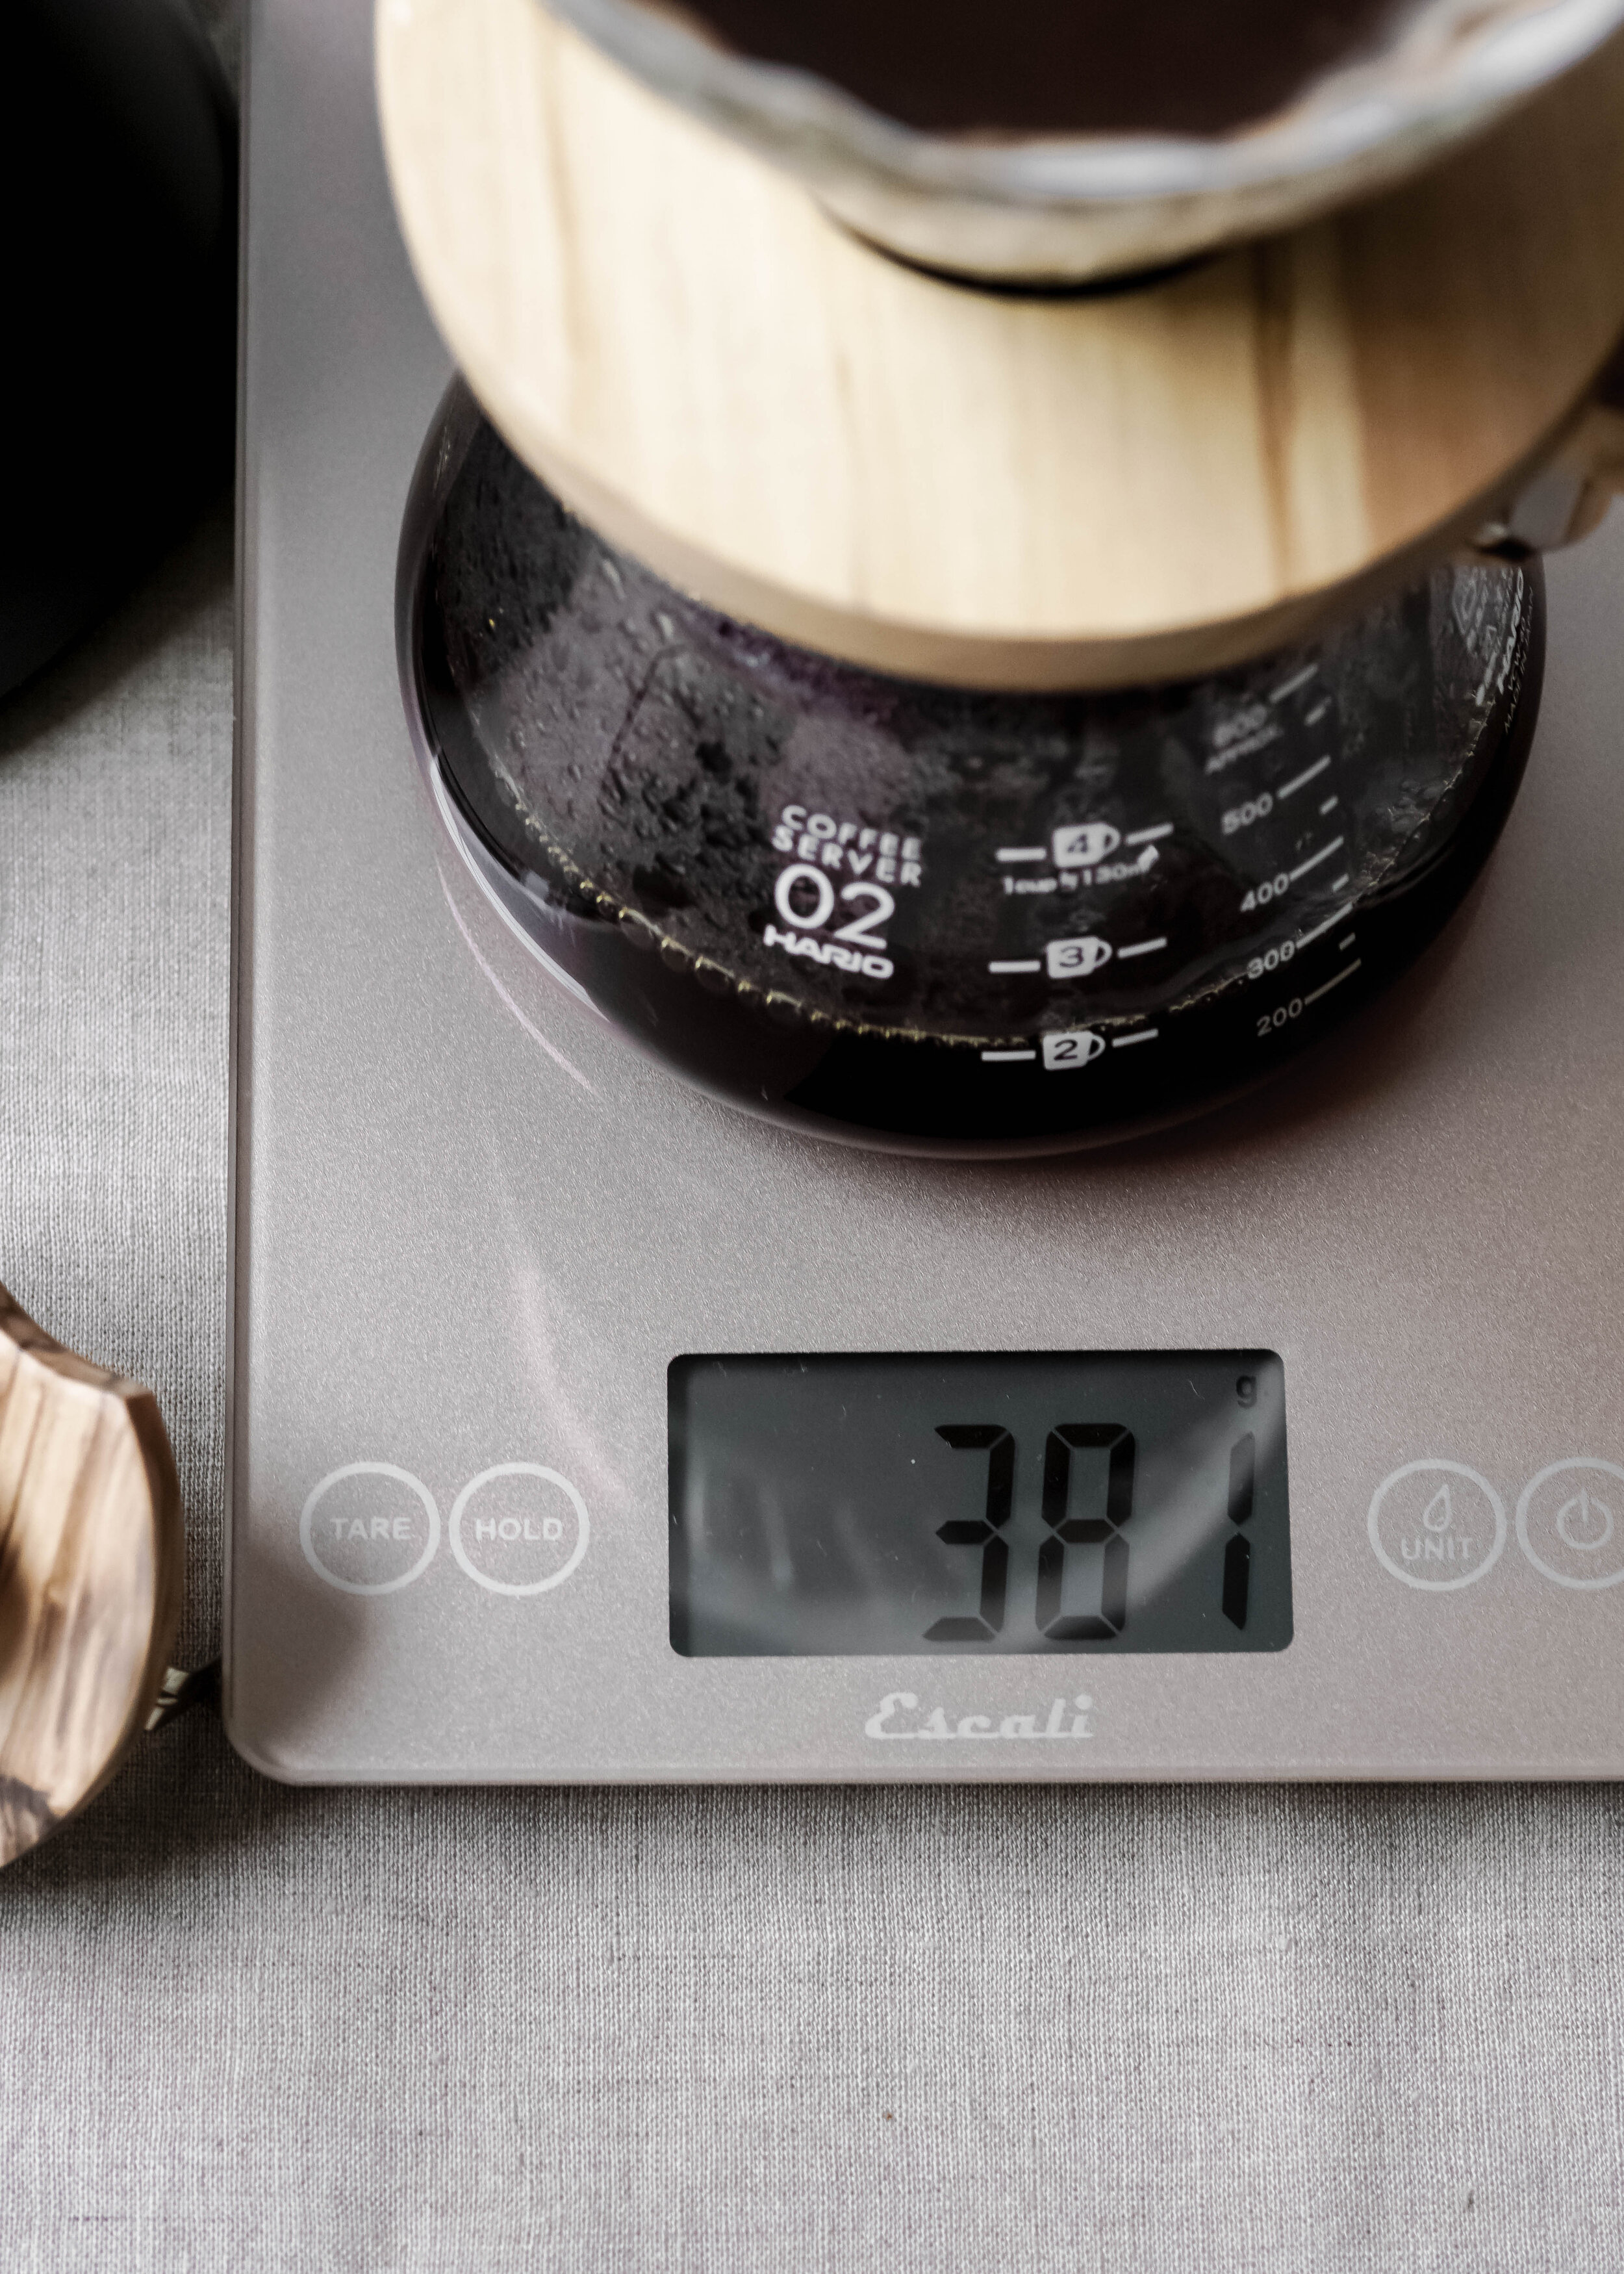
Our brewing ratio is between 24g and 25g of coffee to, at least, 350g, but ideally, 380g of water. Up to 400g of water can still produce a good tasting brew but runs the risk of over-extraction. 380g of water is a more comfortable number due to the absorption of water into the coffee grounds resulting in an almost perfect 12oz liquid output.
Pre-infusion
The pre-infusion should weigh in at double the amount of ground coffee. In this case, we are using 24g to 25g of coffee, so your pre-infusion should be approximately 48g of water (give or take a few grams won’t hurt anything). The entire pouring process should land around a minute and a half (1:30 on the timer). Give or take 10 seconds won’t dramatically change anything but will have different results.
Casual brews not using precision brew kettles will act differently. Multiple pours and longer brew times are normal. Quality will suffer, but do what you can with what you have.
Final Brew Time
“Fall time” is what we refer to as the final brew time. Depending on the type of coffee, your fall time could be 2 minutes or could end up landing slightly over 3 minutes. Fall time should never exceed 3 minutes and 30 seconds for an ideal brew. Pulling the brew basket off of the server early can prevent off-flavors from entering your brew late in the game.


How to Make Pour-Over Coffee
Ingredients:
- 24-25 grams of ground coffee
- Filtered water
- Brew basket
- Filter
- Brew kettle
- Grinder
- Scale
- Timer
Instructions:
- Heat water between 205 ºF to 210 ºF. If using a stove device, boil and let rest for a moment before exposing it to the coffee.
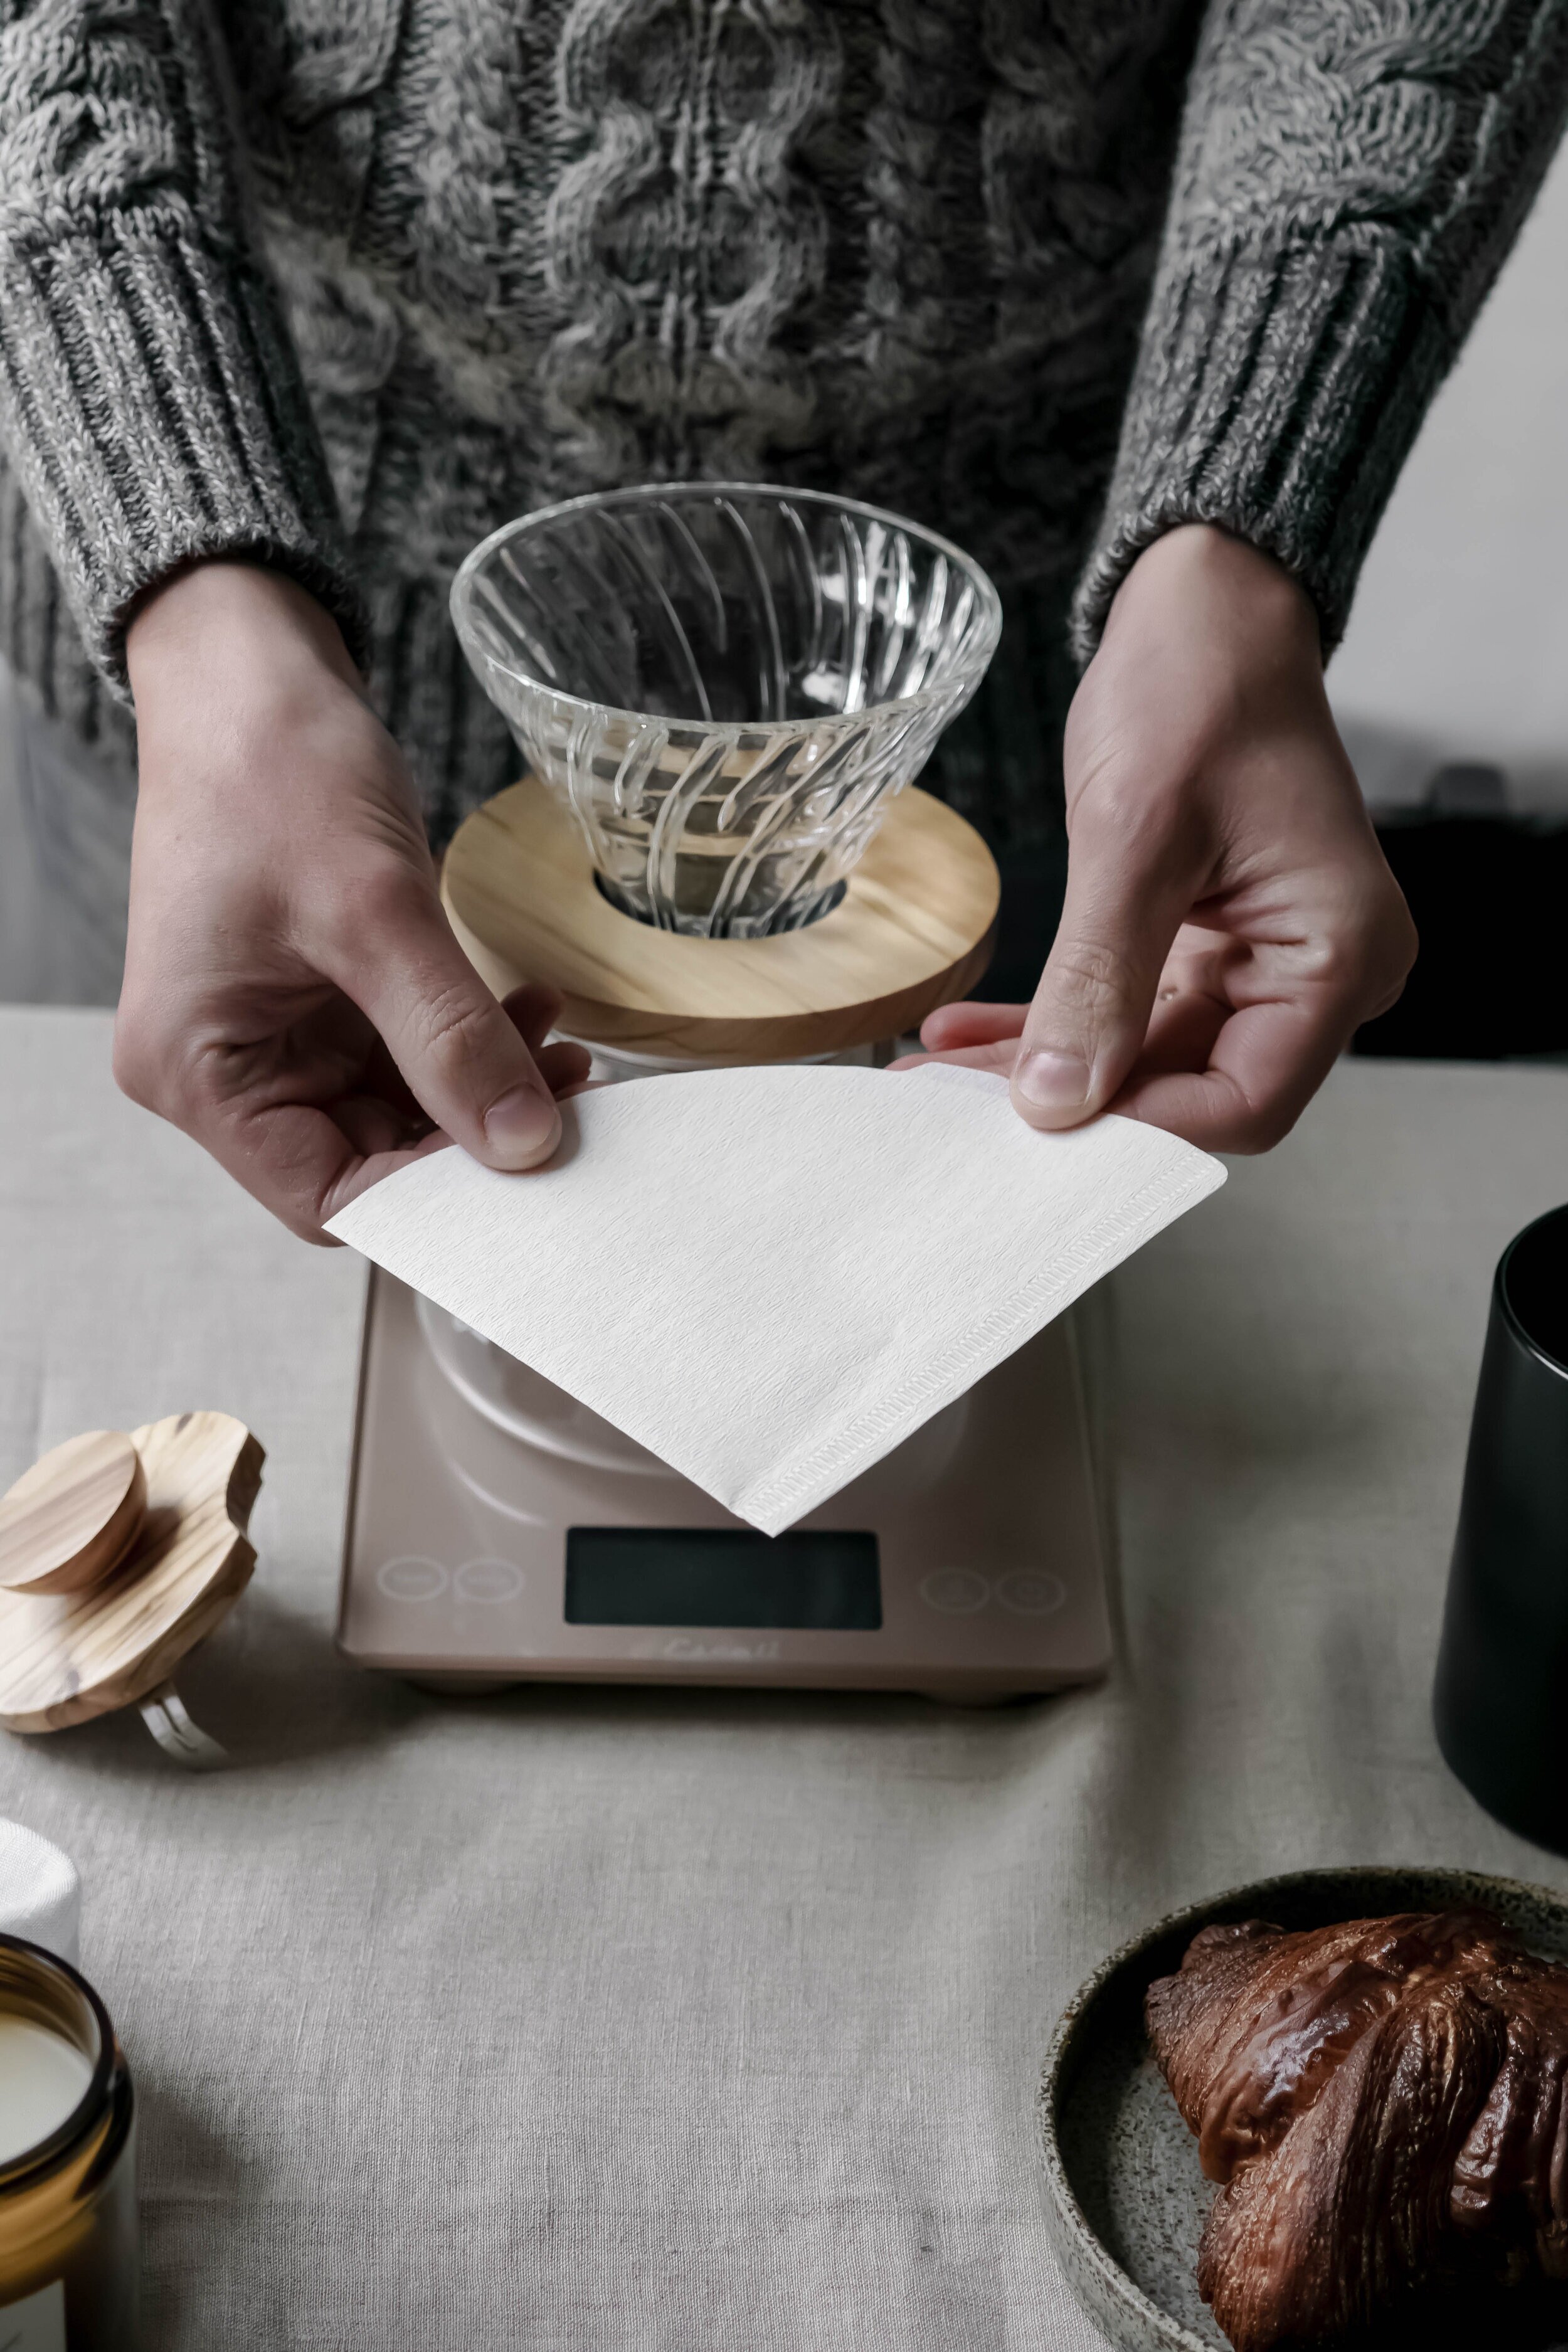
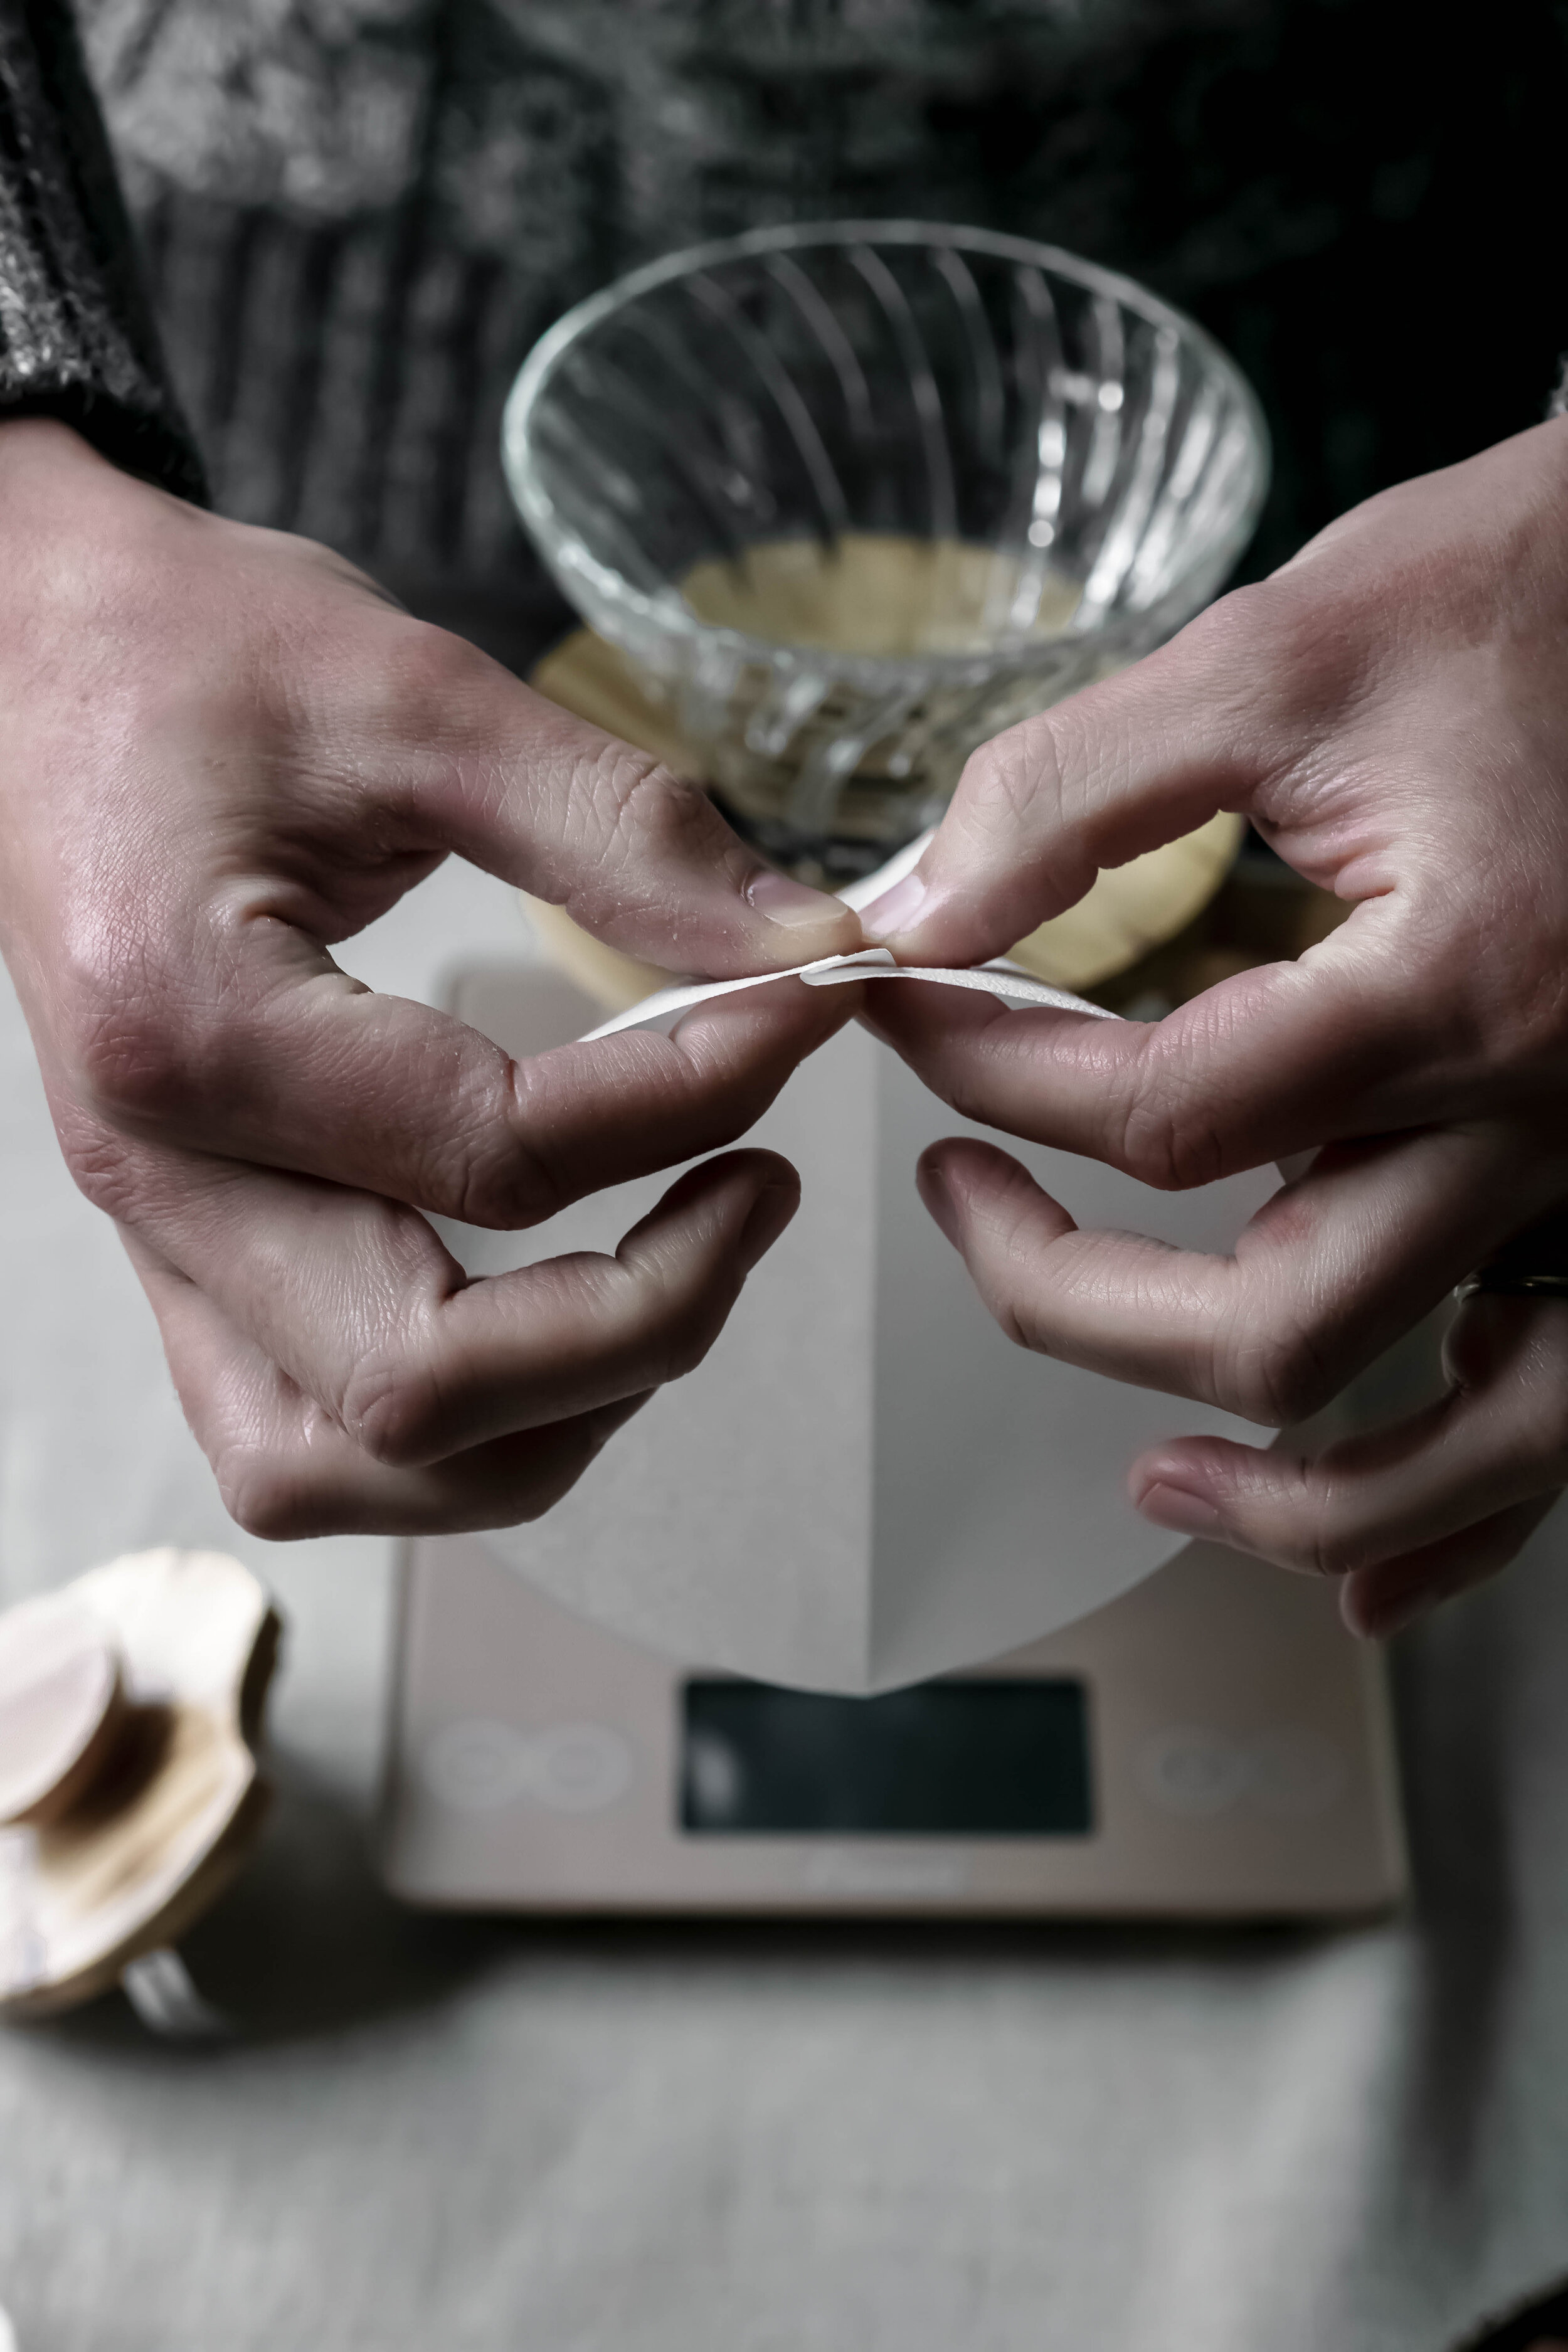
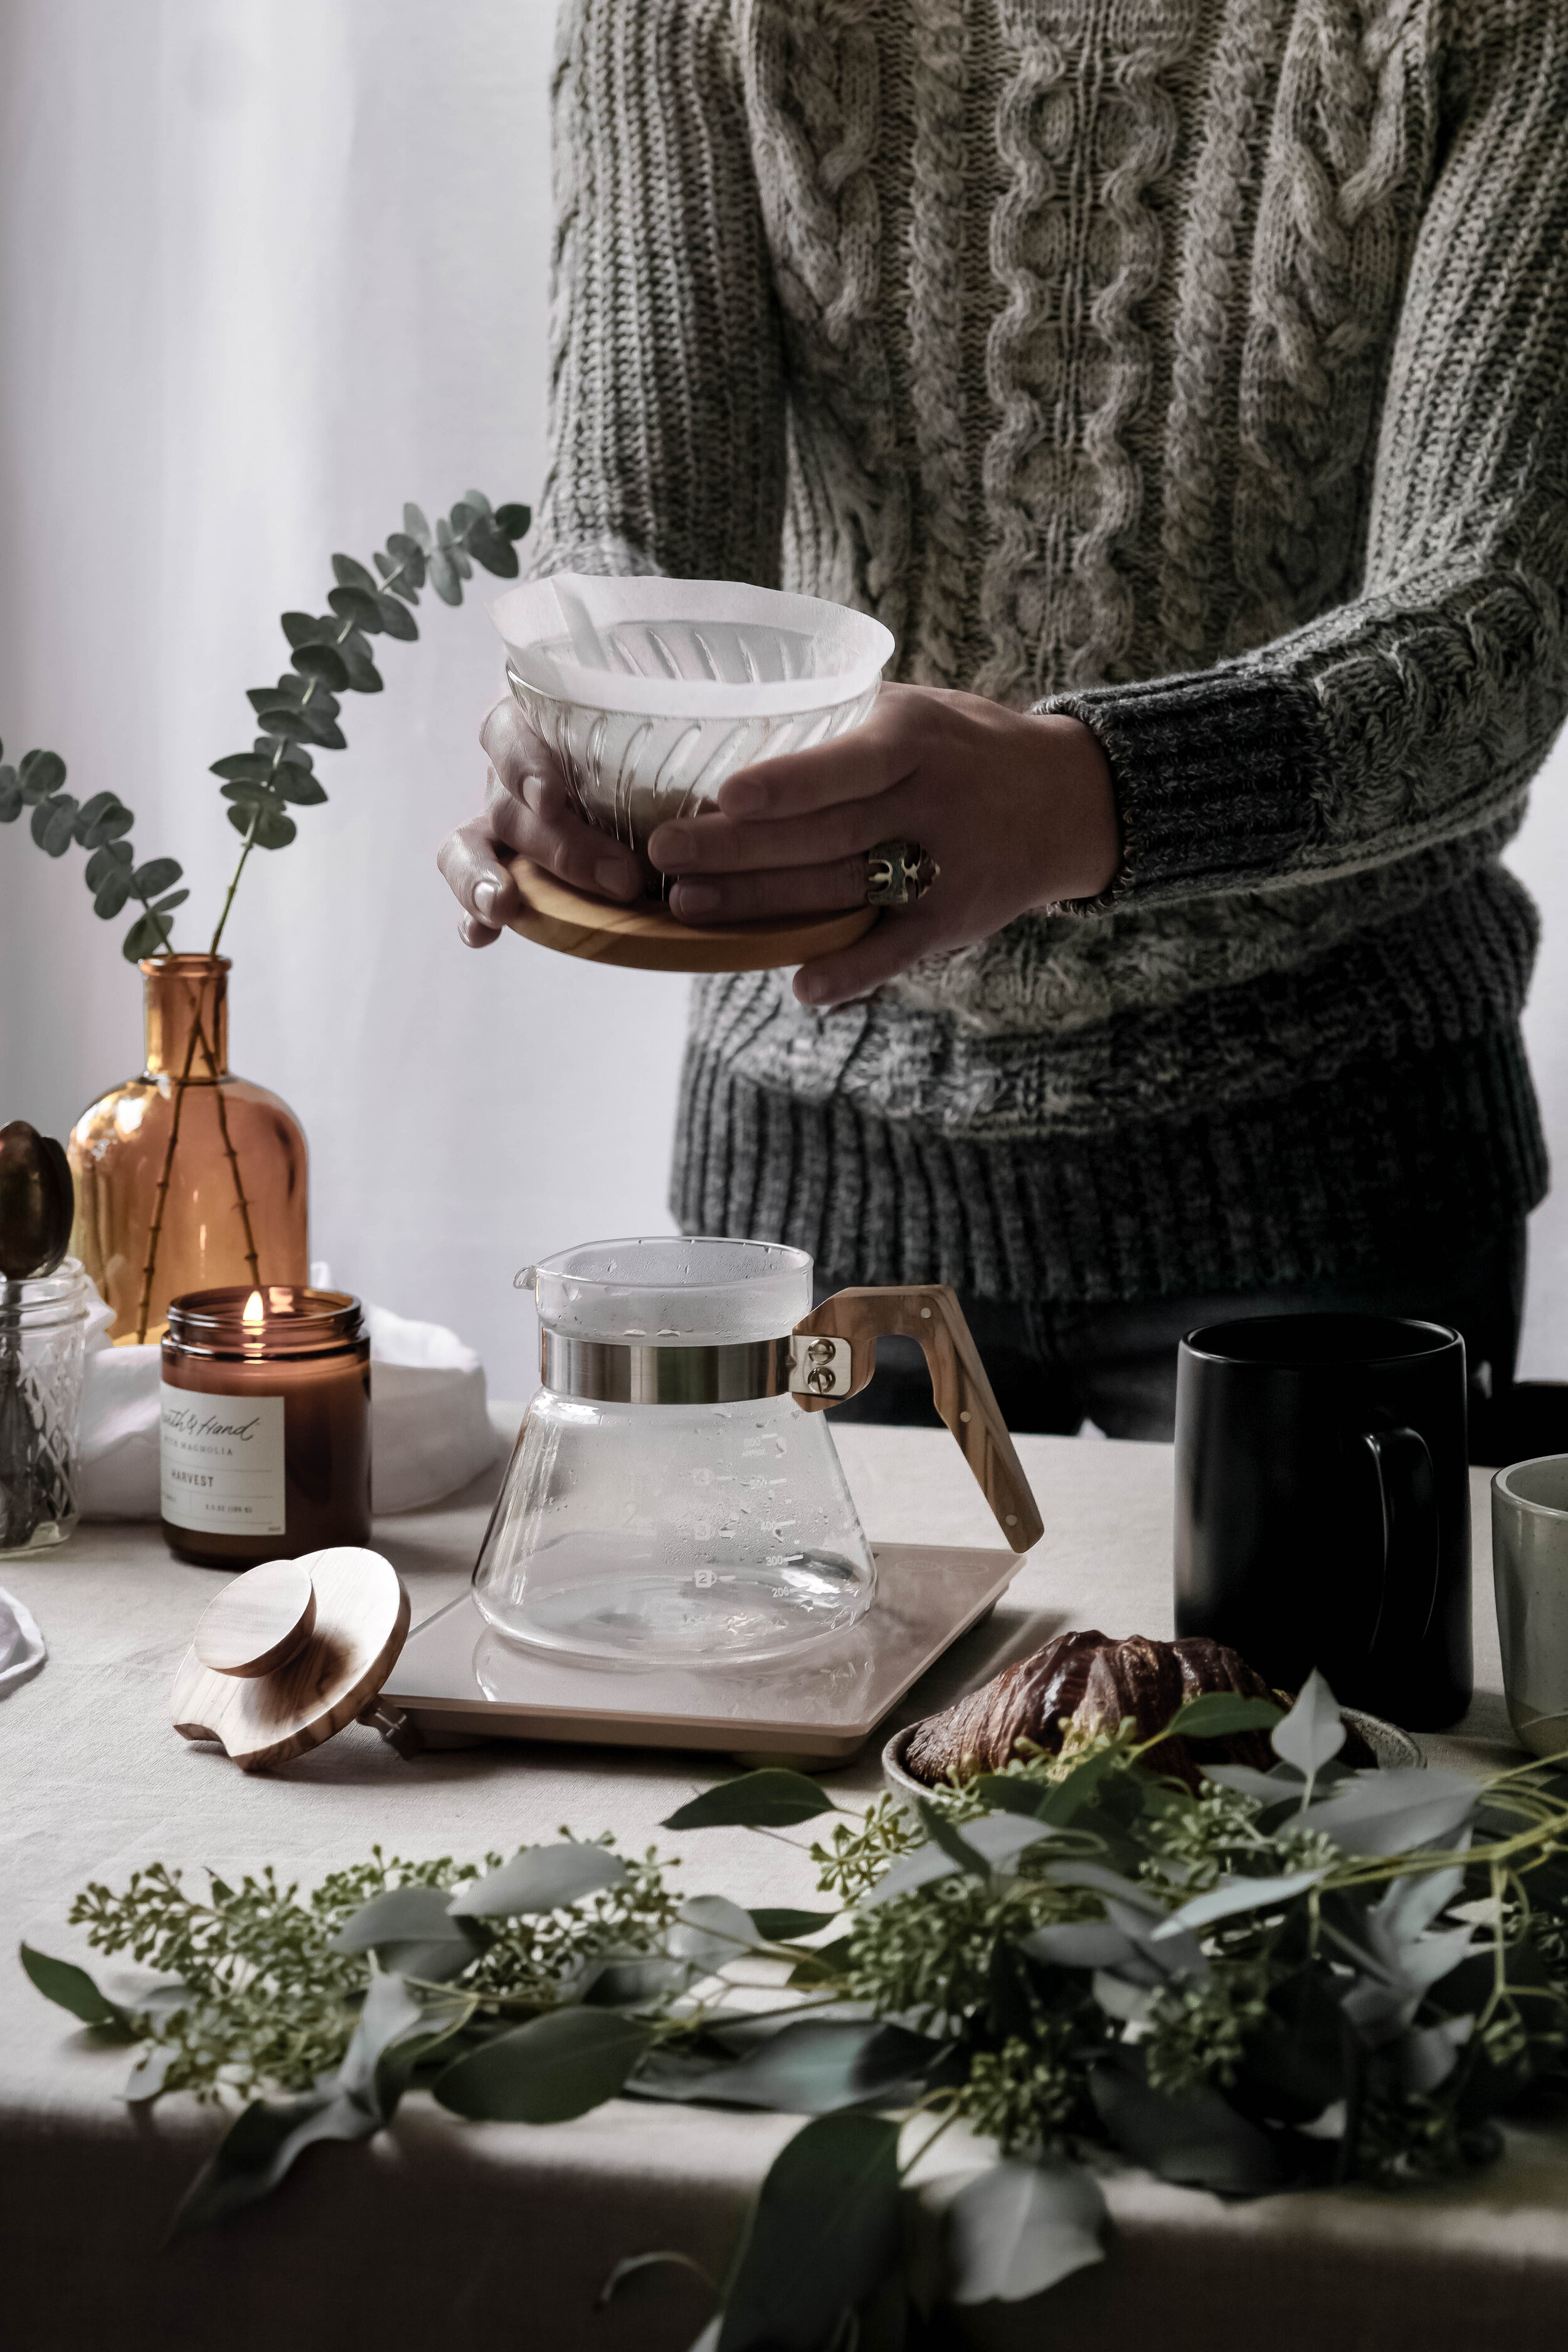
- Fold the filter to fit the brew basket.
- Wet the filter thoroughly inside the brew basket to warm it up and rinse out the paper flavor and bleach. Discard rinse water that now resides in the warmed serving device.
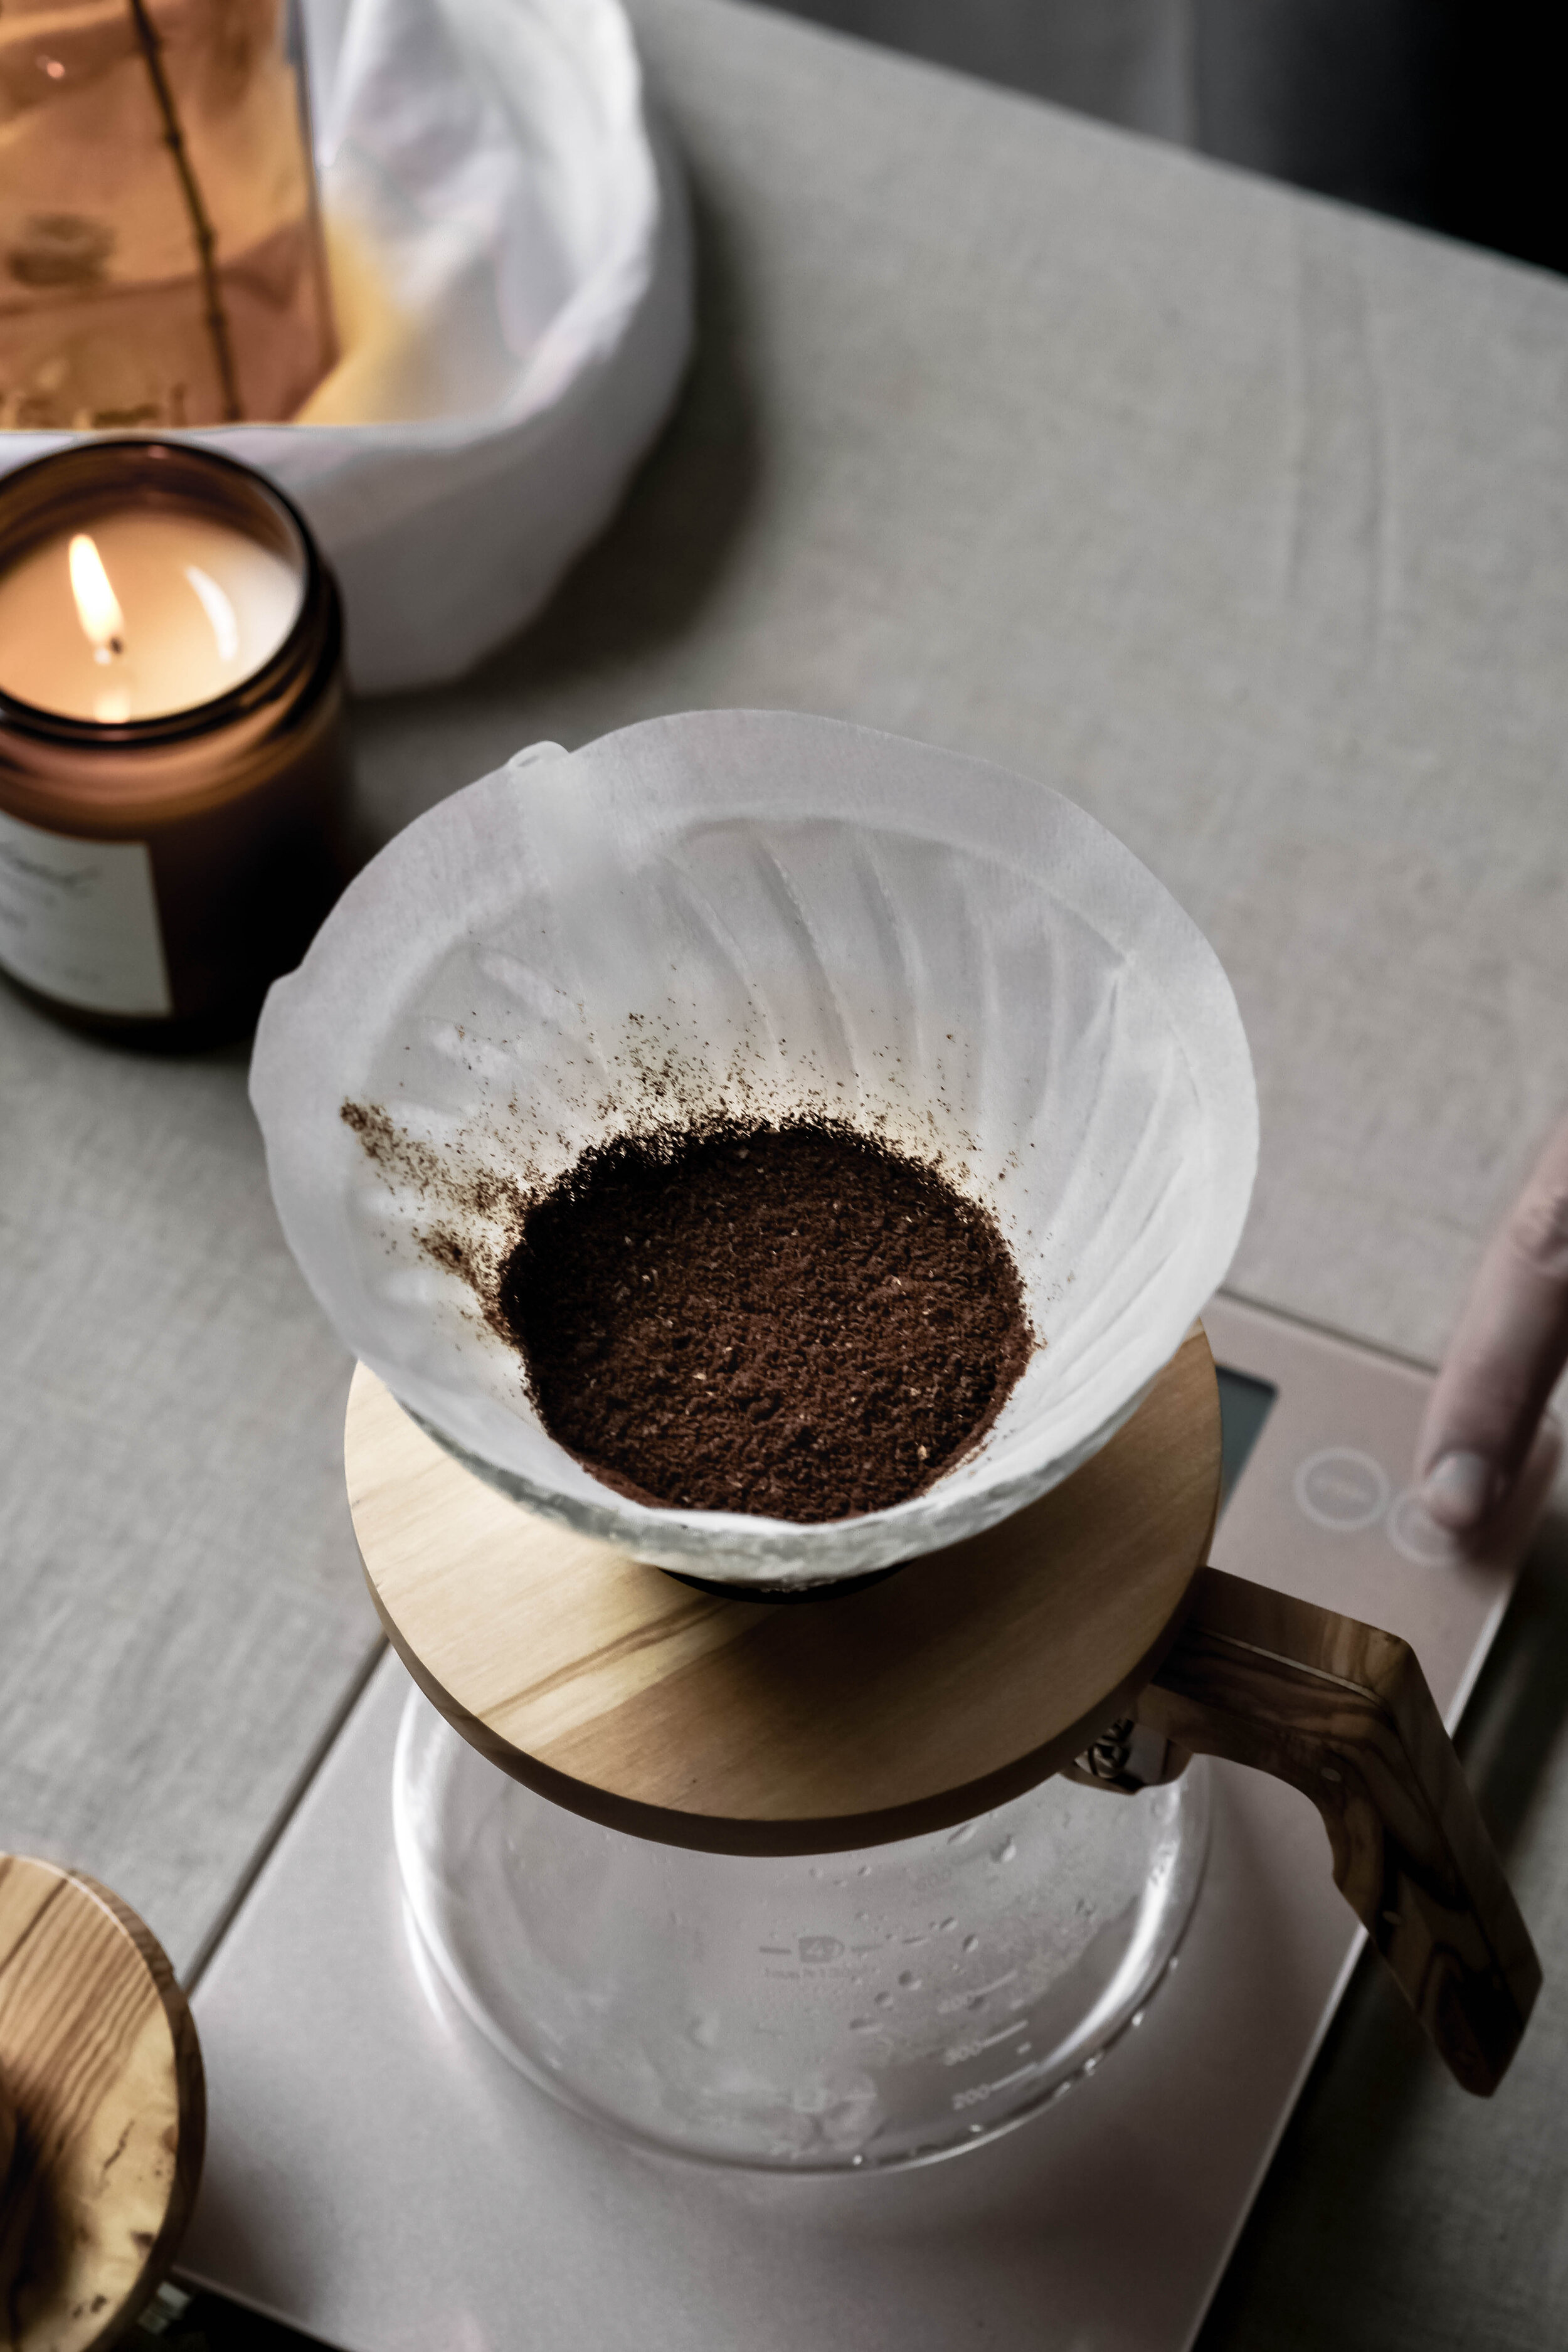
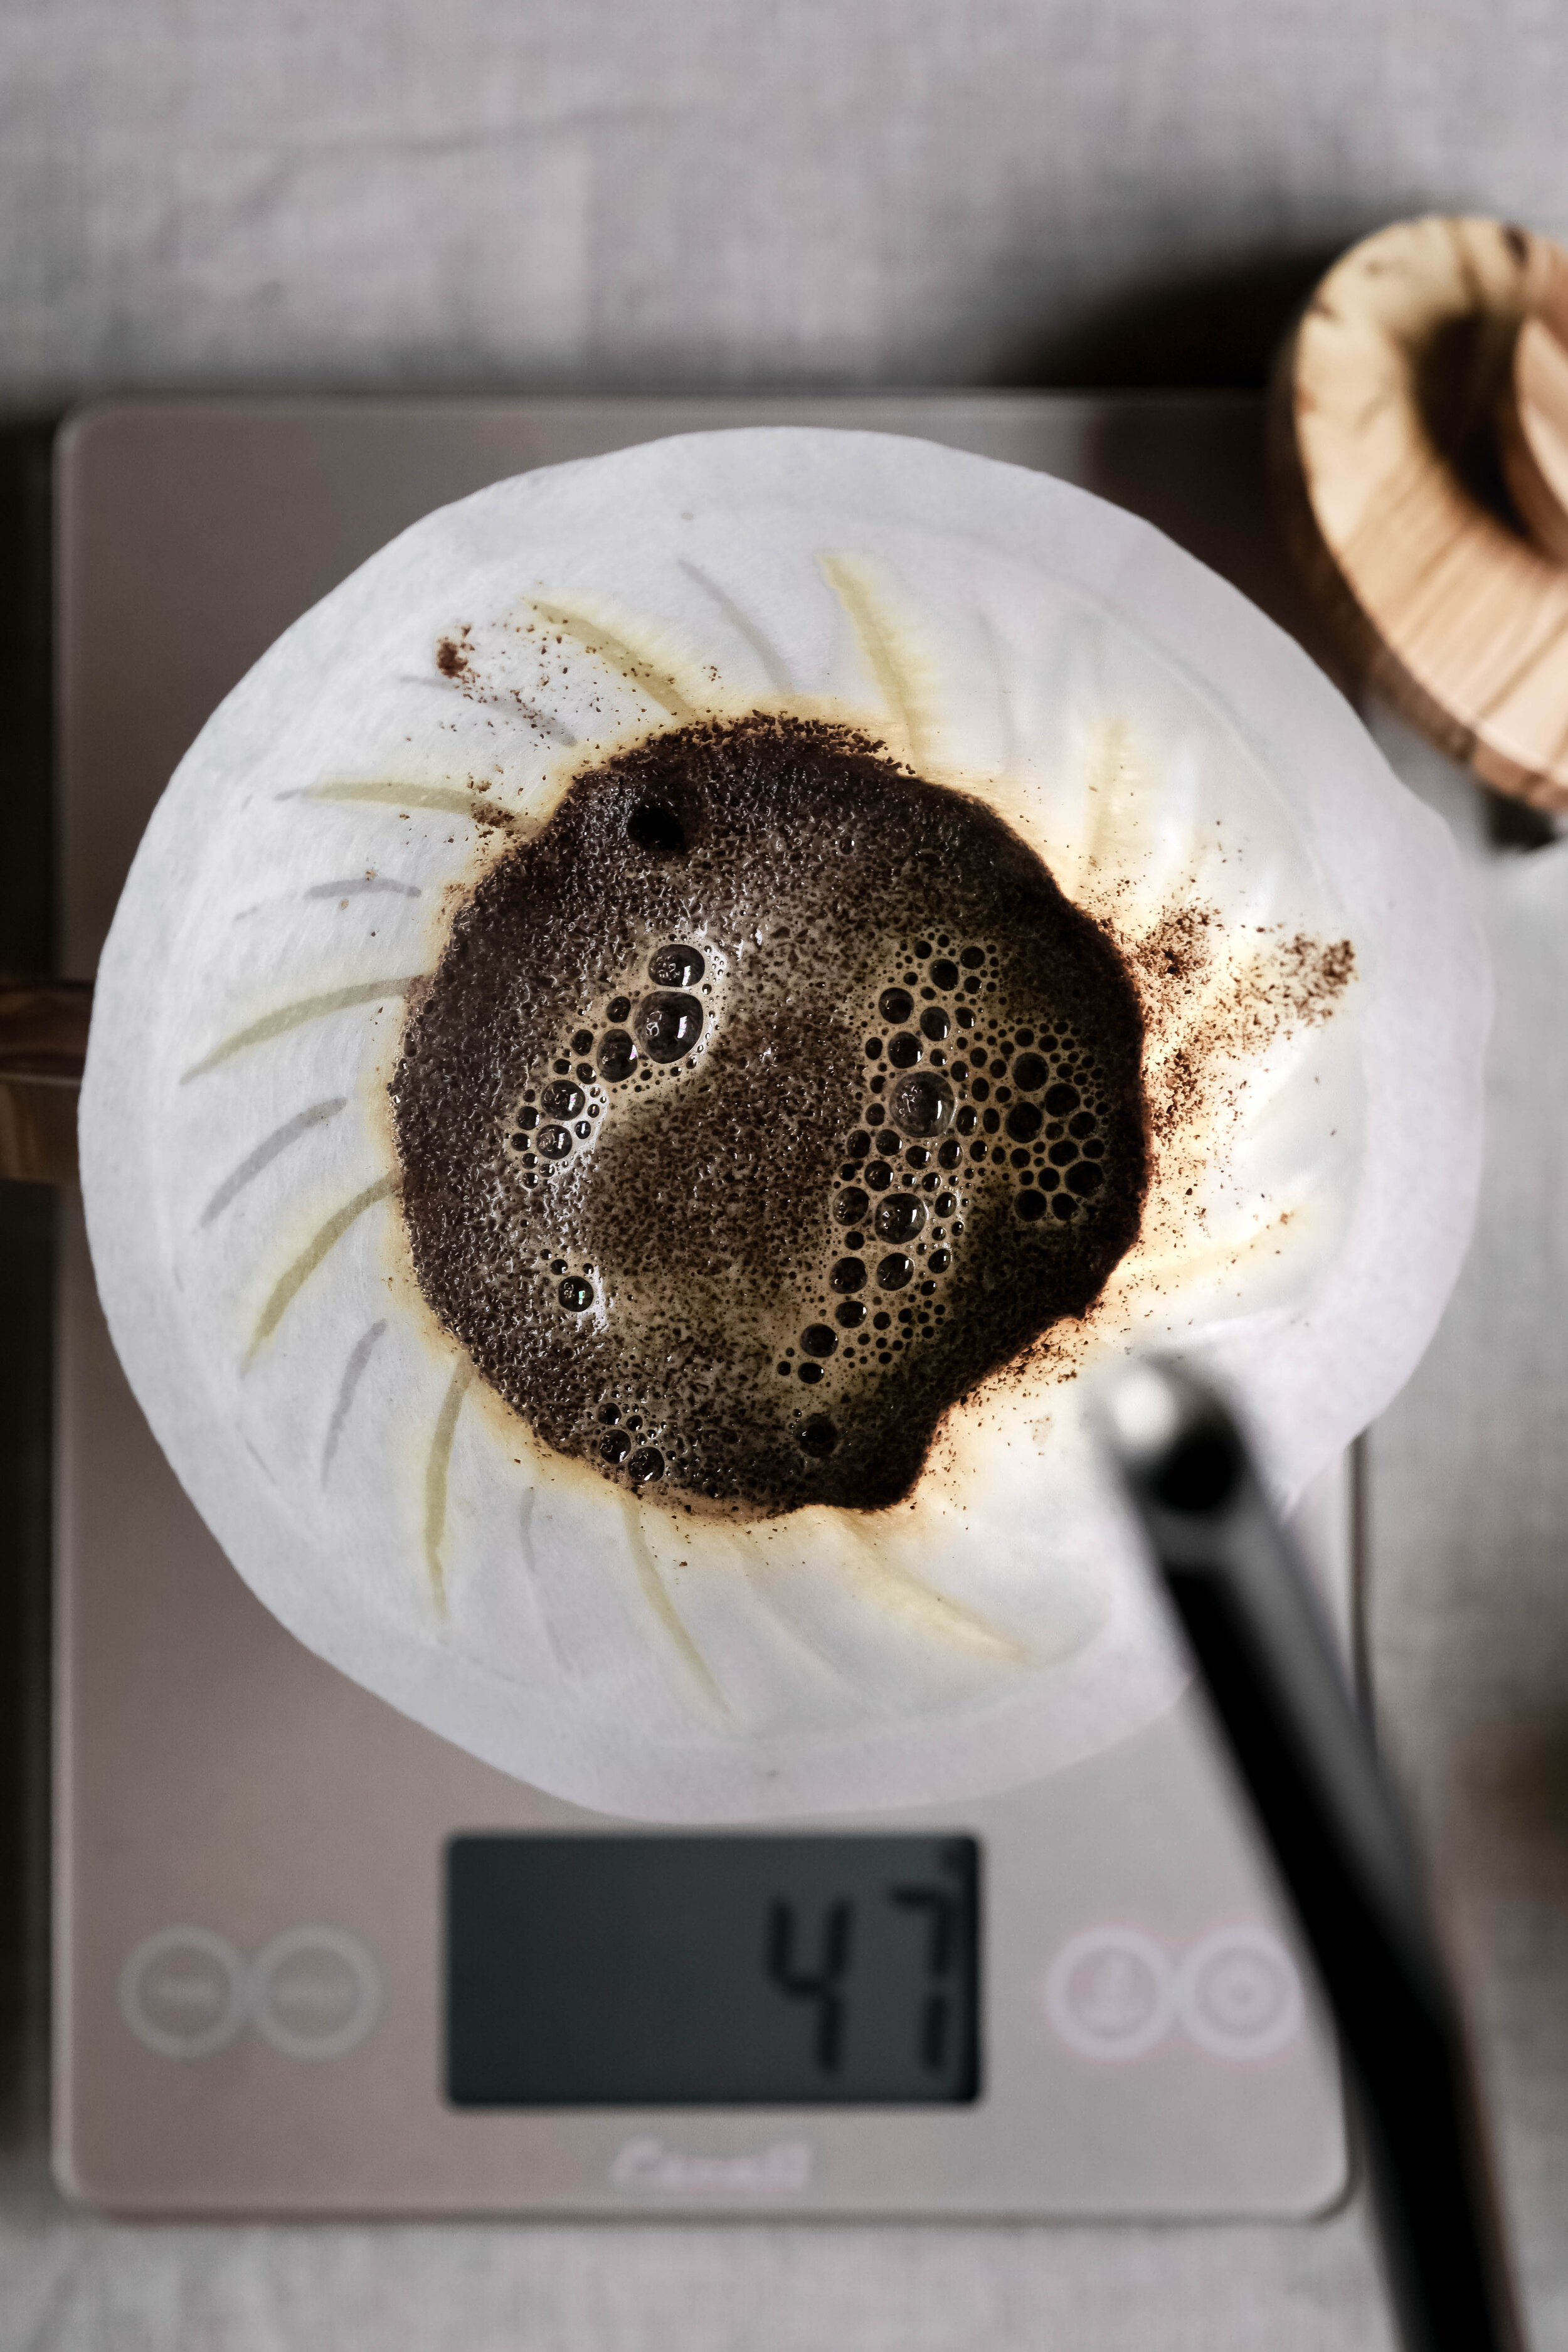
- TARE scale to 0g and add 24g-25g of ground coffee to the filter. You can add pre-dosed grounds or pour straight from the bag to the goal weight. Flatten the grounds in the filter, so you have an even starting surface.
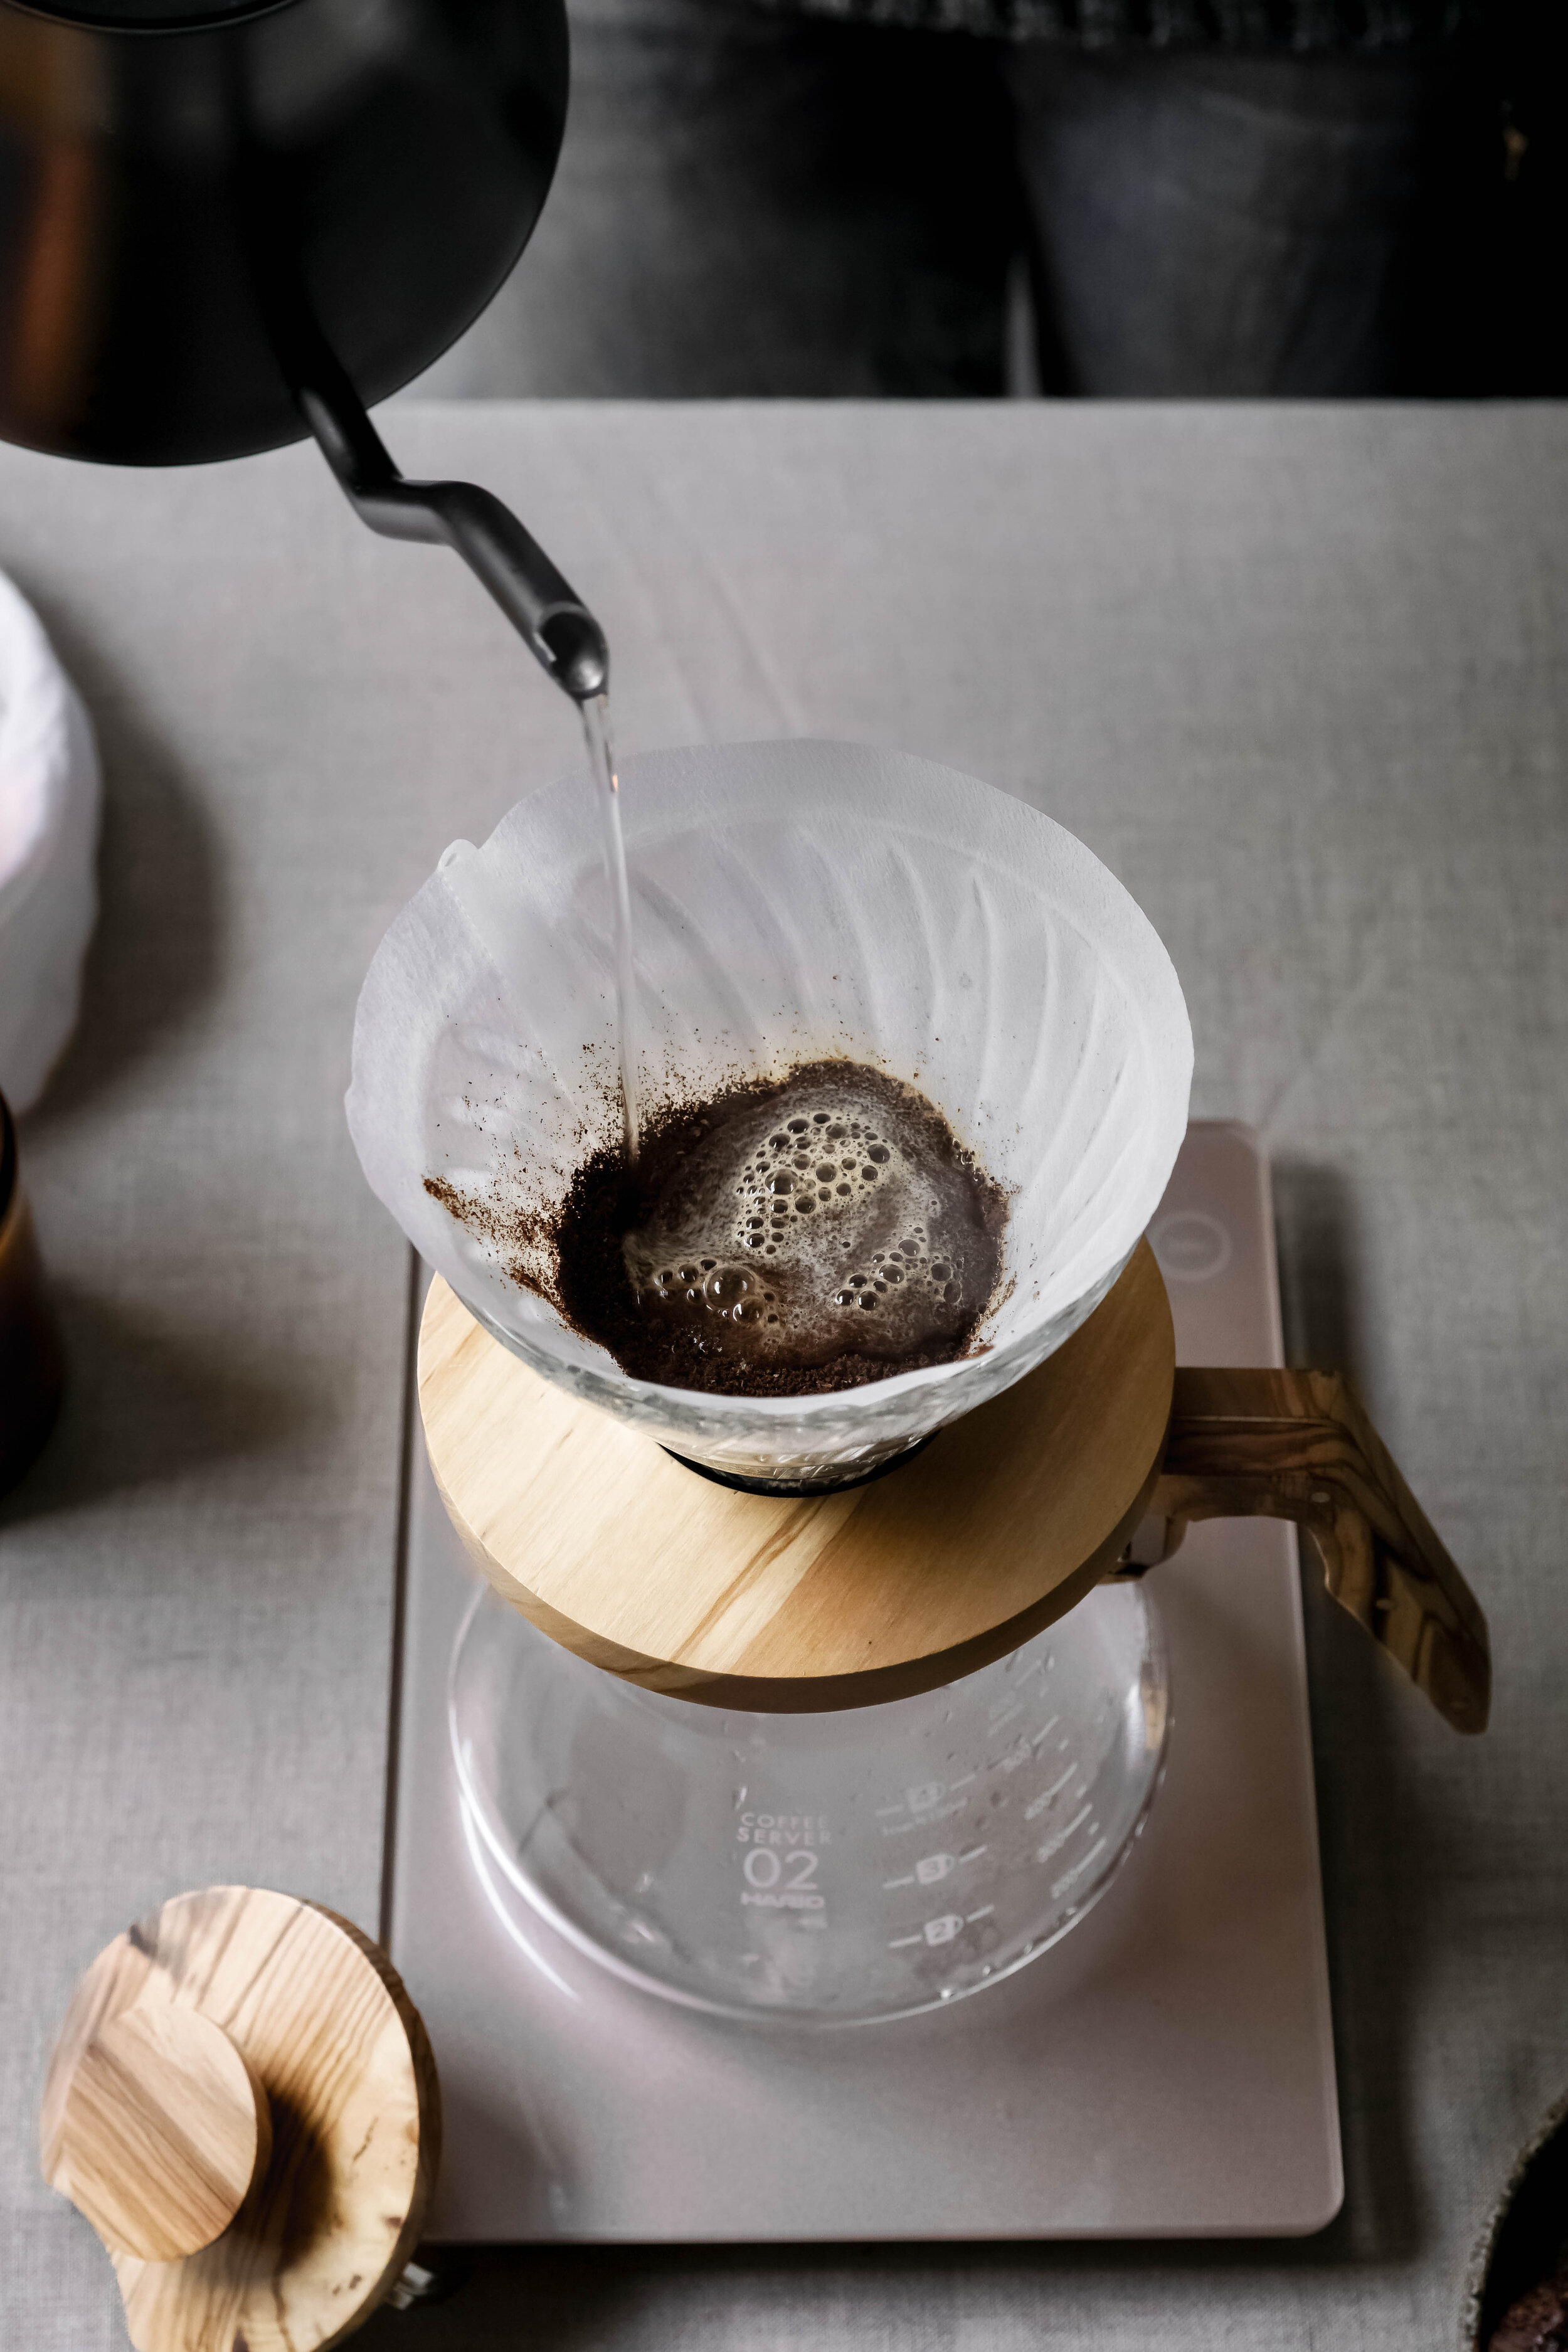
- With water at a brewing temperature, TARE scale to 0 grams and prepare to do the first pour, which is known as the PRE-INFUSION.
- Have a timer ready to start simultaneously with the water hitting the grounds. You are ready to brew.
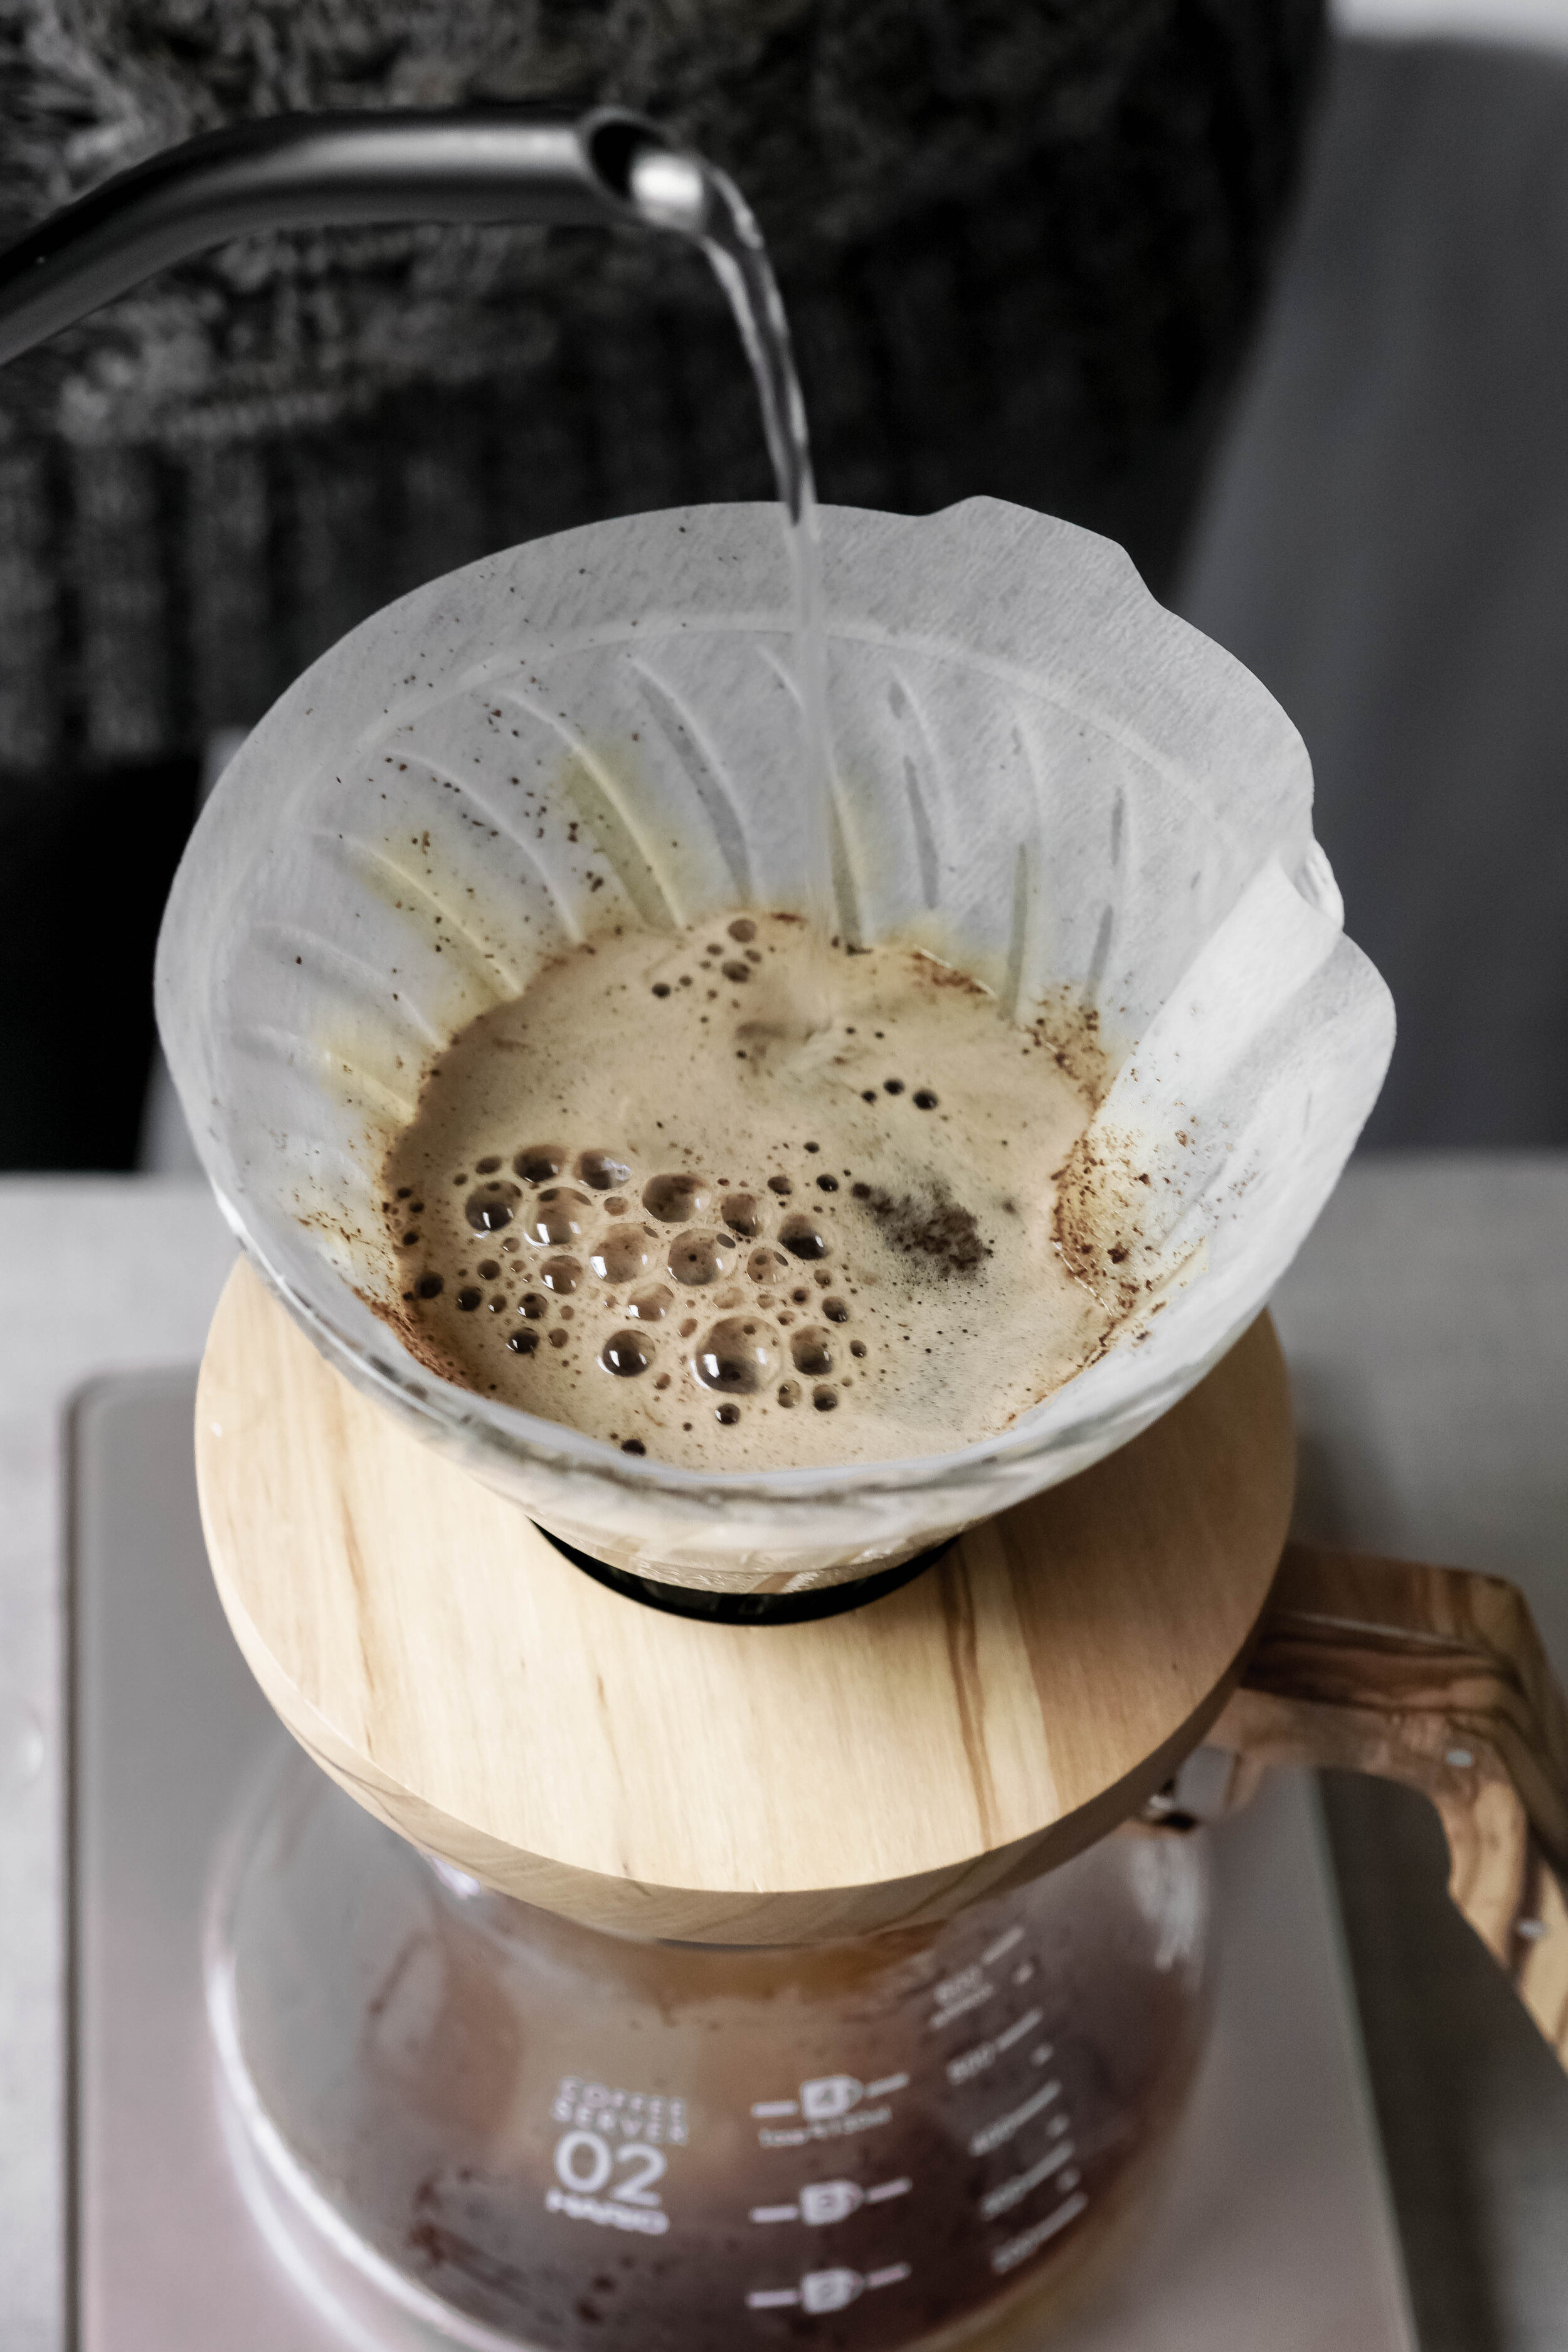
- Start the timer and begin pouring softly and slowly, only hitting the grounds and not touching the paper filter.
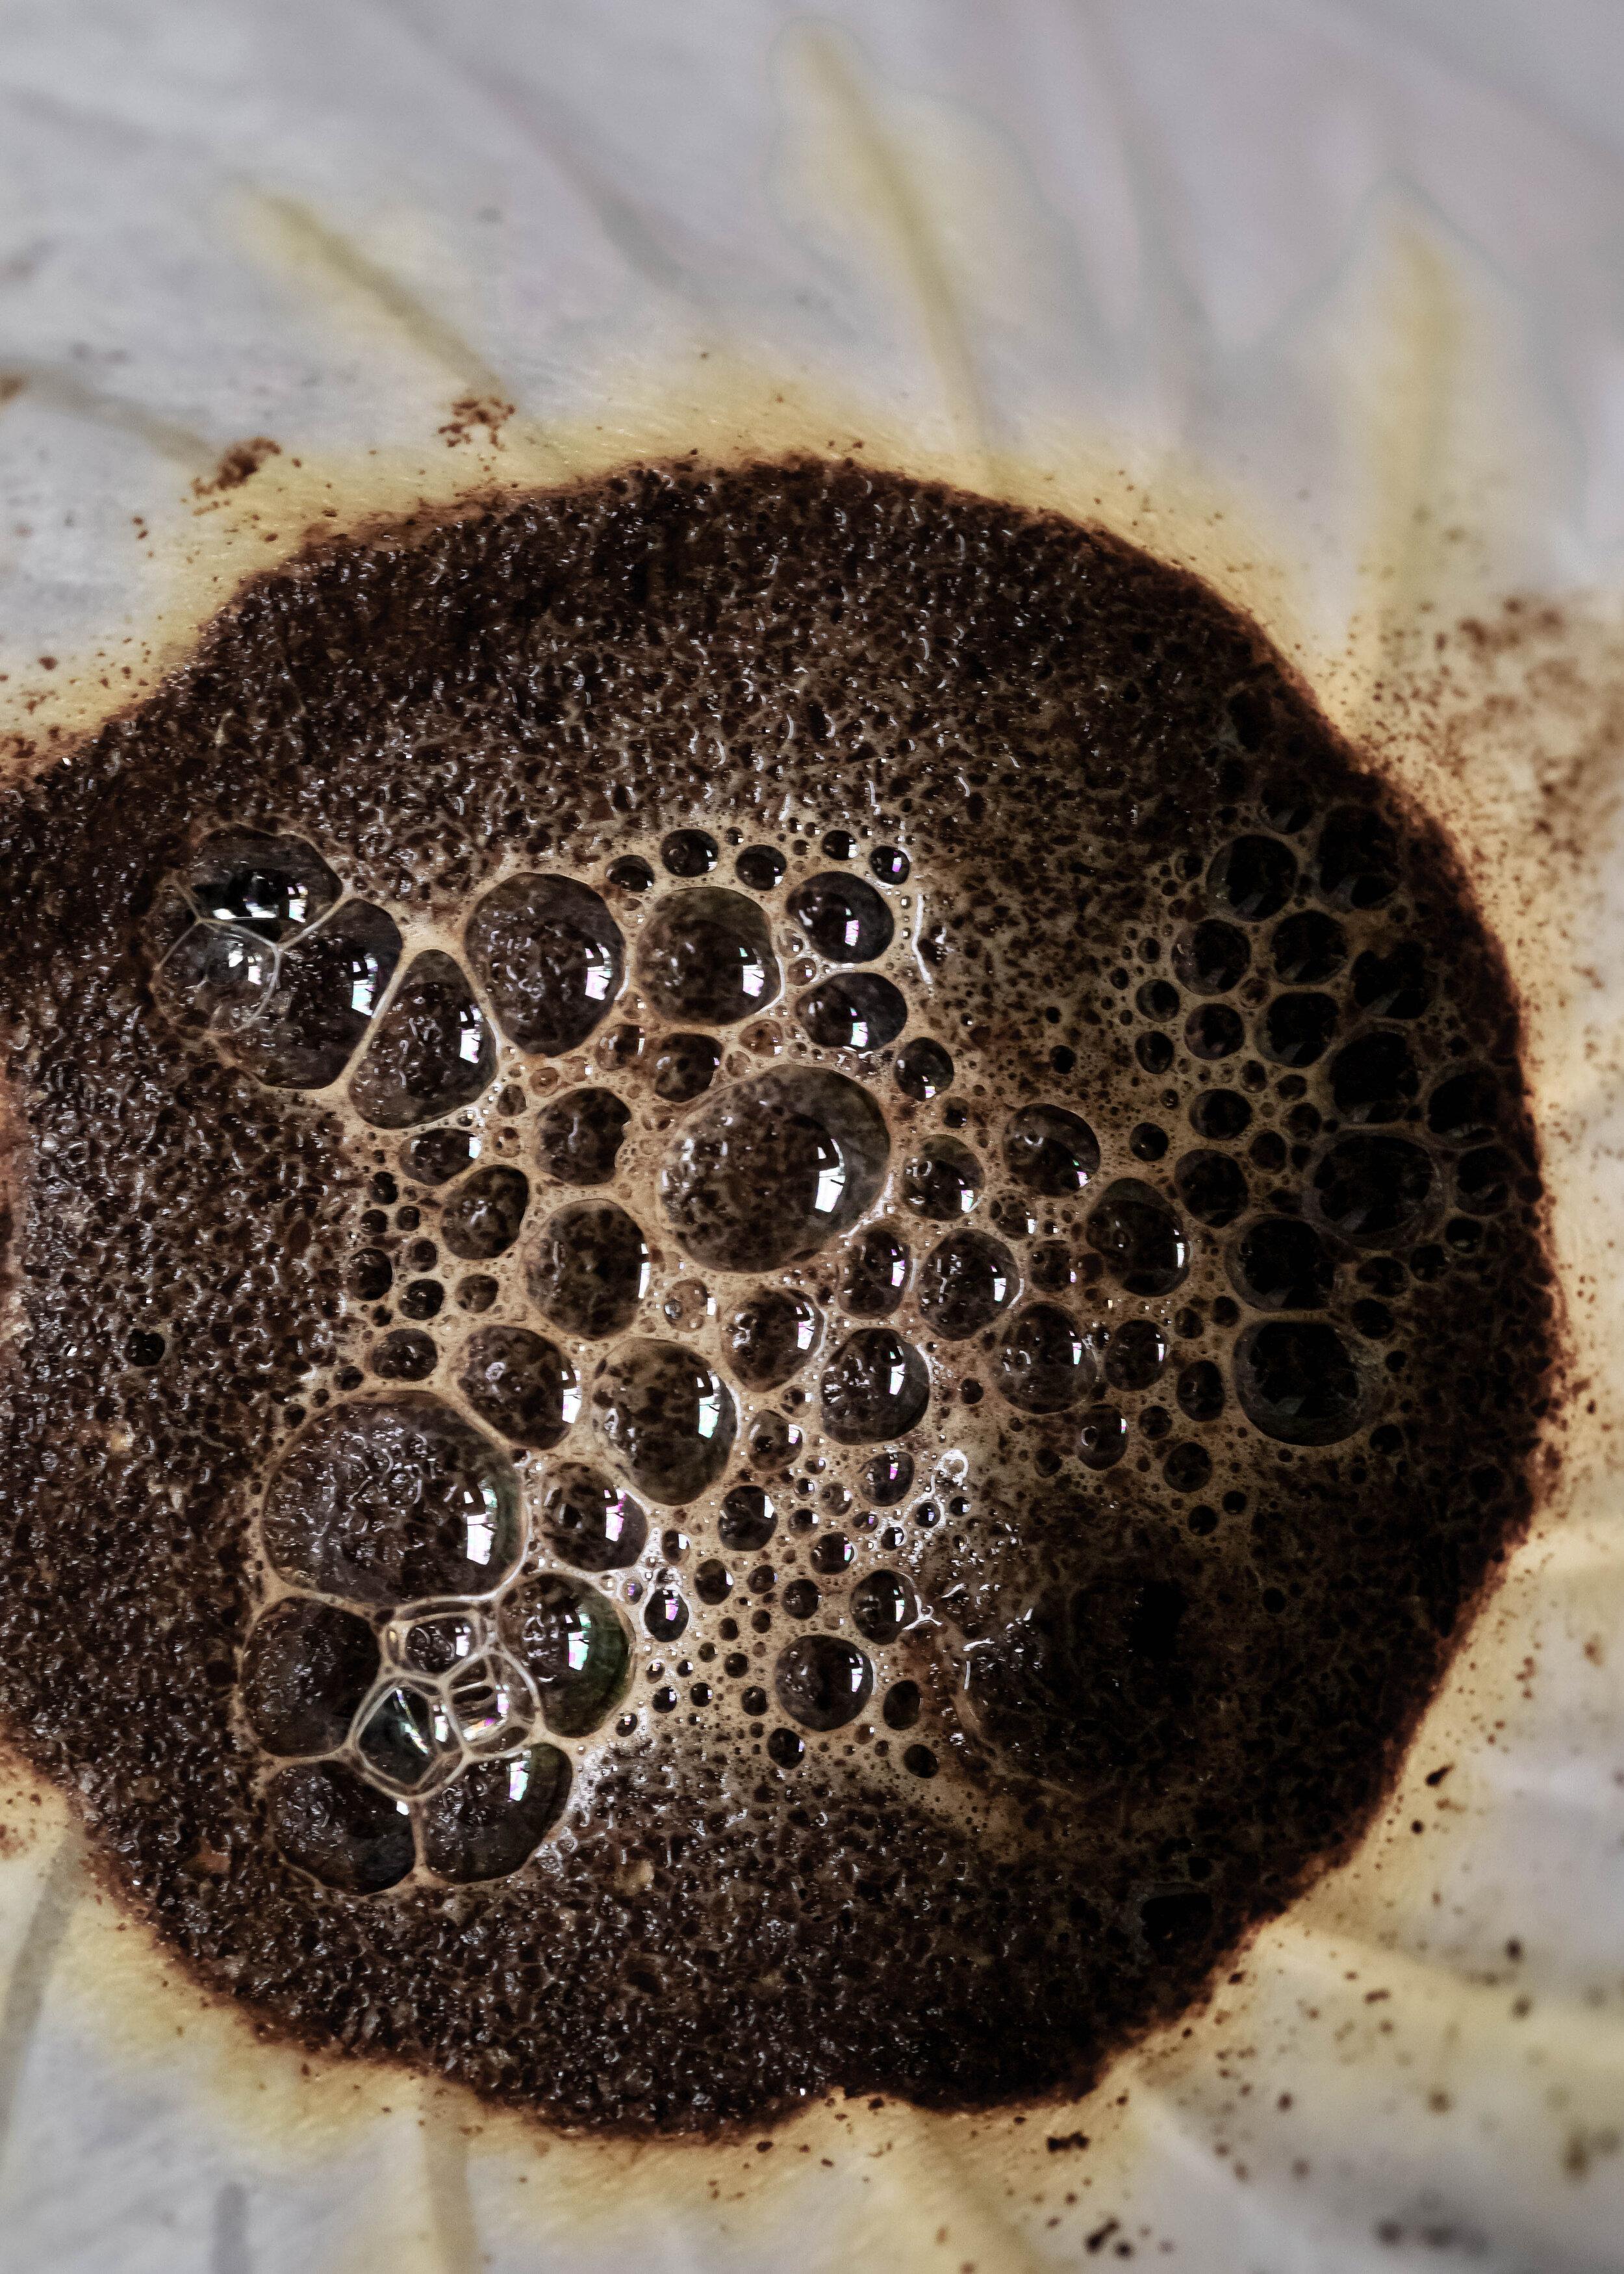
- Pour evenly over the surface until the grounds are saturated, doubling the original weight of the coffee grounds used. (ex. 24g coffee = 48g water). Watching the timer, after completing the pre-infusion, wait 30 to 40 seconds.
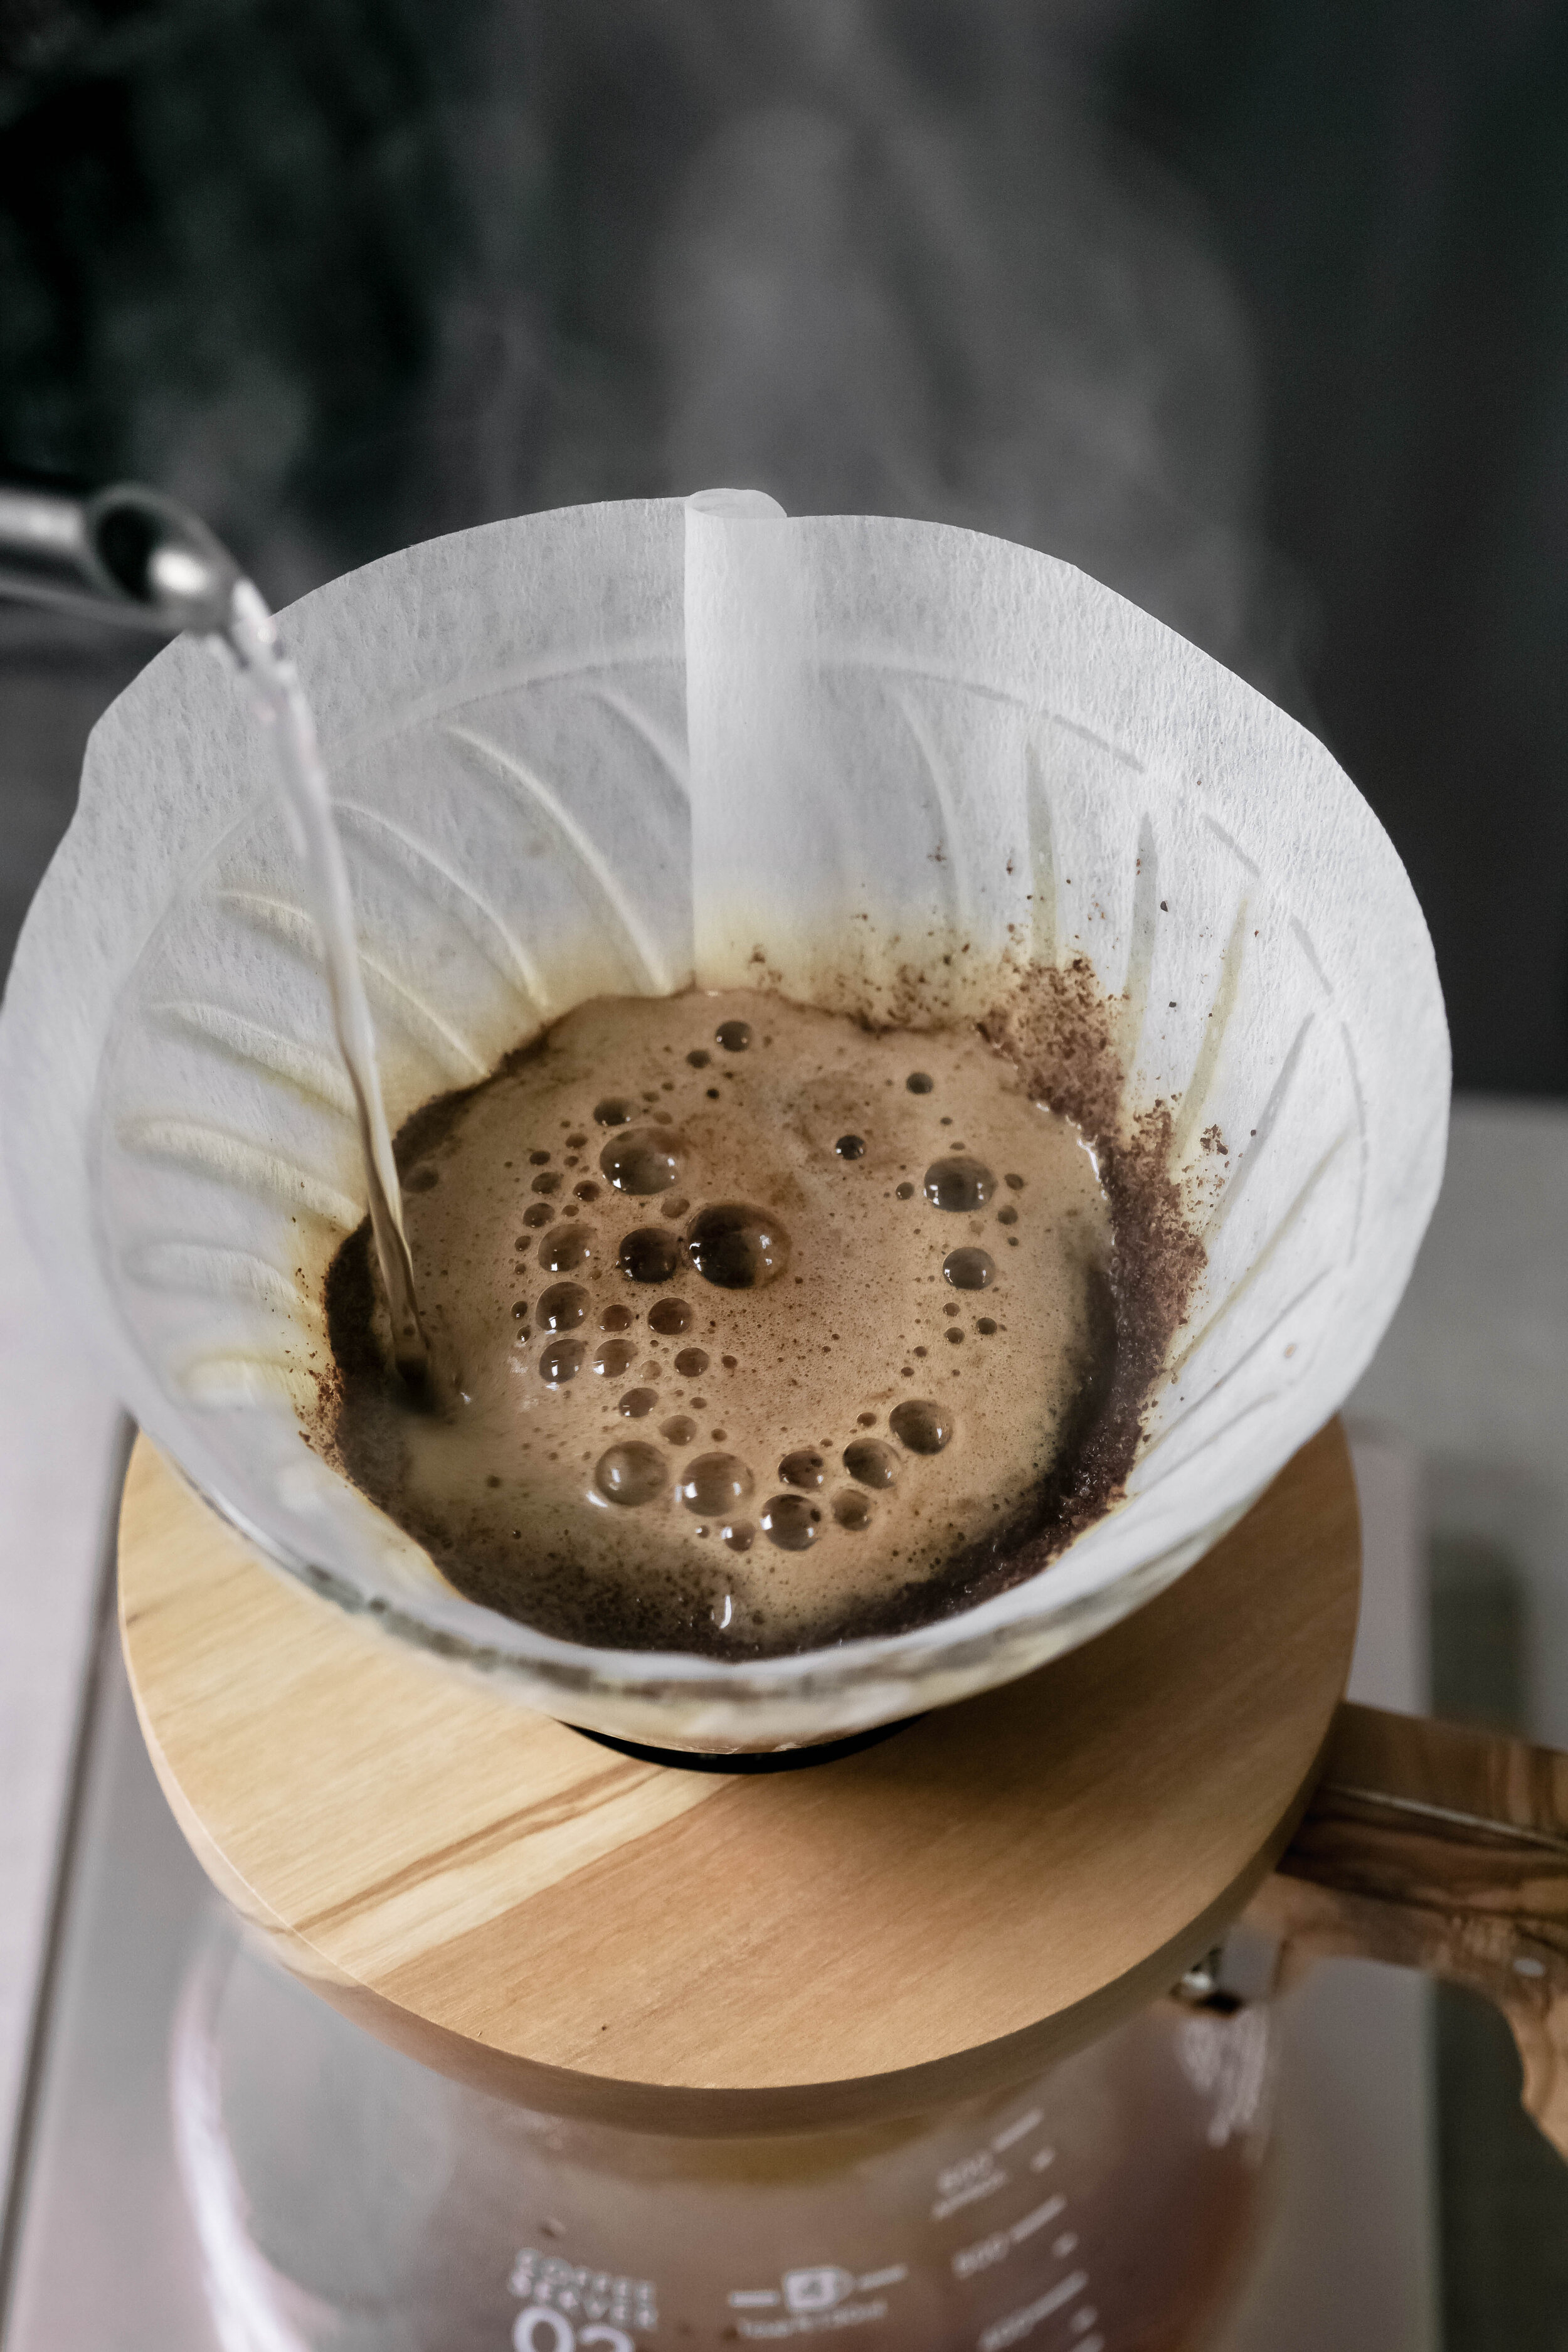
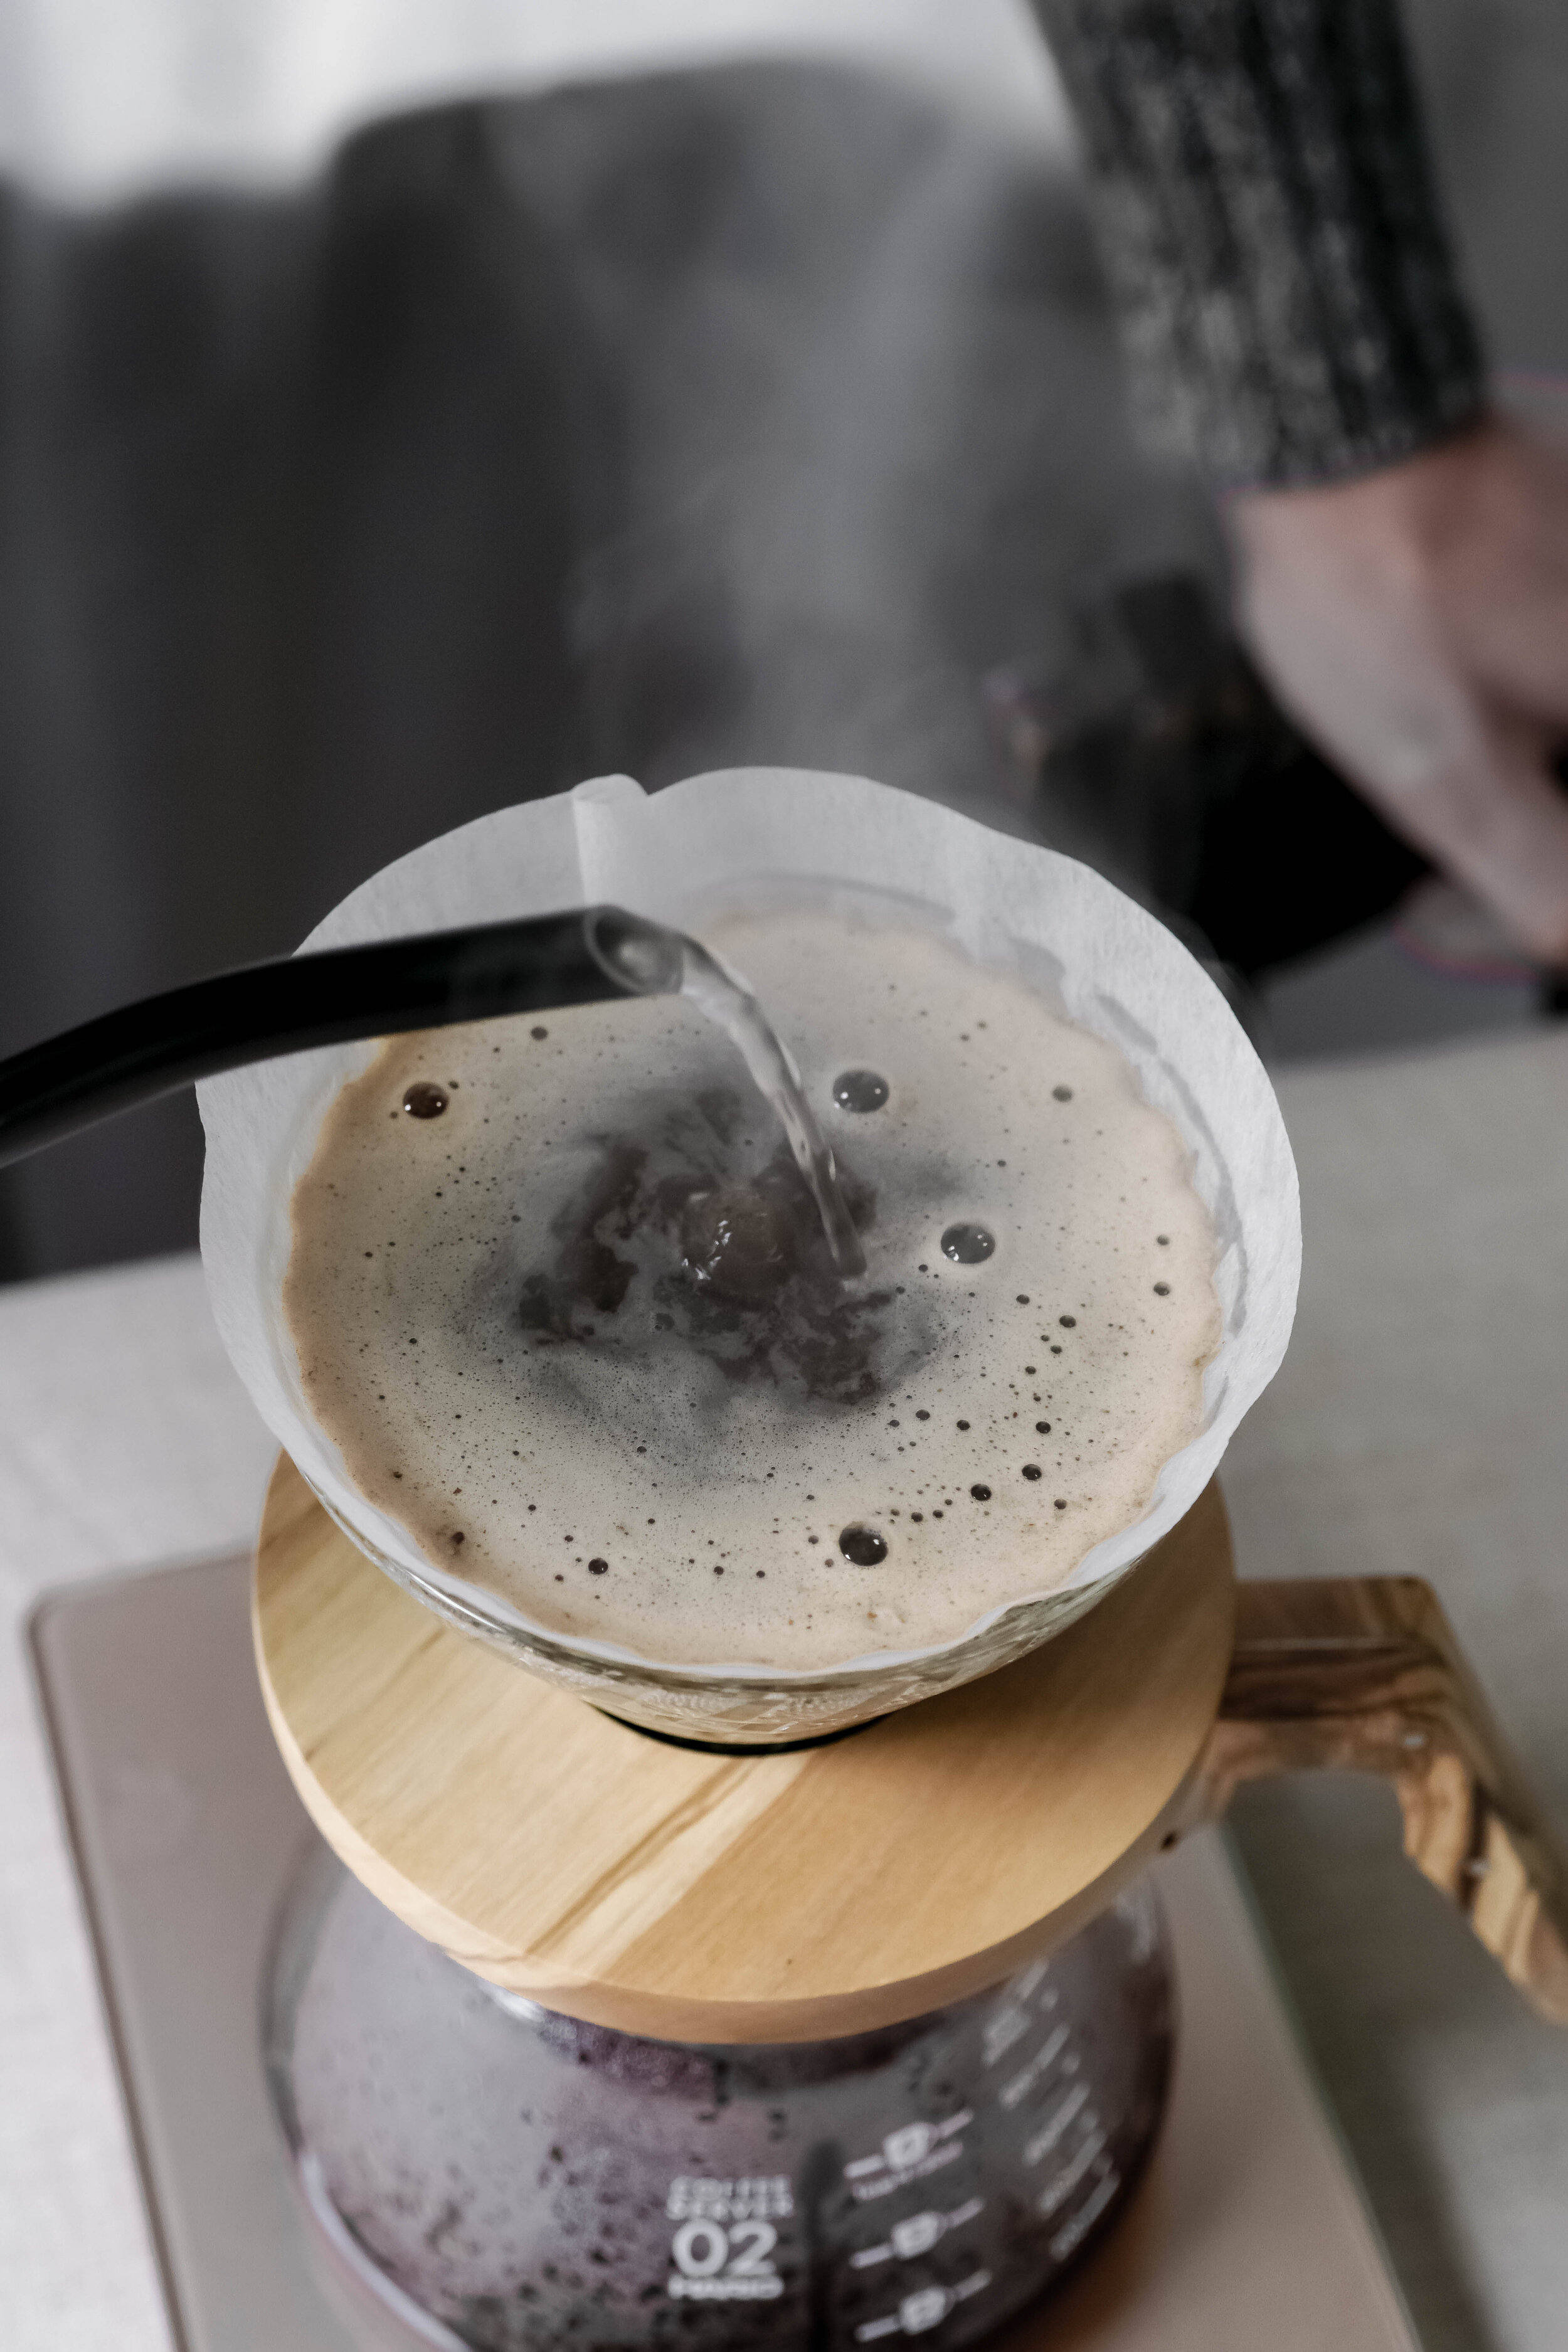
- Start the second, and final, pour. Begin pouring in the middle slowly but with a consistent stream. Hario V60’s require a circular pouring technique, so pick a direction and stick with it.
- Moving in the size of a U.S. Quarter, continue a circle pattern. As the water level rises, the grounds start to break up and incorporate into a well-stirred slurry.
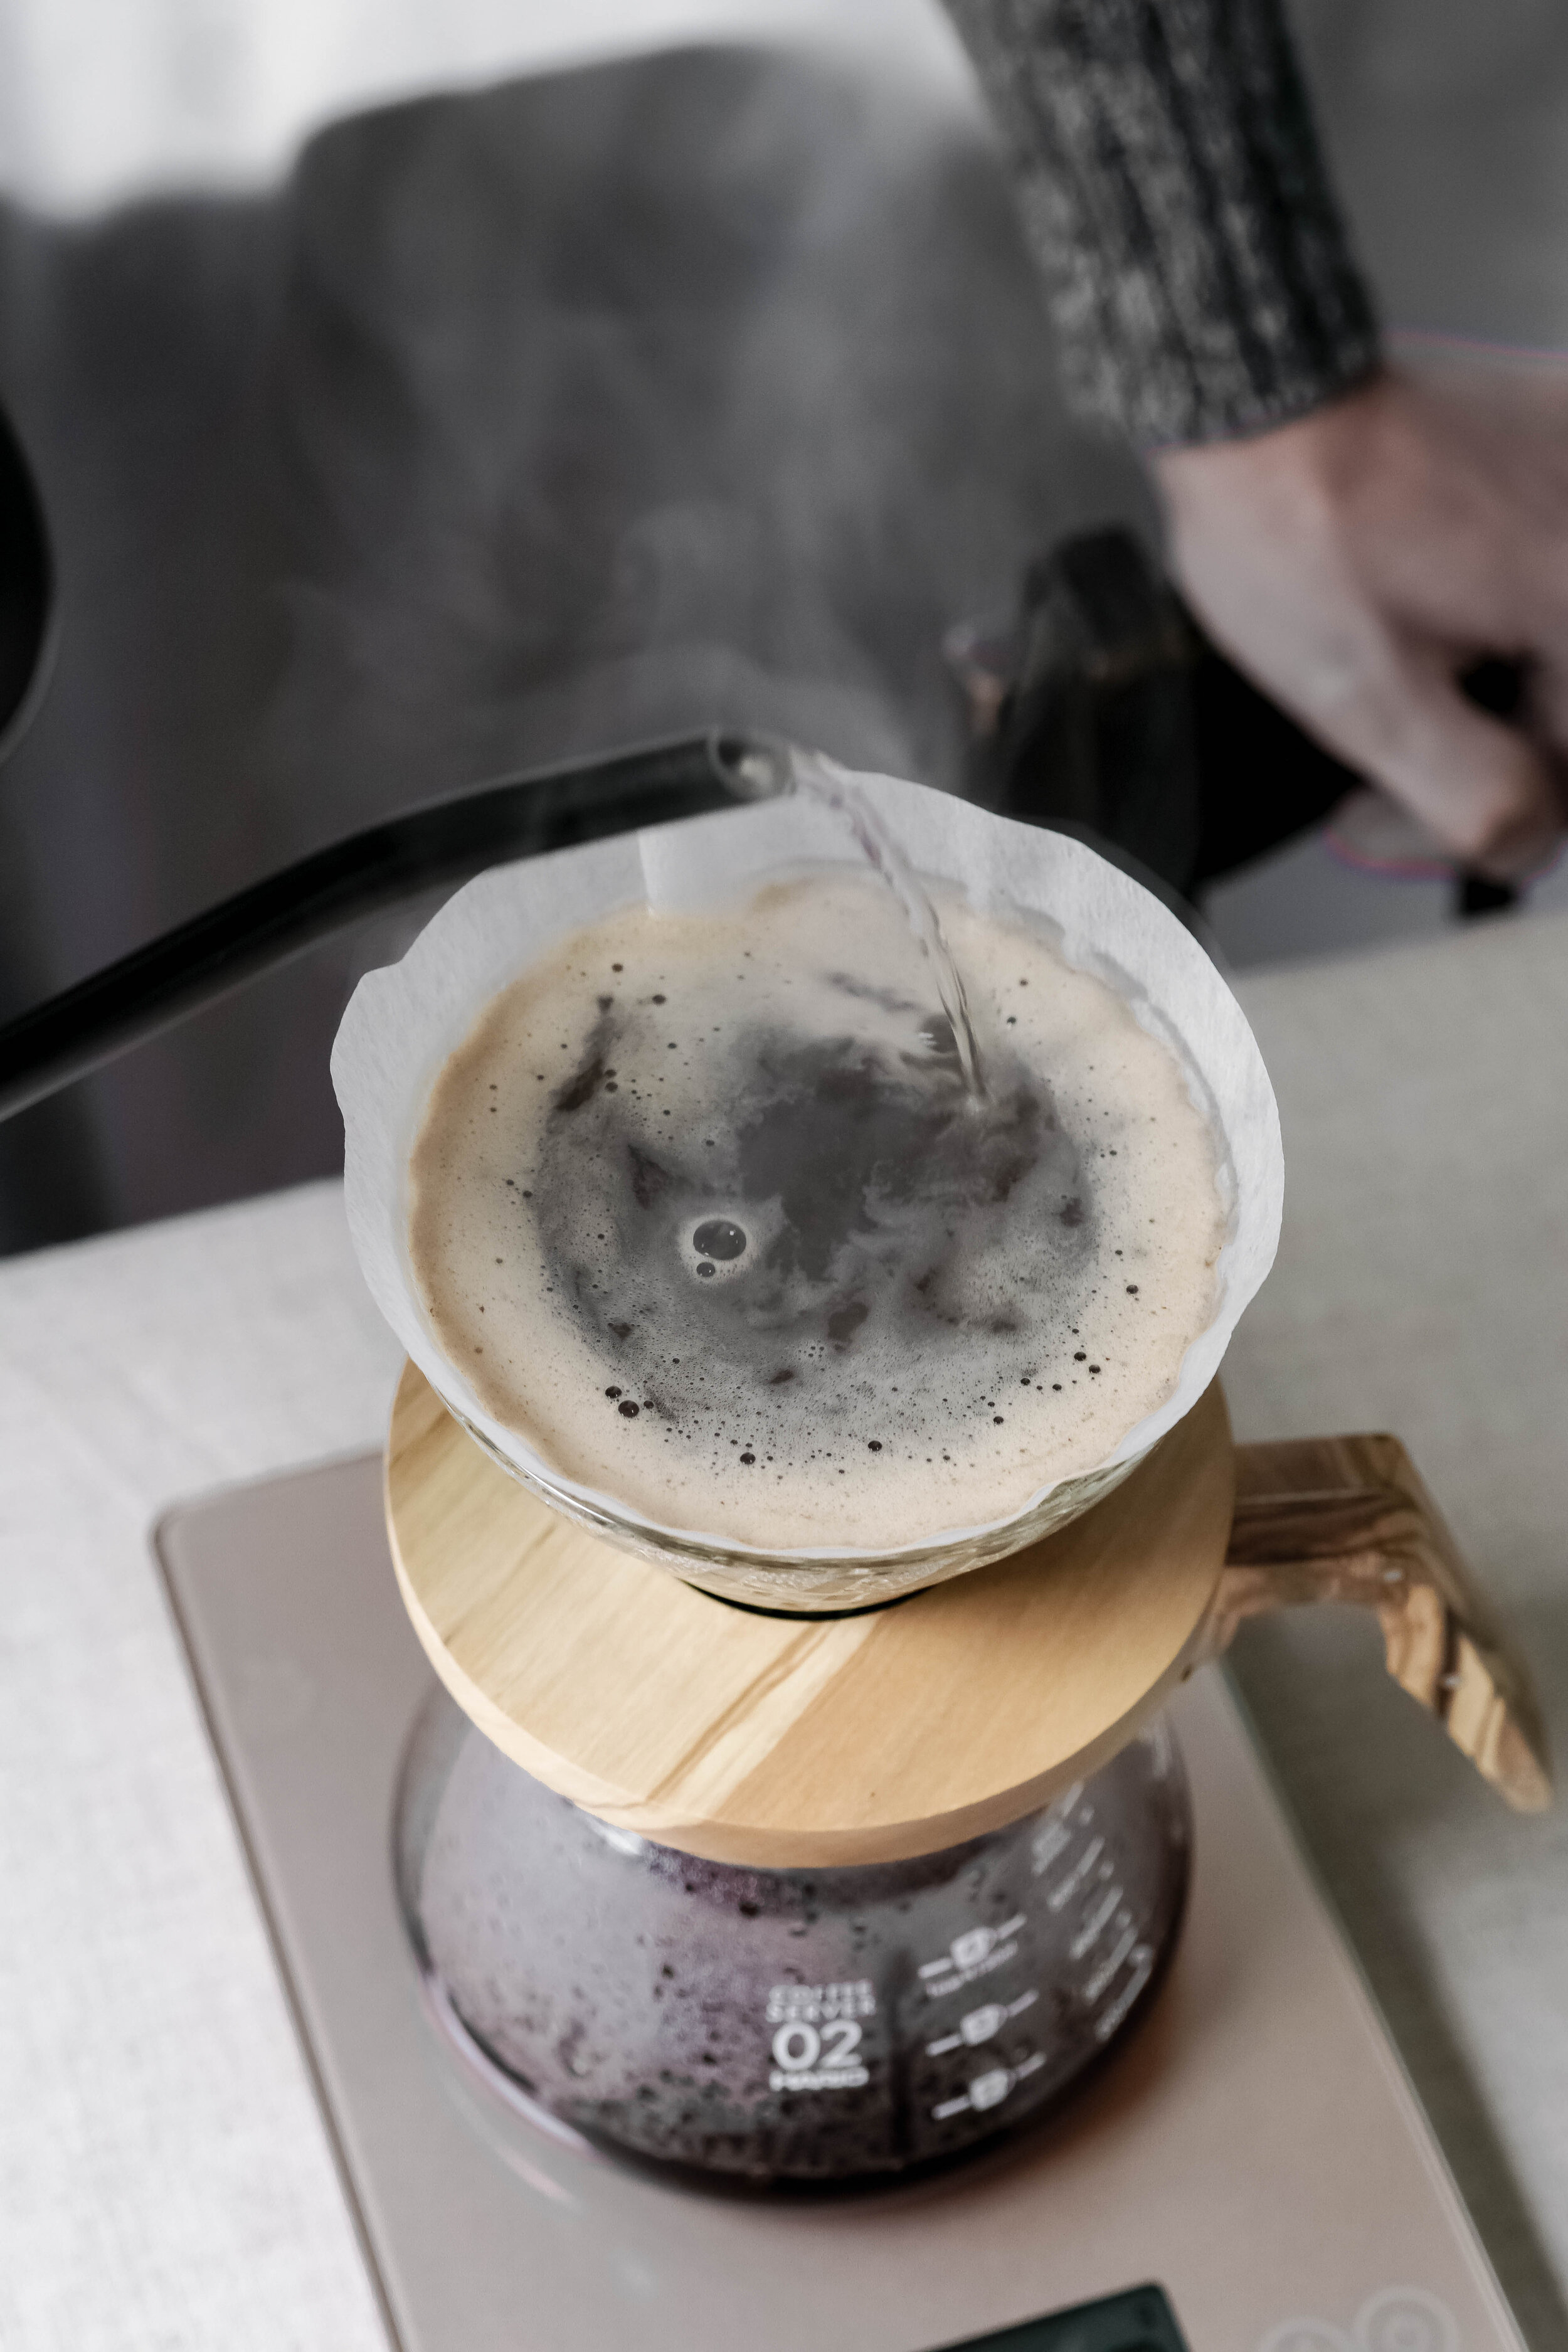
- Continue pouring, working your way slightly wider while avoiding the paper filter. Move back and forth from the wide zone to the middle zone while keeping a circular pattern.
- Peak down at the scale, watching it rise to the desired endpoint.
- Toward the end of the continuous pour (around the 300g mark), a very wide pour around the edges helps finish off the fine grounds flying toward the filter walls. Finish pouring by coming back to the middle to reach the desired water weight.
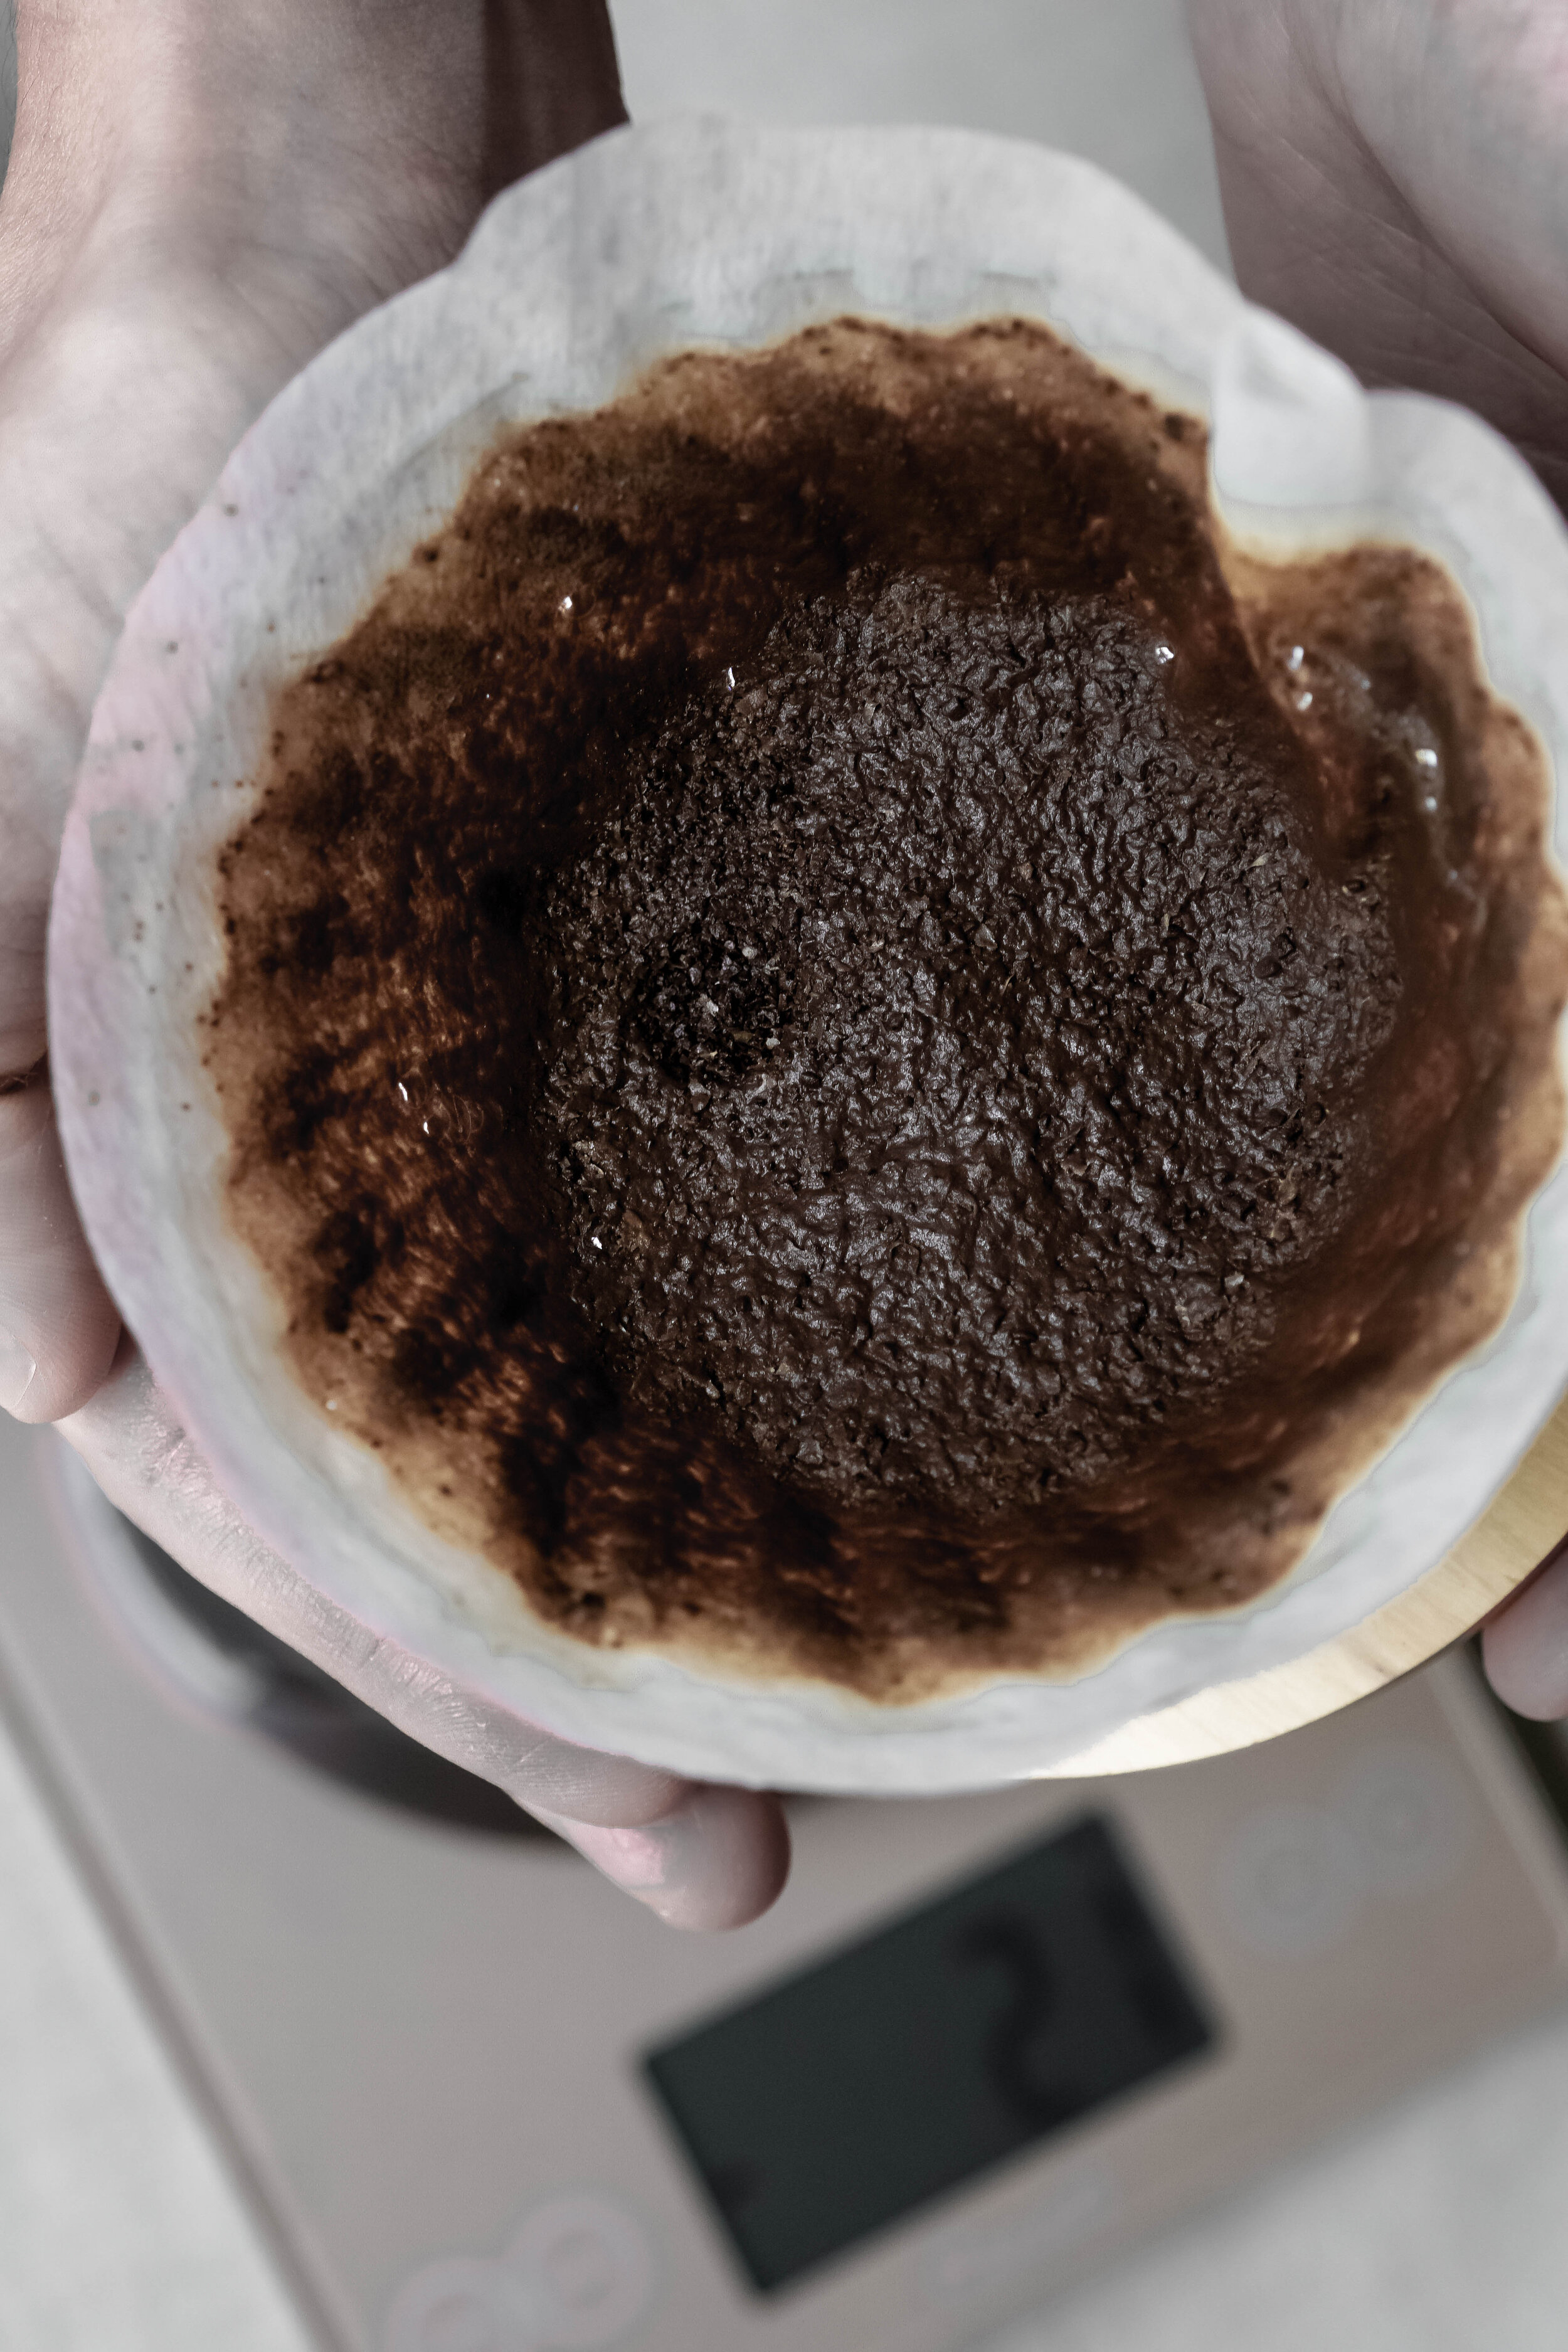
- Allow the water to filter through the settling bed of grounds. Once fully filtered, the grounds should be generally flat with no major hills or slopes leading from the filter walls. This result shows optimal extraction.
- Discard the used filter and rinse your V60 over a sink with remaining hot water to avoid having to wash it after every use.
- You are now ready to serve! Just don’t forget that a good swirl in the server gives your brew a uniform profile to the coffee drinking experience.


Calories
0.02Fat (grams)
0.00Sat. Fat (grams)
0.00Carbs (grams)
0.00Fiber (grams)
0.00Net carbs
0.00Sugar (grams)
0.00Protein (grams)
0.00Sodium (milligrams)
0.04Cholesterol (grams)
0.00